INSTRUCTION MANUAL
MANUEL D'INSTRUCTION
MANUAL DE INSTRUCCIONES
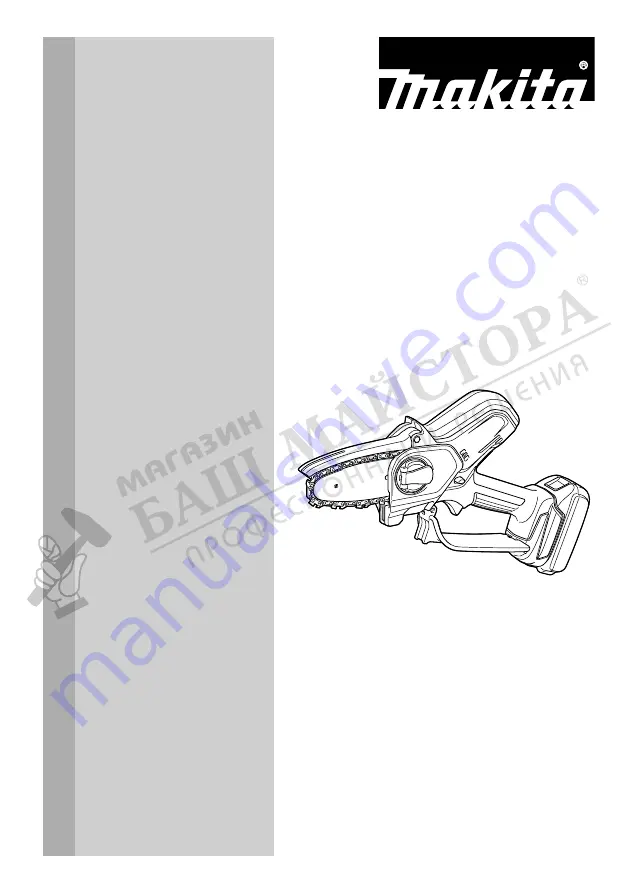
Cordless Pruning Saw
Scie d'élagage sans fil
Sierra Inalámbrica para Podar
DUC101
IMPORTANT:
Read Before Using.
IMPORTANT :
Lire avant usage.
IMPORTANTE:
Lea antes de usar.
Page 1: ...NUAL MANUEL D INSTRUCTION MANUAL DE INSTRUCCIONES Cordless Pruning Saw Scie d élagage sans fil Sierra Inalámbrica para Podar DUC101 IMPORTANT Read Before Using IMPORTANT Lire avant usage IMPORTANTE Lea antes de usar ...
Page 2: ... combination of weight according to EPTA Procedure 01 2014 The weight may differ depending on the attachment s including the battery cartridge s Saw chain guide bar and sprocket combination Saw chain type 80TXL Number of drive links 26 Guide bar Guide bar length 100 mm 4 Cutting length 111 mm 4 3 8 Part No 162B84 9 Pitch 0 325 Gauge 1 1 mm 0 043 Type Hard nose bar Sprocket Number of teeth 7 Pitch ...
Page 3: ...s can produce electromagnetic fields EMF that are not harmful to the user However users of pacemakers and other similar medical devices should contact the maker of their device and or doctor for advice before operating this power tool Personal Safety 1 Stay alert watch what you are doing and use common sense when operating a power tool Do not use a power tool while you are tired or under the influ...
Page 4: ...tery may cause irritation or burns 5 Do not use a battery pack or tool that is dam aged or modified Damaged or modified batteries may exhibit unpredictable behaviour resulting in fire explosion or risk of injury 6 Do not expose a battery pack or tool to fire or excessive temperature Exposure to fire or tem perature above 130 C may cause explosion 7 Follow all charging instructions and do not charg...
Page 5: ...shoulder height This helps prevent unin tended tip contact and enables better control of the pruning saw in unexpected situations Only use replacement guide bars and saw chains specified by the manufacturer Incorrect replacement guide bars and saw chains may cause chain breakage and or kickback Follow the manufacturer s sharpening and maintenance instructions for the saw chain Decreasing the depth...
Page 6: ...right away It may result in loss of your eyesight 5 Do not short the battery cartridge 1 Do not touch the terminals with any con ductive material 2 Avoid storing battery cartridge in a con tainer with other metal objects such as nails coins etc 3 Do not expose battery cartridge to water or rain A battery short can cause a large current flow overheating possible burns and even a breakdown 6 Do not ...
Page 7: ...ery life 1 Charge the battery cartridge before completely discharged Always stop tool operation and charge the battery cartridge when you notice less tool power 2 Never recharge a fully charged battery car tridge Overcharging shortens the battery service life 3 Charge the battery cartridge with room tem perature at 10 C 40 C 50 F 104 F Let a hot battery cartridge cool down before charging it 4 Whe...
Page 8: ... to you or someone around you CAUTION Do not install the battery cartridge forcibly If the cartridge does not slide in easily it is not being inserted correctly Indicating the remaining battery capacity Only for battery cartridges with the indicator 1 2 Fig 4 1 Indicator lamps 2 Check button Press the check button on the battery cartridge to indi cate the remaining battery capacity The indicator l...
Page 9: ...r from being accidentally pulled a lock off lever is provided To start the tool depress the lock off lever and pull the switch trigger Release the switch trigger to stop 1 2 Fig 5 1 Switch trigger 2 Lock off lever Checking the run down brake CAUTION If the saw chain does not stop within a few seconds in this test stop using the tool and consult our authorized service center Run the tool and then r...
Page 10: ...Fig 9 1 Lever 2 Sprocket cover 3 Remove the sprocket cover 4 Align the hole on the guide bar with the pin on the tool body and then place the guide bar as shown in the figure 1 3 2 Fig 10 1 Guide bar 2 Hole 3 Pin 5 Slide the guide bar toward the sprocket to lock the pin 1 2 Fig 11 1 Guide bar 2 Pin 6 Remove the guide bar from the tool body 7 Check the direction of the saw chain Match the direc tio...
Page 11: ...over 1 3 2 Fig 15 1 Sprocket cover 2 Bolt 3 Pin 11 Turn the lever clockwise until the sprocket cover is secured then return it to the original position 1 2 Fig 16 1 Lever 2 Sprocket cover Make sure that the saw chain does not loose and the saw chain can be moved smoothly back and forth If necessary adjust the tension of the saw chain by refer ring to the section for adjusting saw chain tension Adj...
Page 12: ...d for the first time it may take up to two minutes for the saw chain oil to begin its lubricating effect upon the saw mech anism Run the saw without load until it does so NOTICE When filling the chain oil for the first time or refilling the tank after it has been com pletely emptied add oil up to the bottom edge of the filler neck The oil delivery may otherwise be impaired NOTICE Use the saw chain...
Page 13: ...is adequate Fig 23 Working with the tool CAUTION Keep all parts of the body away from the saw chain when the tool is operating CAUTION Hold the tool firmly with both hands when the tool is operating CAUTION Do not overreach Keep proper footing and balance at all times NOTICE Never toss or drop the tool NOTICE Do not cover the vents of the tool Before starting the tool bring the root of guide bar a...
Page 14: ...w chain has been resharpened several times have it sharpened in our authorized service center Sharpening criteria WARNING An excessive distance between the cutting edge and depth gauge increases the risk of kickback 2 2 1 1 3 1 Fig 26 1 Cutter length 2 Distance between cutting edge and depth gauge 3 Minimum cutter length 3 mm All cutter length must be equal Different cutter lengths prevent the saw...
Page 15: ... Fig 29 1 File holder After sharpening the chain check the height of the depth gauge using the chain gauge tool optional accessory Fig 30 Remove any projecting material however small with a special flat file optional accessory Round off the front of the depth gauge again Cleaning the guide bar Chips and sawdust will build up in the guide bar groove They may clog the bar groove and impair the oil f...
Page 16: ...the oil discharge hole by discharging chain oil 4 Remove the battery cartridge from the tool Reinstall the sprocket cover and saw chain and guide bar on the tool Replacing the sprocket CAUTION A worn sprocket will damage a new saw chain Have the sprocket replaced in this case Before fitting a new saw chain check the condition of the sprocket 1 2 Fig 34 1 Sprocket 2 Areas to be worn out Always fit ...
Page 17: ...f the tool must not perform maintenance work which is not described in the instruction manual All such work must be carried out by our autho rized service center Check item Operating time Before operation Everyday Every week Every 3 month Annually Before storage Whole tool Inspection Cleaning Check at authorized service center Saw chain Inspection Sharpening if necessary Guide bar Inspection Remov...
Page 18: ...air Abnormal vibration Stop the tool immediately Loose guide bar or saw chain Adjust the guide bar and saw chain tension Tool malfunction Ask the authorized service center in your region for repair The saw chain cannot be installed The combination of saw chain and sprocket is not correct Use the correct combination of saw chain and sprocket by referring to the section for specifications OPTIONAL A...