3
damaged should be carefully checked to
determine that it will operate properly and
perform its intended function. Check for
alignment of moving parts, binding of moving
parts, breakage of parts, mounting, and any
other conditions that may affect its operation.
A guard or other part that is damaged should
be properly repaired or replaced by an
authorized service center unless otherwise
indicated elsewhere in this instruction manual.
Have
defective
switches
replaced
by
authorized service center. Don’t use the
cleaner if switch does not turn it on and off.
20.
REPLACEMENT PARTS. When servicing, use
only identical replacement parts.
21.
STORE IDLE CLEANER. When not in use, the
cleaner should be stored indoors.
22.
Be kind to your cleaner. Rough handling can
cause breakage of even the most sturdily built
cleaner.
23.
Do not attempt to clean the exterior or interior
with benzine, thinner or cleaning chemicals.
Cracks and discoloration may be caused.
24.
Do not use cleaner in an enclosed space
where flammable, explosive or toxic vapors
are given off by oil-base paint, paint-thinner,
gasoline, some mothproofing substances, etc.,
or in areas where flammable dust is present.
25.
Do not leave the cleaner cord lying on the floor
after you have finished a cleaning job. It can
become a tripping hazard or may cause
damage to the cleaner.
26.
Do not operate this or any tool while under the
influence of drugs or alcohol.
27.
As a basic rule of safety, use safety goggles or
safety glasses with side shields.
28.
Use a dust mask in dusty work conditions.
29.
The cleaner is not intended for use by young
children
or
infirm
persons
without
supervision.
30.
Young children should be supervised to
ensure that they do not play with the cleaner.
31.
Never handle plug cord or cleaner with wet
hands.
32.
Use extreme caution when cleaning on stairs.
SAVE THESE INSTRUCTIONS.
FUNCTIONAL DESCRIPTION
CAUTION:
•
Always be sure that the tool is switched off before
connecting the tool to a power source.
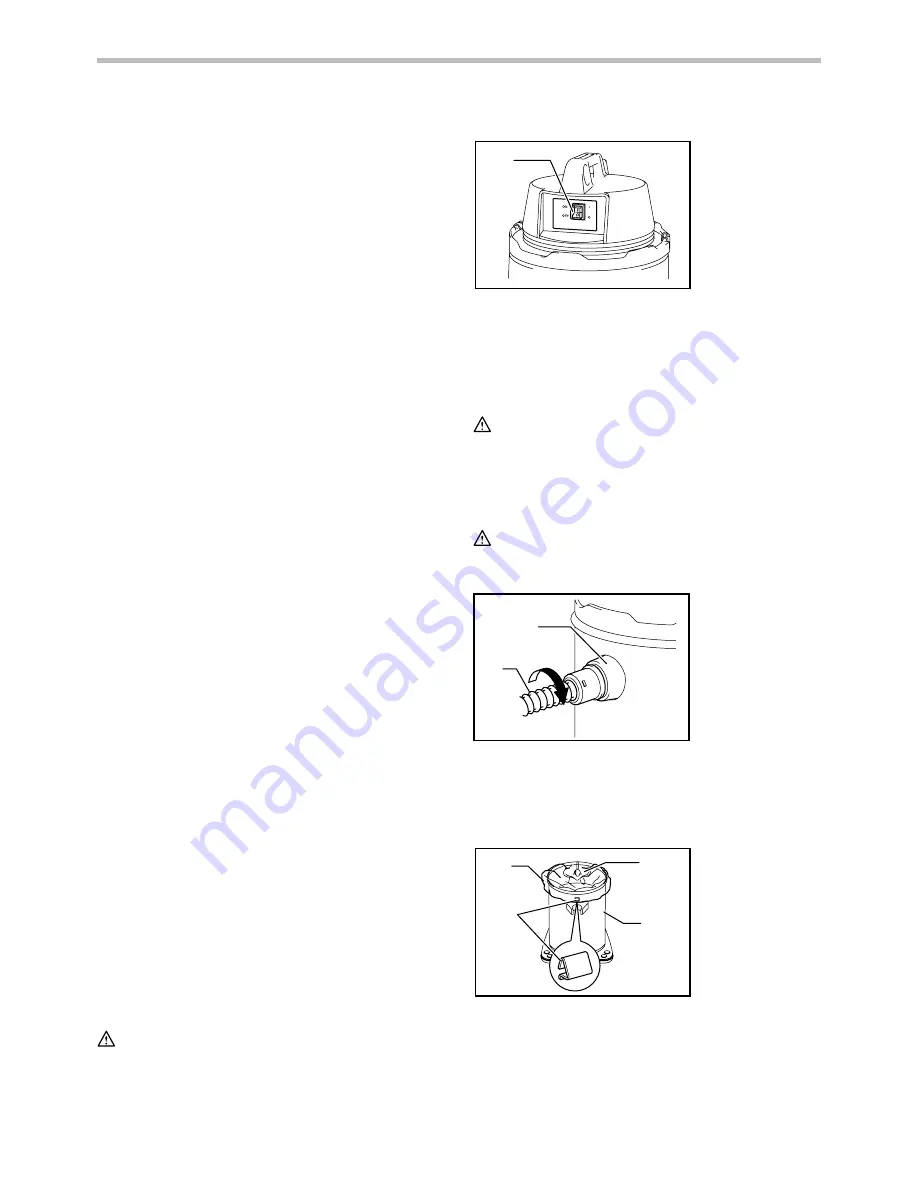
Switch action
1
008450
To start the tool, press the ''ON'' side of the switch. To
stop, press the ''OFF'' side of the switch.
ASSEMBLY
CAUTION:
•
Always be sure that the tool is switched off and
unplugged before carrying out any work on the
tool.
Installing hose
CAUTION:
•
Do not fold, tug nor step on the hose.
•
Never yank the cleaner to carry it.
1
2
008449
Insert the hose into the hose inlet and turn clockwise
until fully secured.
Installing polyethylene bag
1
2
3
4
008453
(Tool can be used without polyethylene bag also)
Spread the polyethylene bag in the tank. Insert it
between the holder plate and the tank, and pull it to the
hose inlet. Hook up the other side of the bag on the pipe
1. Polyethylene
bag
2. Hook
3. Holder plate
4. Tank
1. Hose inlet
2. Hose
1. Switch


