M A K E R B O T
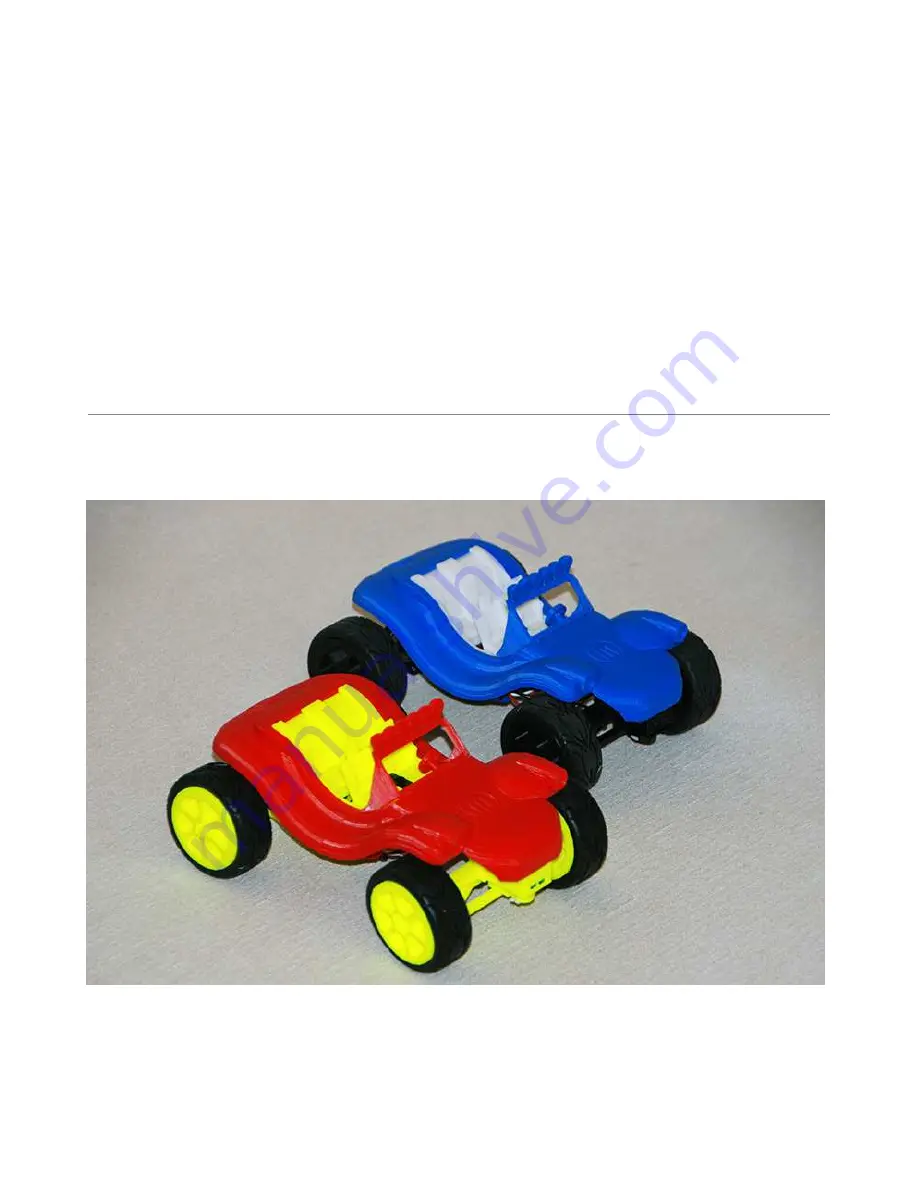
Botmobile Dune Buggy 2013
Assembly Manual
Page 1: ...M A K E R B O T Botmobile Dune Buggy 2013 Assembly Manual...
Page 2: ...rinting the parts 5 Print Settings 5 Assembly 8 Steering assembly 8 Gearbox Rear Axle 11 Building the chassis of the Buggy 16 Final assembly and RC installation 22 Experimental Stuff 26 by Eric Weber...
Page 3: ...benefit of all Tools Consumables Following tools consumables are required to finish the Botmobile Sharp hobby knife 3mm Drill 2 5mm Drill CA Glue Metric hex key Allen keys of 2 and 2 5mm Double sided...
Page 4: ...onhobby com products sr201 2ch dsm sport surface rx coated SPMSR201 or http radiocontrol sports com radio systems i receiver surface sr201 2 ch dsm sport surface rx coated html 9gram Servo HXT900 9g 1...
Page 5: ...store __11204__Pinion_Ge ar_3mm_0_5M_10T_1pc_ html LiPo Battery A LiPo Battery Charger and Balancer is required to charge this type of battery Do NOT attempt to charge it with a normal charger as the...
Page 6: ...uct_top 2x 1 10 Scale Rubber Touring Car Tires w Tread 26mm Medium Compound 2pcs source http www hobbyking com hobbyking store uh_viewItem asp idPr oduct 23292 OPTIONAL Connectors you might require fo...
Page 7: ...ontrollers such as the HobbyKing types in the source list Please print the correct Buggy interior to fit the controller switch and gear box motor mount BL and brush motor have different mounting hole...
Page 8: ...ell o 40mm s Steering stl Print with o 100 infill o no additional shells 1 shell o 80mm s Wheels stl Print with o 10 infill o 3 shells o 80mm s o Print 2x Option 1 BuggyInterior Brush stl Brushmotor O...
Page 9: ...o no additional shells 1 shell o 80mm s o Enable supports Color Set 2 Body Windshield and RX brackets BuggyBack stl Print with o 10 infill o 3 shells o 80mm s BuggyFront stl Print with o 10 infill o...
Page 10: ...ow and also consult the original Makerbot Botmobile assembly instructions at http www makerbot com support projects botmobile for additional information if required Steering assembly Following parts a...
Page 11: ...I L E 9 Attach the swing arms to the control arm Attach the swing arms and control arm assembled in the previous step to the steering base Attach the steering top mount servo holder to the assembly as...
Page 12: ...bit of force might be required Use a hex key to push the tab down but be careful not to break them Center the servo using the RC Radio Install the steering arm by pressing the servo arm into the steer...
Page 13: ...xBrushmotor_supports stl or o GearboxBrushlessmotor_supports stl Brush or brushless motor as per source list 2x 608 skateboard bearings 22x7x8mm 1x M3x15 Button Hexagon Socket Screw 1x M3x10 Cap Hexag...
Page 14: ...ton Hexagon Socket Screw and make sure the gear can rotate freely on the screw Re drill the spruce gear mounting hole left hole in the gear shell as shown in the picture above with a 2 5mm drill and f...
Page 15: ...screw in the pinion gear to catch properly was the case in my build Next install the motor into the motor mount as shown above after removing the supports from printing Use the M3x4 Button Hexagon Soc...
Page 16: ...ition of the motor pinion gear and adjust its position on the motor axle if necessary And secure the 2 parts together with the previous installed M3x30 tighten the screw only till it comes out of the...
Page 17: ...arings with the gearbox assembled in the previous step First slide the ball bearings over the axles and push the axles into the main drive gear Ensure that both sides have an equal length Some trimmin...
Page 18: ...place The axle should now be firmly attached to the gearbox and the main drive gear should be in constant contact with the gearbox drive gear Building the chassis of the Buggy Prepare the 2 Body halve...
Page 19: ...They should snap off easily Above picture shows the front and rear after removal of the supports Re drill the front halve mounting holes with a 3mm drill Do the same with the single rear halve interio...
Page 20: ...18 Slide the interior into the body shell from rear to front and press it in place Secure the interior in place with the M3x7 screw Align the steering assembly and route the servo cable through the g...
Page 21: ...nd push the assembly down until it clicks into place Secure the steering assembly to the body with 2x M3x25 screws This will help to reduce the gap between body and steering which comes from slight va...
Page 22: ...e axle faces the rear of the car and push the gearbox assembly firmly in place Once in place it should look like the above Place the ESC below the gearbox ensure neither the cables nor the ESC gets in...
Page 23: ...ear seat Next fit the cable through the narrow gap between the front seats The switch can now be pushed downwards and will be securely held in place Use cable ties to secure the motor wires on one sid...
Page 24: ...the ESC side of the battery connector to the motor leads The LiPo cable can then be plugged directly into the ESC connector without the need to fix the LiPo cable to the body separately Install your r...
Page 25: ...with the bottom of the wheels print surface facing the inside and the rear wheels with the bottom facing outside the square surfaces on the rear axle will grip into the open part of the rear wheel to...
Page 26: ...B O T M O B I L E 24 Install the windshield by pushing the mounting tabs into the holes in chassis Use CA glue to glue the lamps and steering wheel in place...
Page 27: ...ry only use a LiPo approved charger adjust your radio settings servo direction exponential and max travel program the ESC and take your Botmobile Dune Buggy 2013 for a spin and do not forget to post a...
Page 28: ...far untested version of the tires is not available for download EXPERIMENTAL_Botmobile Tire_Rubber stl As this model has not been printed before please post your experience with it so I can update th...