background image

solvent thinner

Important Safety Instructions and Maintenance

3

Installation

Move

When the TV being moved in from cold place, it needs some right time for dew 

inside unit evaporating fully before turn on the unit;

To prevent injury, this apparatus must be securely attached to the floor/wall in 

accordance with the installation instructions.

LED Screen

Although the LED screen is made with high precision technology and 99.99% or more of the 

pixels are effective, black dots may appear or bright points of light (red, blue or green) may 
appear constantly on the LED screen. This is a structural property of the LED screen and is not 

a malfunction.If the surface of the LED panel cracks, do not touch it until you have unplugged 
the AC power cord. Otherwise electric shock may result. Do not throw anything at the TV set. 

The LED panel may break from the impact and cause serious injury.

Precautions When Displaying a Still Image

A still image may cause permanent damage to the TV screen.
Do not display still images and partially still images on the LED panel for more than 2 hours as it 

can cause screen image retention. This image retention is also known as "screen burn". To 
avoid such image retention, reduce the degree of brightness and contrast of the screen when 

displaying a still image.
Watching the LED TV in 4:3 format for a long period of time may leave traces of borders 

displayed on the left, right and centre of the screen caused by the difference of light emission on 
the screen. Playing a DVD or a game console may cause a similar effect to the screen. 

Damages caused by the above effect are not covered by the Warranty.
Displaying still images from Video games and PC for longer than a certain period of time may 

produce partial after-images. To prevent this effect, reduce the 'brightness' and 'contrast' when 
displaying still images.

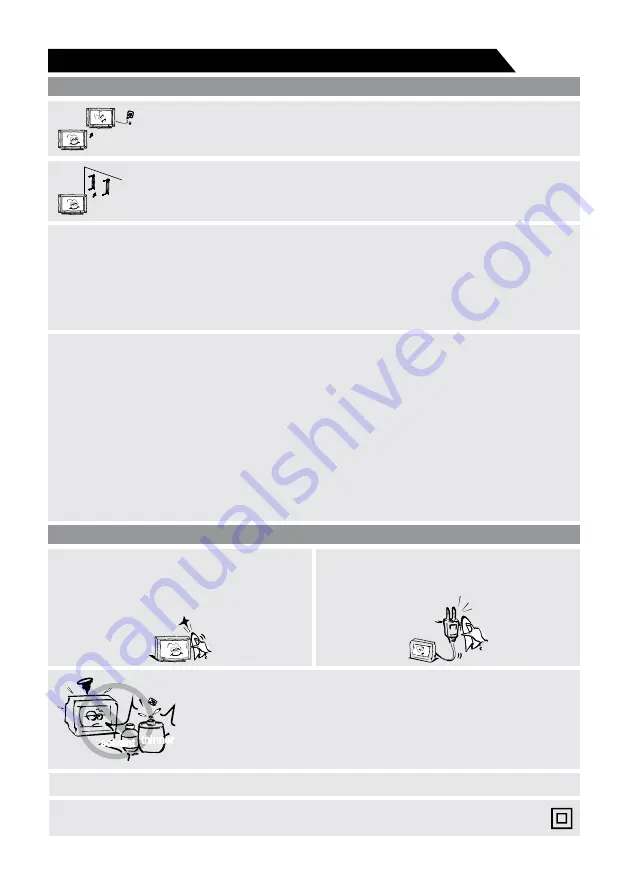
Cleaning

Cleaning and handling the screen surface 

and cabinet. Disconnect the unit from the AC 

outlet before cleaning. To remove dust, wipe 

gently with a soft, lint free cloth. If required 

use a slightly damp cloth. 

MAINS PLUG

Wipe the mains plug with a dry cloth at 

regular intervals. Moisture and dust may lead 

to fire or electrical shock.

Use care not to subject the TV's surfaces to detergent. (A liquid inside 

the TV could lead to product failure, fire or electrical shock.) 

Use care not to subject surfaces to bug repellent, solvent, thinner, or 

other volatile substances as this may deteriorate the surface and finish 

of the cabinet.

Attention should be drawn to the environmental aspects of battery disposal;

This equipment is a Class II or double insulated electrical appliance. It has been designed 

in such a way that it does not require a safety connection to electrical earth.

Summary of Contents for GTV2700DA

Page 1: ...OWNER S MANUAL LED TV Retain it for future reference Please read this manual carefully before TV operation GTV2700DA...

Page 2: ...placed upon or against them paying particular attention to cords at plug end adaptors and the point where they exit from the appliance The mains plug is used as the disconnect device It shall remain...

Page 3: ...e from earphones and headphones can cause hearing loss volume Installation The ventilation should not be impeded by covering the ventilation opening with items such as newspapers tablecloths curtains...

Page 4: ...hen displaying a still image Watching the LED TV in 4 3 format for a long period of time may leave traces of borders displayed on the left right and centre of the screen caused by the difference of li...

Page 5: ...e cupboards or bookcases without anchoring both the furniture and the television to a suitable support Not standing the televisions on cloth or other materials placed between the television and suppor...

Page 6: ...ing items are included with your LED TV If any items are missing contact your dealer LED television Remote control with 2X AAA batteries Owner s Manual VESA mounting screws BM4 8 4pcs Power adaptor 12...

Page 7: ...e screen Auto tuning and fine tuning HDMI input Programmable sleep timer No signal automatic power off 6 Introduction Features Basic Functions Input terminals used for external equipment connection 2...

Page 8: ...mensions LxWxH Model LED panel resolution Speaker output power Power supply Video in Work temperature Display size PAL NTSC 1920x1080 Power adaptor 12V 4A 27 Diagonal max Digital DVB C T T2 S S2 Analo...

Page 9: ...i w s i h T n o V T D E L e h t y a l o t a e r a e s a b e h t r e v o g n i n o i h s u c d a e r p s k r o w g n i m r o f r e p e r o f e B prevent it from being damaged Assembling instruction Put...

Page 10: ...nt panel The buttons on the lower right panel control your TV s basic features including the on screen menu To use the more advanced features you must use the remote control Remote Control Sensor Powe...

Page 11: ...of back panel You can connect the TV with video devices such as DVD VCD player VCR and video camera to enjoy the high quality picture 10 Note The product and illustrations in this user s manual is on...

Page 12: ...o m e r e m i t f o d o i r e p g n o l a r o f l o r t n o c e t o m e r e h t e s u o t d n e t n i t n o d u o y f I 2 to avoid damage due to leakage s e p y t t n e r e f f i d r o s e i r e t t a...

Page 13: ...TV return to home screen 13 14 15 AUDIO Press to select mono nicam stereo for 16 26 The functions of confirm and play pause in DVD OK The function of setting in DVD 0 9 The digital input in DVD MENU g...

Page 14: ...ine fire or the like General Description Installing Batteries in the Remote Control Installing Batteries 1 Open the battery compartment cover on the back side 2 Insert two 1 5V AAA size batteries in c...

Page 15: ...irst Time Setup This function is used for the remote control pair code After the code is successful you can use the Bluetooth remote control to operate the TV Press to select the system language and p...

Page 16: ...ious settings can be con gured here For details on the settings see the next explanation INPUT SOURCE 1 In the HOME interface press to select the Inputs icon press to open the input source list then p...

Page 17: ...s and read the app lists 1 Press button to select what you want set 2 Press button to adjust 3 After nishing your adjustment press BACK button to return to the previous menu OK DEVICE PREFERENCES ABOU...

Page 18: ...Press button to select the option then press button to enter the sub menu Press button to select the option then press button to enter the sub menu Press button to select the option then press button...

Page 19: ...hen press button to choose ON OFF Press button to select the option then press button to choose ON OFF Press to enter the sub menu press button to select option OK Pure Sound OK Surround OK Sound Only...

Page 20: ...ess button to select the option then press button to enter the sub menu Optional Turn screen off Backdrop Colors button to select the option then press button to enter the sub menu Optional 5 minutes...

Page 21: ...choose ON OFF button to select the option then press button to enter the sub menu button to select the option then press button to choose ON OFF button to select the option then press button to enter...

Page 22: ...TV Operation 21...

Page 23: ...Troubleshooting Troubleshooting 22...

Page 24: ...u Black bars on each side will be shown on HD channels when displaying SD 4 3 contents Black bars on Top Bottom will be shown on movies that have aspect ratios different from your TV Adjust picture si...

Page 25: ......

Reviews: