Maintronic 10.750 Manual Download Page 18

          www.maintronic.de                  

18

5.  Operation

5.1  Operation with device button

The device button 

1

  has the same priority as the Casambi APP, the last one wins. 

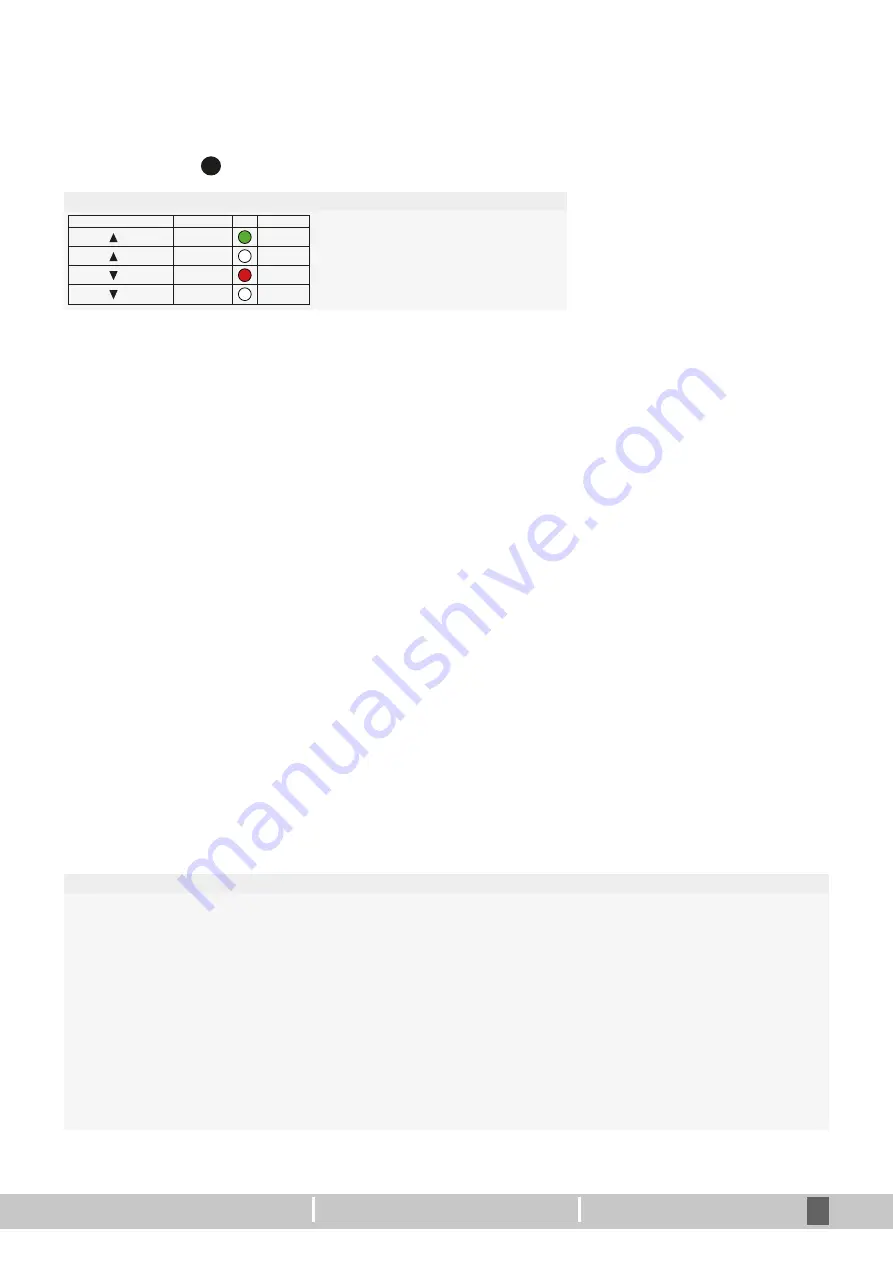
Function device button

Keystroke

Switching pattern

LED

Relais  

UP

green

Relais  

STOP

off

Relais  

DOWN

red

Relais  

STOP

off

Short press

5.2  Operation with pushbutton input T1 / T2 (only 10.752)

The functionality of the push button inputs is defi

-

ned by a parameter. Before the button inputs are 

configured, a push button mode must be selected. 

5.3  Push Button mode

In  order  to  change  the  Push  Button  mode,  pro

-

ceed as shown on the right.

Push Button mode - Possible parameters

Casambi

Standard Casambi Push button input

Button

Function as push button - push=active; release=off

Button command processing internally in MTC controller

Group  Button

Function as group button - push=on; release=off


If several blind actuators are combined as a group, one device of the group must be defined as the master. For 

the desired master, the push button style must be set to Group Button.


The other maintronic devices in the group are automatically slaves and the function of the master takes place.

Switch

Function as a switch - 1x push = on - 1x push = off)


release is ignored

Group  Switch

Function as a group switch - 1x push = on - 1x push = off


If several blind actuators are combined as a group, one device of the group must be defined as the master. For 

the desired master, the push button style must be set to Group Switch.


The other maintronic devices in the group are automatically slaves and the function of the master takes place.

Enabled with 2 programmable inputs, local con

-

trol is so much easier. These inputs can used as 

a  direct  preconfigured  Up-Down  pushbutton  or 

control any casambi enabled device over Casambi 

input control. It‘s just a change of an parameter in 

the app.

1.  Open Casambi app

2.  Double tap on the device

3.  Scroll to the item parameter

4. 

Tap on Push Button mode 

5.  Select parameters  

(See the list below)

Summary of Contents for 10.750

Page 1: ...CBA UP Casambi blind actuator Valid from version H Hardware F Firmware 10 750 CBA UP H2 F2 5 10 752 CBA UP H1 F2 5 10752_MA_en_A4_CBA UP_20210310 Manual EN EN...

Page 2: ...o a network 11 4 3 1 Profile A CBA Blind Drive blind Adjust slats 12 4 3 2 Profile B CBA Blind Buttons Drive blind Adjust slats additional switches 13 4 3 3 Profile C CBA Shutter Roller blind drive 14...

Page 3: ...maintronic assumes no liability or warranty regar ding this document or the products described 1 1 About this Document Congratulations and thank you for choosing this maintronic product and the trust...

Page 4: ...that can lead to material damage Either to the product itself or to other objects in the environment WARNING The signal word WARNING indicates a possibly imminent danger If it is not avoided death or...

Page 5: ...the time they are placed on the market DANGER The unit must only be installed and serviced by a proven electrican specialist in accordance of all relevant regulations safety and accident preven tion d...

Page 6: ...s allow e g to group 5 blinds on one side of a building and to operate them together In addition automated up and down movements can be programmed as a time controlled scene If you need help with conf...

Page 7: ...e actuator once and then recalled see 4 4 Driving to an absolute position With a drive to an absolute position any hori zontal position can be approached The absolute position is controlled by a slide...

Page 8: ...commended to use the dee pest junction boxes possible Depending on which pushbutton attachments are used up to 30 mm of additional installation space is required For installation in cavity or switch b...

Page 9: ...re with ferrule Figure CBA UP 10 750 Figure CBA UP 10 752 NOTE The relay outputs are mutually locked to ensure that only one drive path is active at a time motor protection 1 N Neutral conductor 4 Rel...

Page 10: ...mined Before programming a Casambi profile must be selected by default the profile CBA Blind But tons is set Profiles for venitian blinds CBA Blind Operation via APP Move blind to absolute position Ad...

Page 11: ...or your ap plication from the following pages the device will be added to a Casambi network Tap on the menu item Change profile Tap on the menu item Add to Network The selected profile is now loaded S...

Page 12: ...e Drive time for blind operation 0 255s seconds 60s default Angle Time Drive time for slat adjustment 0 65535ms milliseconds 2000ms default Swap Controls Up Down Logical invert of drive direction No Y...

Page 13: ...e Down ON OFF Toggle Angle Slat angle Push Button Profile parameter Parameter Casambi Description parameter Value Default Notes Drive Time Drive time for blind operation 0 255s seconds 60s default Ang...

Page 14: ...tion Slider 0 100 Profil Parameter Parameter Casambi Description parameter Value Default Notes Drive Time Drive time for roller blind 0 255s soconds 60s Default Swap Controls Up Down Logical invert of...

Page 15: ...drive Up ON OFF Toggle Down Single drive Down ON OFF Toggle Profil parameter Parameter Casambi Description parameter Value Default Notes Drive Time Drive time for roller blind operation 0 255s second...

Page 16: ...Notes Drive Time Drive time for roller blind operation 0 255s seconds 60s default Function A Function B Function for button A Function for button B Not in Use Not in Use Blind Up Roller blind Up Blin...

Page 17: ...letely closed to 0 comple tely open can be measured again 3 Enter the measured time plus approx 1 se cond as a buffer in the device settings under parameter Drive Time Setting the slat position Angle...

Page 18: ...as a group one device of the group must be defined as the master For the desired master the push button style must be set to Group Button The other maintronic devices in the group are automatically sl...

Page 19: ...signed with desired functions In order to do this the following steps are necessary 1 Open Casambi app and tap on More 2 Open item Switch 3 Select device 4 For example program switch with single funct...

Page 20: ...indication of the horizontal position is no longer correct Only a travel to one of the end points OT UT via the control from Casambi synchronizes the display with the real position again As soon as a...

Reviews: