

CHOOSING THE RIGHT CARDS
Card Material
Not all white plastic cards are the same. For best image
quality always use high quality video grade PVC cards.
Pure PVC card stock or laminated PVC/polyester cards are
available. The latter are more durable and better suited to
heavy use and heat lamination when required. For access
control and smart card applications, your dealer should
provide the appropriate type for direct to card printing.
For good consistent results, stick to a single variety of
good quality cards, such as those available from your
Magicard dealer.
Card Size:
Standard (CR80).
3.375” x 2.125” (86.5 mm wide x 53.98mm high).
Card Thickness
Minimum
-
0.015” ( 0.38mm).
Standard
-
0.030” ( 0.76mm).
Maximum
-
0.063” ( 1.60mm).
To obtain good quality prints the card must be:
Glossy white.
Free from dirt and grease.
Free from surface contamination.
Free from pits and bumps in the surface.
Free from burrs at the edge of the card.
Completely flat.
Printable Area of the Card
Both the Rio and Tango printer offer high quality edge to
edge (full bleed) printing. Thus the surface of the card
may be printed edge to edge.
Dye cut PVC cards typically have an edge roll off (bevel)
which can result in a fine white line around the edge of full
bleed printed cards.
When setting up your card design using your graphics
software on your PC, you should use a maximum page size
of 1026 pixels (3.45”/87.5mm) x 642 pixels (2.13”/54mm).
Self-Adhesive Cards
We recommend only self adhesive cards supplied by
Ultra Electronics via your Magicard dealership. There
are many different types of self-adhesive cards.
Thorough investigation and testing has shown that
poorer quality or incorrect card types will cause
problems in the printer. These problems range from
poor image quality, failure to feed from the card hopper
and dye-film being cut through to cards getting jammed
in the roller mechanism.
Contact Chip Cards
Smart cards must conform to the ISO 7816 specification,
with the chip contacts being below the surface of the
card. It is unwise to print graphics or text directly
adjacent to the chip as image quality may be affected.
For encoding of contact chip cards, a set of pins
connects the card chip contacts to a connector on the
rear of the printer. This enables the transfer of data from
the computer or encoding hardware.
You can encode smart cards while in the printer prior to
printing the image, so that it becomes a continuous
operation. The printers’ firmware has commands to
enable software to position the card, allow encoding
from an external source and subsequent printing of the
related image.
Contactless (Proximity) Chip Cards
Proximity cards must be completely flat with no sign of
the chip or antenna being visible in the surface of the
card. One of the benefits of your Magicard printer is that
contactless cards can be encoded (written to) at the
same time as being printed. A communication unit in the
printer connects to a connector on the rear of the printer.
This enables the transfer of data to and from the
computer or encoding hardware.
LOADING CARDS
1.
Lift the card feed hopper
vertically until significant
resistance is felt, then tilt it
backwards until it comes to a
stop at an angle of about 30º.
(If it is necessary to completely
remove the card feed hopper for
any reason, simply lift it again
while it is held at this angle.)
2.
Open a clean pack of cards.
(Ensure they are not electro-
statically charged and sticking
together). Avoid touching the
card surfaces as finger oils will
degrade the image quality.
3.
Tilt the hopper forward to the
vertical position, and lower all
the way down until it is
completely within the body of
the printer. (For loading Mag
Stripe or HoloPatch cards see
box on the left.)
Loading Magnetic Stripe Cards
Make sure the stripe is on the right and underneath when
viewed from the front of the printer.
Loading HoloPatch® Cards
The standard position gold foil patch
on the cards should be on top, and
on the right-hand side when viewed
from the front of the printer.
Loading Infra-Red Barcode Cards
The black edge must be on the right-hand side when
viewed from the front of the printer.
CHOOSING YOUR CONSUMABLES
There are two types of consumables required for
your printer :
•
Dye-film ribbons
•
Cards
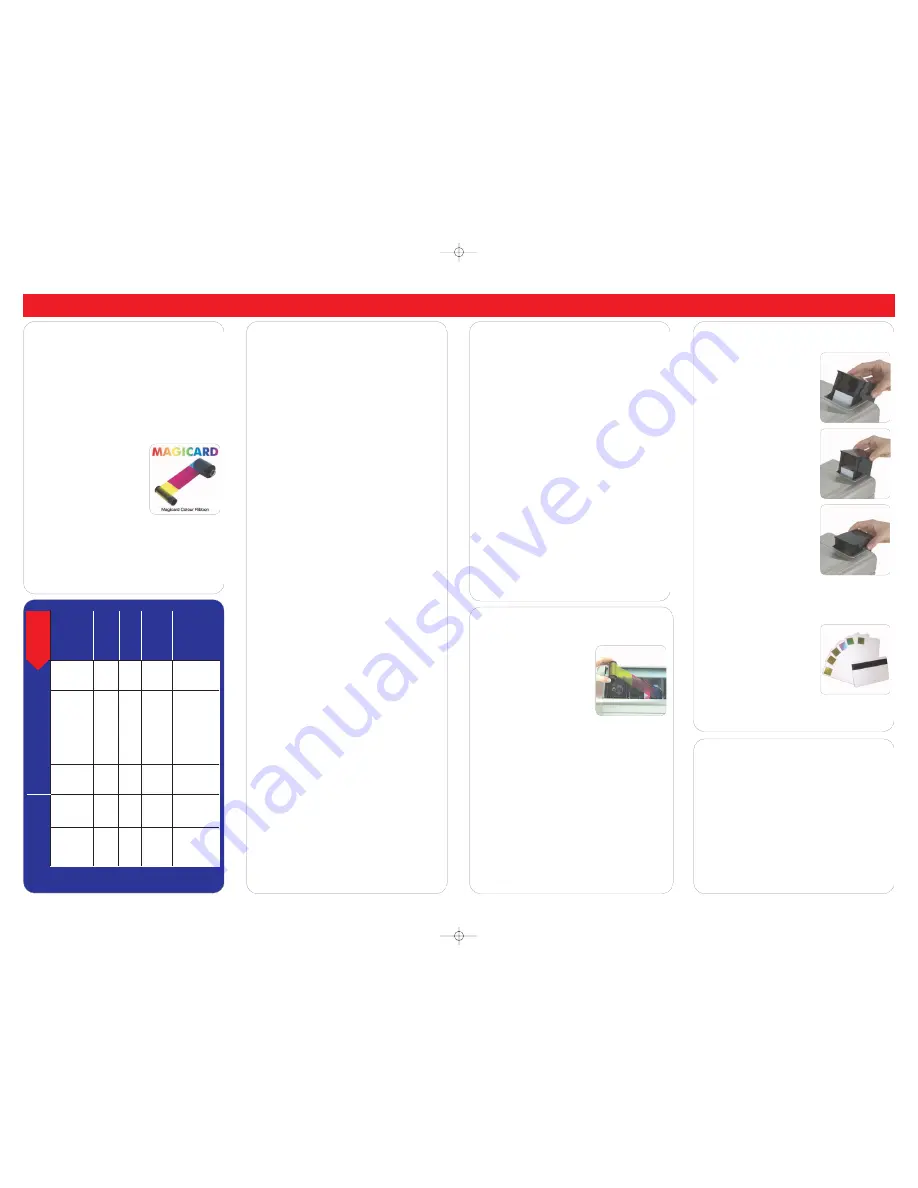
CHOOSING THE RIGHT DYE-FILM RIBBON
LC1 dye-film is the appropriate
choice for color printing with both
Rio 2 and Tango 2 printers.
LC8 dye-film, for the Tango 2
models only, is more economic
when printing in color on one side
and black on the other.
LC6/LC3 dye-film - where cost is critical, monochrome
printing is a fraction of the cost of color printing.
The table below is a guide to selecting the best dye-film
to use for any intended application.
Rio 2 & Tango 2 Choosing and Using Consumables
Ultra Electronics Inc.
6711 - 176th Avenue NE
Redmond, WA 98052, USA
Tel:
(425) 556 9708 • Fax: (425) 556 3962
Ultra Electronics Limited
Waverley House,
Hampshire Road, Granby Estate
Weymouth, Dorset, DT4 9XD, UK
Tel:
+44 (0) 1305 784 738 •
Fax:
+44 (0) 1305 777 904
© Ultra Electronics Limited
Rio 2 & Tango 2 Cleaning & Consumables Guide. Drawing No.3627/22/02 Cleaning
& Consumables Guide, Issue A, September 2005 (Stock No. M9007-008)
www.ultramagicard.com
LOADING DYE-FILM
1. Open the top cover by pushing
down on it and operating the
release catch on the top of
the printer.
2.
Remove the used dye-film by
gently pulling both spools
upwards until disengaged from
the clips. Take care not to bend
and break the clips.
3. Open a new roll of dye-film.
4. Place the loaded spool into the rear clips and press it
into place. The orientation is correct when the barcode
on the end of the spool is on the left. Rotate the dye
film roll to allow the core to lock into position.
5.
Place the empty take up spool into the front clips, and
adjust the film tension so that the film is lying flat and
straight between the two spools.
6. Gently close the top cover until it clicks into the closed
position. The printer will automatically recognize the
type of film that has been loaded and move it to the
correct printing position.
Your
printer
Full color
cards or
monochrome
Ribbon
choice
Cards
per
ribbon
Ribbon
panel
layout
Part
number
Full
color
LC1
350
one side
only
YMCKO
M9005-751
Monochrome:
black
red
blue
green
gold
silver
white
LC3
1000
one side
only
K
M9005-753
M9005-753-1
M9005-753-2
M9005-753-3
M9005-753-5
M9005-753-6
M9005-753-7
Black &
overcoat
LC6
600
one side
only
KO
M9005-756
Color front &
black back
LC8
300
front &
back
YMCKOK
M9005-758
Color front &
color back
LC1
175
front &
back
YMCKO
M9005-751
M
a
g
ic
a
rd
R
io
2
&
T
a
n
g
o
2
M
a
g
ic
a
rd
T
a
n
g
o
2
D
u
p
le
x
Ribbon Panel Layout Key:
Y=yellow, M=magenta, C=cyan, K=resin, O=overcoat
cleaning guide 03.10.05 3/10/05 14:33 Page 2


