


J a m ( T u r n O v e r )
J a m ( H o p p e r )
H R i s t o o h o t .
P l e a s e r e m o v e
M E D I A F I L M
P l e a s e ,
P o w e r O f f .
> I n k >
> C l e a n i n g
> C o u n t e r R e s e t
> D i s p l a y >
R e a d y
MENU
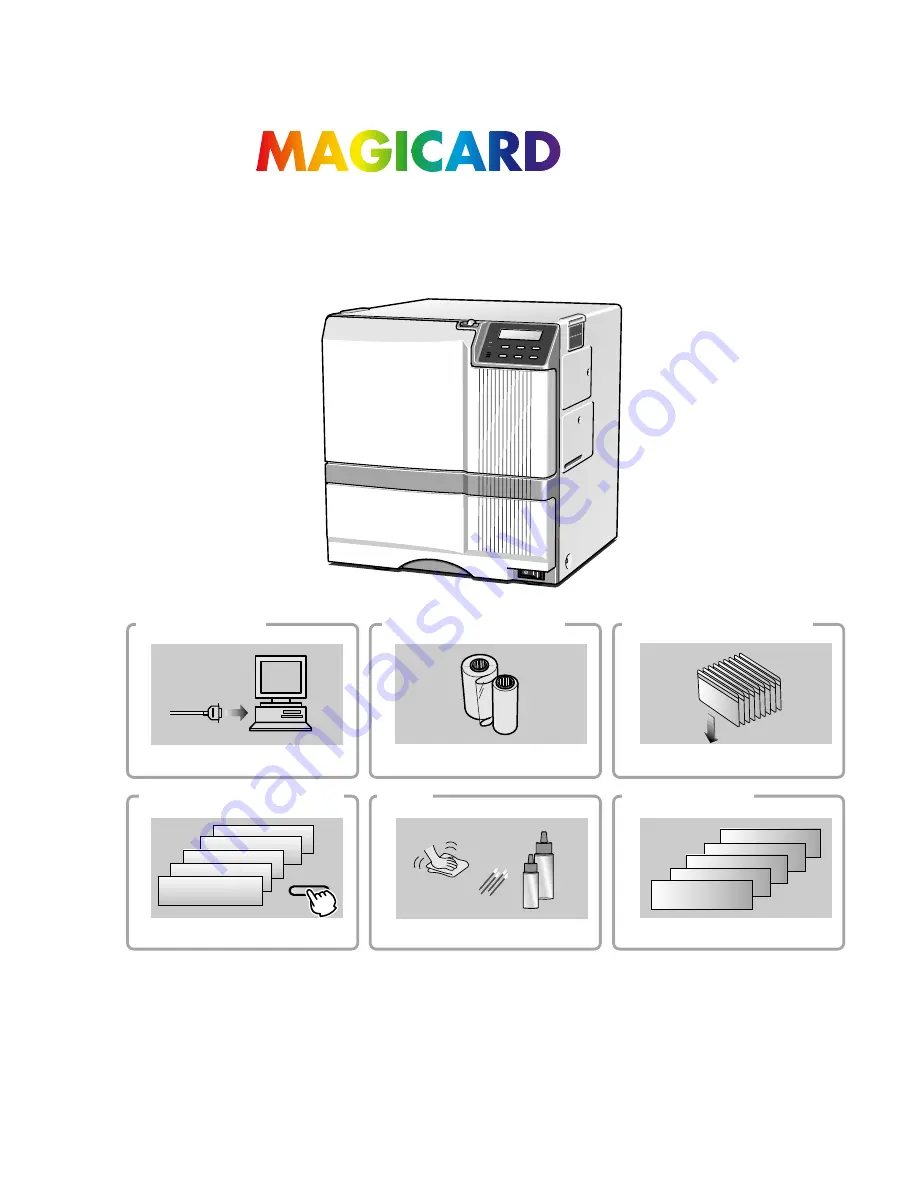
Instruction Manual
Prima 2e Retransfer Printer
See p.11~13,22
See p.15~19
See p.19~21
See p.23~35
See p.36~40
See p.42~43
•
Thank for purchasing this product.
•
Please read this manual carefully before use to ensure correct operation.
It is particularly important to read the Safety Precautions for safe operation. After
reading, retain this manual carefully for future reference.
•
The product number is important for quality control. Upon purchase, check the back of
the unit to make sure that the product number is correctly displayed.
Notes about this manual
(1) This manual may not be reprinted in any way without permission.
(2) The contents of this manual, as well as the specifications and design of this product,
may change without notice.
(3) The illustrations used in this manual may differ slightly from the actual product.