7
3. First-Time Setup and Software Installation
The
RAT4
can be used as a basic mouse when plugged into a PC via USB. However, if you would like to
configure button response, and the performance of the sensor, both the product driver and software
application will need to be downloaded and installed.
Connecting the RAT and configuring Windows
1.
Make sure the PC is powered on.
2.
Remove the label from the sensor aperture.
3.
Plug the USB cable into an available port.
4.
Windows will briefly install generic drivers for the RAT. It will then function as a basic 5 button mouse.
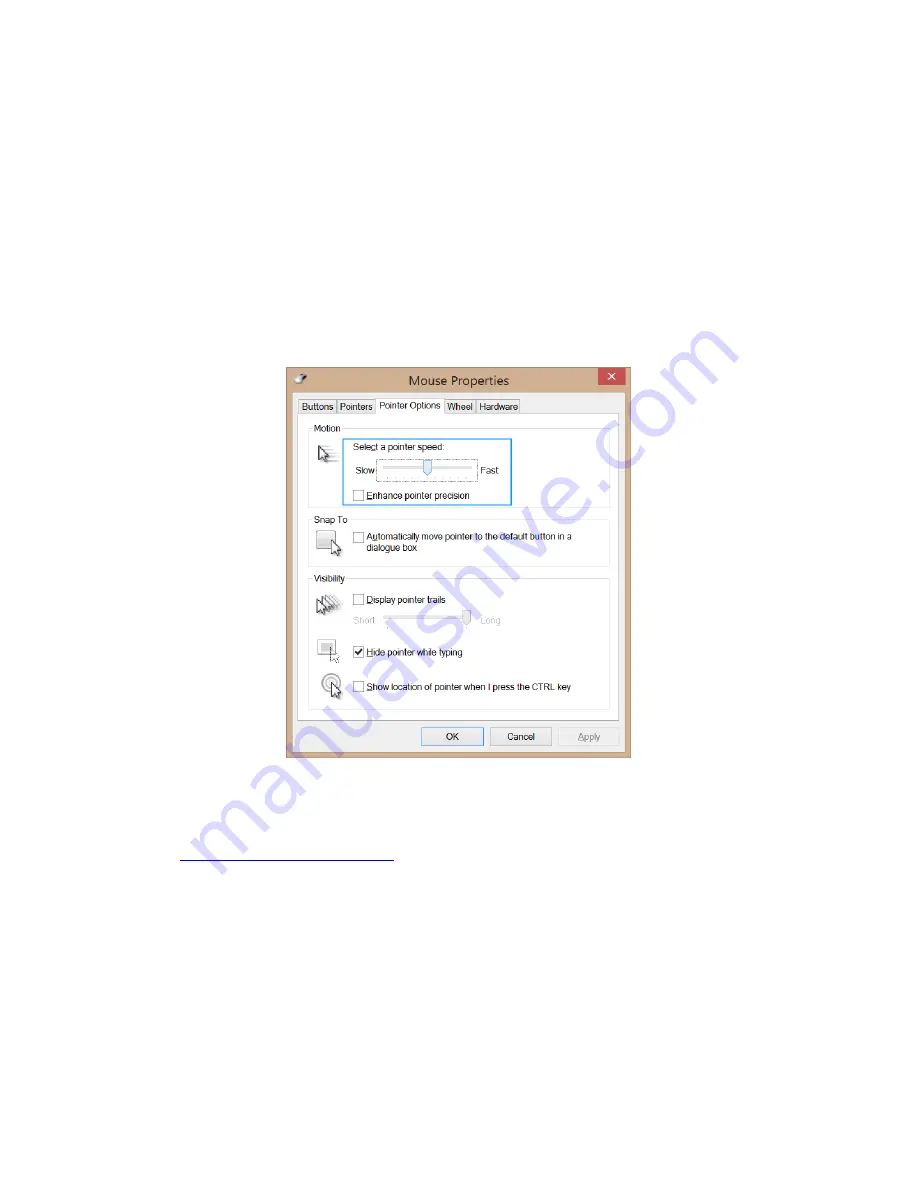
To make sure Windows is correctly configured, go to Control Panel > Mouse. Click on the Pointer Options tab.
Make sure that the Pointer Speed slider is set to the middle position and that the Enhance Pointer Precision
option does not have a tick.
Driver and Software Installation
In order to customize the product settings and make game profiles, you will need to download both the driver
and software files from Madcatz.com.
1.
Go to
http://madcatz.com/downloads/
.
2.
Select your operating system and product in both the Driver Download and Software Download areas.
You will then be given a link to download both the driver and the software application.
3.
Run the driver file first.
You may be asked to restart your PC.
4.
Install the software application next.
If this is the first time you have installed our software, Windows
may require you to install an update .net framework. This is normal.
5.
Once both are installed, you will see a RAT4 icon on your desktop, and a RAT4 icon in the system tray
of your task bar.
If the system tray icon is not immediately visible, check the hidden icons by clicking
the vertical arrow next to the system tray.
6.
The product is ready for customization.


