


- 7 -
HF/QRP Remote Sensor Assembly Instructions
___
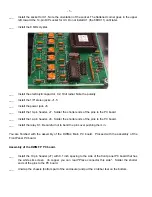
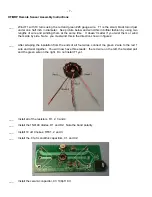
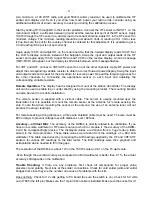
Wind T1 with 10 turns using the red and green #28 gauge wire. T1 is the small, black toroid just
under one half inch in diameter. See picture below and wind this in bifiliar fashion by using two
lengths of wire and winding them at the same time. It doesn’t matter if you twist them or wind
them side by side. Note: you must wind this in the direction shown in figure 2.
___
After scraping the insulation from the ends of all four wires, connect the green 2 wire to the red 1
wire and twist together. You will now have three leads: the red wire on the left, the twisted pair
and the green wire on the right. Do not install T1 yet.
___
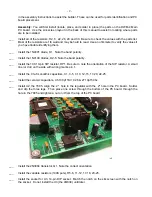
Install all of the resistors, R1, 2, 3 and 4.
___
Install the 1N4148 diodes, D1 and D2. Note the band polarity.
___
Install 10 uH Chokes, RFC1, 2 and 3.
___
Install the .01uf monolithic capacitors, C1 and C2.
___
Install the ceramic capacitor, C3 100pf 1KV.


