Applying effects to Flex components
111
To trigger effects from other components:
1.
In Design view, select the component that will have the effect.
2.
In the Attributes panel (Window > Tag Inspector), make sure an ID value is specified for the
component.
If the component doesn’t have an ID, you can’t trigger the effect from another component.
3.
Select an effect for any of the following effect properties in the Attributes panel: showEffect,
hideEffect, moveEffect, or resizeEffect.
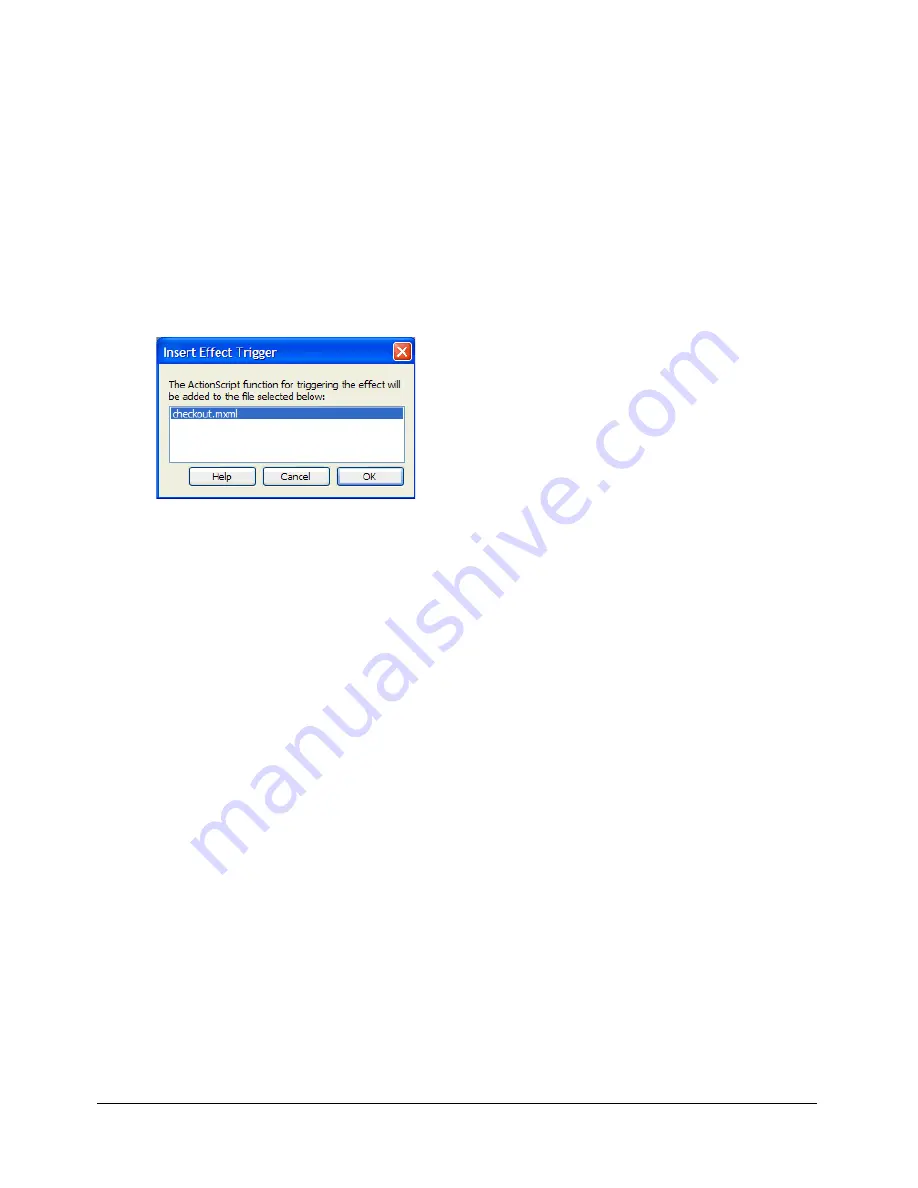
A dialog box appears asking if you’d like help setting a trigger for this effect. Click Yes.
The Insert Trigger Effect dialog box appears listing the current file and any files included from
the current file.
4.
Select the file in which you want to insert the ActionScript function for triggering the effect.
Flex Builder inserts an ActionScript function in the specified file. The function is designed to
trigger the event when an event occurs in another component in the file.
5.
In Code view, find the component that will trigger the effect and specify the newly inserted
function as an event handler.
For example, if you apply a WipeLeft hideEffect to a Label called lblHello, Flex Builder inserts
the following ActionScript function:
function triggerHideEffectlblHello()
{
// if lblHello is visible, this triggers the hideEffect on lblHello.
lblHello.visible = false;
}
If you want the effect to be triggered when users click a certain button, locate the Button tag in
the code and specify the function name (including the parentheses) as its
click
property, as
follows:
<mx:Button id="triggerButton" click="triggerHideEffectlblHello()" />
For more information, see “Applying an effect in ActionScript” in Developing Flex
Applications Help.
Related topics
•
“Adding an effect to a component” on page 109
Summary of Contents for Flex Builder
Page 1: ...Using Flex Builder...
Page 116: ...116 Chapter 4 Building a Flex User Interface Visually...
Page 144: ...144 Chapter 6 Working with Data...
Page 154: ...154 Appendix A Basic Flex Concepts...


