background image

- 3 - 

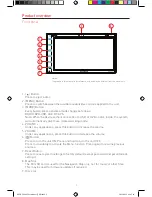
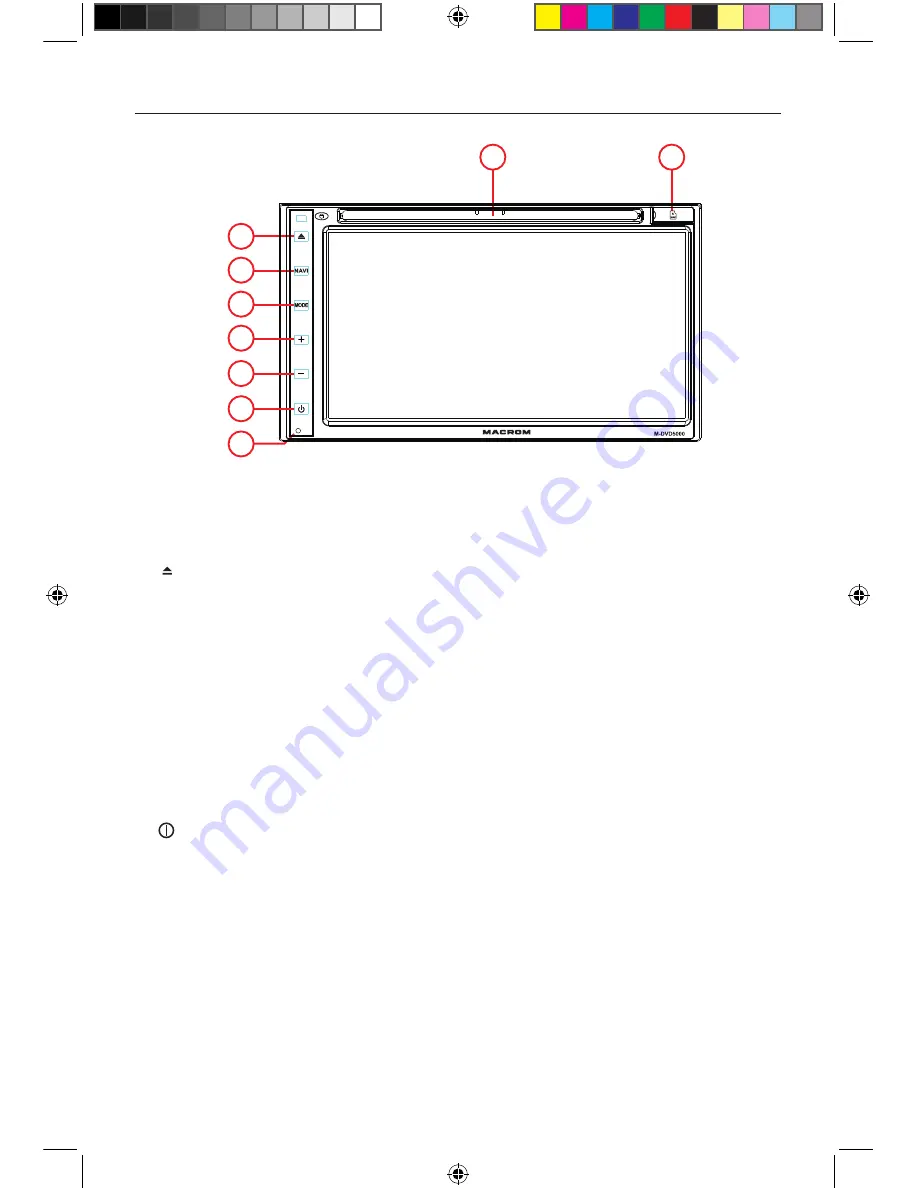
Front Panel

1. [   ] Button

  Press to eject a disc.

2. [MENU] Button

  Press to switch between the available audio/video sources applied to the unit.

3. [MODE] Button 

  Every button-press activates mode change as follows: 

  RADIO-DVD-USB-AUX- BT-GPS.   

  Note: When the device without connection to USB, or DVD no disc inside, the system  

  will automatically skip these related working mode. 

4.    

  Under any applications, press this button to increase the volume. 

5.  VOLUME - 

  Under any applications, press this button to decrease the volume.

6.   [ ] Button

  Press to turn the unit ON. Press and hold to turn the unit OFF. 

  Press momentarily to activate the Menu function. Press again to resume previous  

 sources. 

7. Reset Button

  Press to reset system settings to factory default (except password and parental lock  

 settings).

8. Map Slot

  The Mini SD card is used for the Navigation Map only, not for music or other files.  

  This may be used for firmware updates if required.

9.  Disc slot

Product overview

Notice:

The graphic in this manual is for reference only, and may be different from the actual unit. 

9

8

1

2

7

3

4

5

6

M-DVD5000 User manual_ENG.indd   3

28/12/2016   09:05:24

Summary of Contents for M-DVD5000

Page 1: ...USER MANUAL M DVD5000 M DVD5000 User manual_ENG indd 1 28 12 2016 09 05 24...

Page 2: ...M DVD5000 User manual_ENG indd 2 28 12 2016 09 05 24...

Page 3: ...l for cleaning may result in scratching or decoloration to the monitor 3 If any abnormal behavior of the unit is found please refer to trouble shooting guide of this manual If no relevant information...

Page 4: ...paper 10 Setting Sound 10 EQ 10 Beep 10 Reverse mute 10 GPS Mix Audio 10 GPS Report Unmute 10 Default volume 10 Setting volume BT 10 Setting volume 10 Setting volume TA 10 Radio Mode 11 Tuner TFT Disp...

Page 5: ...ications press this button to decrease the volume 6 Button Press to turn the unit ON Press and hold to turn the unit OFF Press momentarily to activate the Menu function Press again to resume previous...

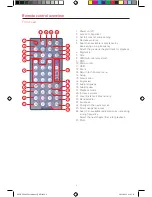
Page 6: ...SD 12 Zoom 13 Return to the home menu 14 Setup 15 Slow motion 16 Angle view 17 Audio language 18 Subtitle view 19 Playback mode 20 Increase volume 21 Local Distance FM sensitivity 22 Band selector 23...

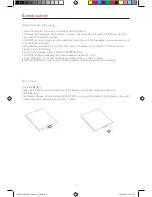
Page 7: ...please change the battery 5 Use button shaped lithium battery CR2025 3V only 6 DO NOT recharge disassemble heat or expose the battery in fire 7 Insert the battery in proper direction according to the...

Page 8: ...riving The rear screens are not interested in this inhibition Power On Off Press the button on the unit to turn the unit on Press and hold the knob to power off the unit Audible Beep Confirmation An a...

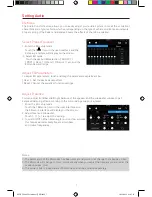
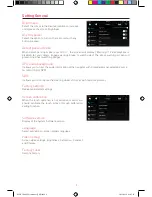
Page 9: ...e and the EQ setup interface will display on the screen 2 Adjust level and subwoofer Touch to adjust the setting 3 Loud On Off When listening to music at low volumes this featurewill selectively boost...

Page 10: ...ar the audio information of the navigator with precedentemnet selected source ei radio USB or DVD SWC It allows you to configure the steering wheel of the car with resistive protocol Factory settings...

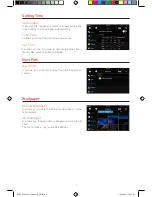
Page 11: ...the columns to manually adjust Year Month Day Hour minutes and Mode Navi Path Navi Path It allows you to select the path of the navigation system Wallpaper Default Wallpaper It allows you to select a...

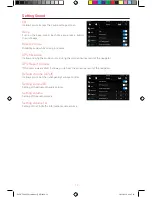
Page 12: ...during the voice announcement of the navigator GPS Report Unmute If the source was muted it allows you to hear the announcement of the navigation Default volume on off It allows you to set the initial...

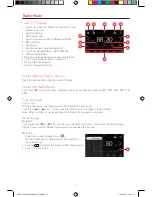
Page 13: ...station Repeat the operation to change step by step Method 2 1 Touch the numeric keypad icon Numeric keyboard is displayed touch number to input frequency 2 Touch to delete the input number step by st...

Page 14: ...n touch the desired file 3 Touch the file again to start play Now play Audio files 1 Random Followed by clicking on the icon at the switch between single cycle ali cycle cycle off 2 Touch to select pr...

Page 15: ...ress to next track 5 Touch to stop the play 6 Touch for quick access to EQ level settings 7 Random selector on off 8 Shuffer selector on off 9 Digits on the keyboard to search 10 Touch to select the l...

Page 16: ...meters Before you connect a Bluetooth device to this unit familiarize yourself with the Bluetooth capabilities of the device Compatibility with all Bluetooth device is not guaranteed Any obstacle bet...

Page 17: ...e call you can press the number keys on the mobile phone At the same time the music player will stop The TFT screen will display Calling after the call received the voice will be transferred to the un...

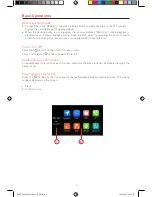
Page 18: ...eft corner to display home menu 2 Touch Navigation to start the navigation software 3 For instructions on using of navigator refer to the manufacturer s user manual Nota While Navigation is running yo...

Page 19: ...io 60dB Dynamic Range 80dB Distortion line out 0 6 Frequency Response 3dB 20Hz 20KHz Maximum Output Power 4 25W Load Impedance 4 AUX IN Distortion 0 5 Frequency Response 3dB 20Hz 20KHz Audio Input Lev...

Page 20: ...3 supported file extension mp4 mov 4 audio codec MP2 MP3 AC3 PCM MPEG 5 video bitrate Bitrate 30Mbps Resolution 720P FrameRate 30fps Xvid Region Code According to DVD sale region the whole world is di...

Page 21: ...Black RR rear right speaker Black GND battery Yellow BATT 12V Battery Red ACC 12V Injection pink Braking Gren White Illumination Orange Reverse Blue Power Antenna out 12V max 100mA NC Yellow VIDEO Out...

Page 22: ...ive R TTE 1999 5 EC The Declaration of Conformity is available at Aldinet S p A Viale Colombo 8 20090 Trezzano S N MI Italy and available at www macrom it Made in China by Aldinet S p A Viale Colombo...

Page 23: ...M DVD5000 User manual_ENG indd 21 28 12 2016 09 05 29...

Page 24: ...ALDINET S p A Viale C Colombo 8 20090 Trezzano s N MI Itlaly Tel 39 02 484781 w w w m a c r o m i t M DVD5000 User manual_ENG indd 22 28 12 2016 09 05 29...

Reviews: