background image


  N U T S  


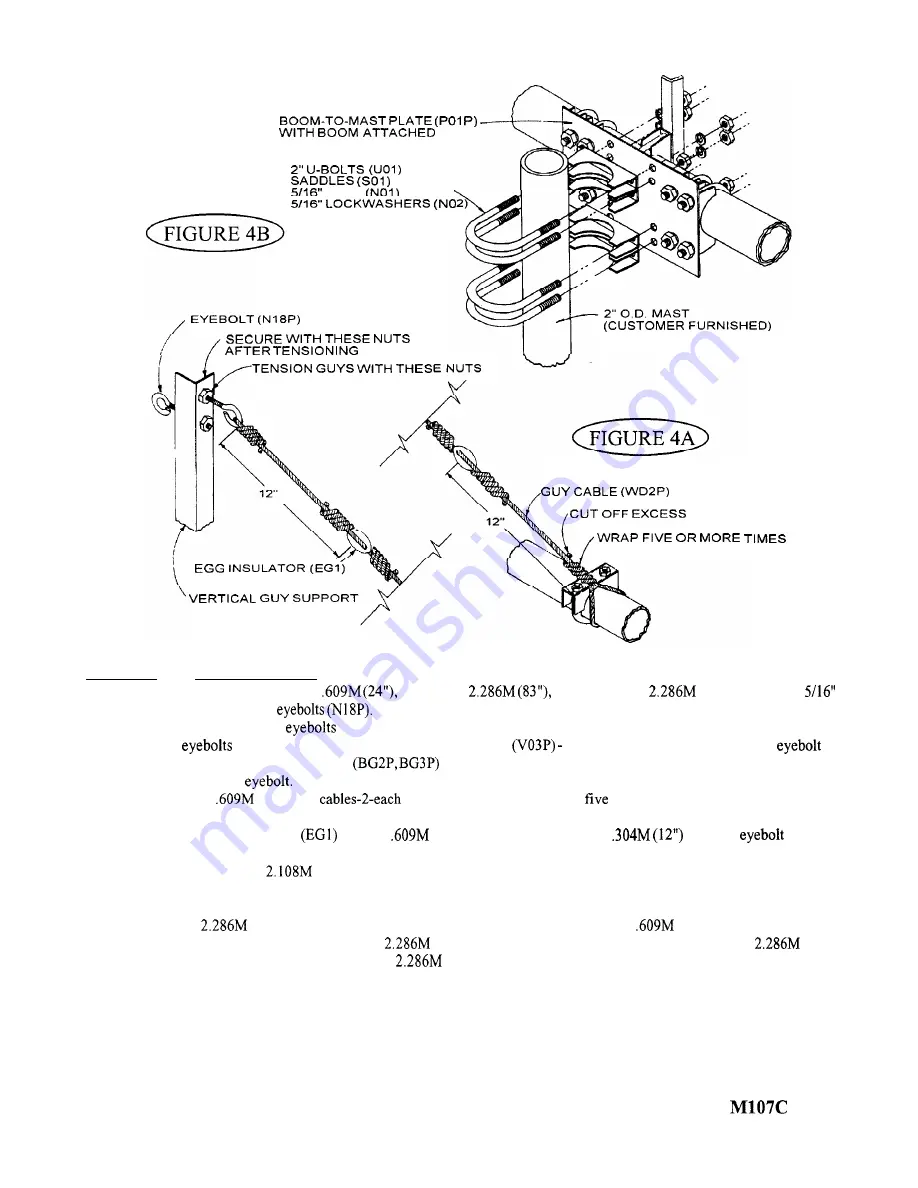
FIGURE 4

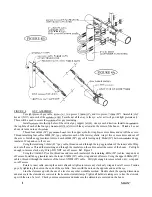
GUY ASSEMBLY

Cut eight pieces of guy cable


 two pieces 


 and two pieces 

 (90”). Assemble 

hex nut (NO 1) onto each of the 


 Turn the nut all the way to the eye; as far as it will go with light pressure only.

These will be used to secure the 

 after guy tensioning.

Install 

 into the top holes of the vertical guy support 

   one eye each direction. Install one 

 in

the top hole of each of the four guy mounts 


 with the eyes towards the center of the boom.

Thread a hex nut

about six turns onto each 

Thread four 

 (24”) guy 

 into the upper eyebolts, wrap 

 or more times and cut off the excess.

Thread remaining four cables 609M (24”) guy cables into each of the lower eyebolts, wrap it five or more times and cut off
the excess. Install an egg insulator 

 on each 

 (24”) guy cable leaving only 


 between 

 and egg

insulator. Wrap and cut off excess.

Using the remaining 

 (83”) guy cable, thread one end through the top egg insulator of the inner cable. Wrap

and cut off excess. Thread the remaining end through the insulator on the cable nearest the center of the boom.

Pull tight

enough to remove slack only. Wrap. DO NOT cut off excess. Ref. Figure 5.

Using the 

 (90”) cable, thread one end into each insulator of the remaining 

 (90”) cables, wrap and cut

off excess. Install an egg insulator onto the lower 

 (90”) cable, wrap and cut offexcess. Using the upper 

 (90”)

cables, thread it through the insulator of the lower 

 (90”) cable. Pull tight enough to remove slack only, , wrap and

cut off excess.

Return to inner cable, unwrap the uncut cable and retighten to remove any slack only wrap and cut off excess. Tension

guys by tightening the nuts on the ends of the eyebolts. Secure with the nuts on the opposite end near the eye.

Line the elements up with the use of a level or any other workable method. Double check the spacing dimensions

and make sure the elements are centered in the boom-to-element clamps. Tighten all hardware taking care to line the elements
up with the use of a level. Check your measurements and make sure the elements are centered on the boom.

5

Summary of Contents for M107C

Page 1: ...7E L E ME N T 1 1 ME T E R MA X I MU M B E A M M1 0 7 C w w w ma c o a n t e n n a s n e t...

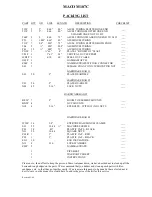
Page 2: ...LTS ____ N03 42 5 16 LOCK NUTS ____ HARDWARE BAG 3 BE2P 7 2 BOOM TO ELEMENT MOUNTS ____ BG2P 4 GUY MOUNTS ____ N18 6 5 16 EYEBOLTS WITH 12 NO1 NUTS ____ HARDWARE BAG 4 W58P 16 5 8 EXTRUDED ALUMINUM CL...

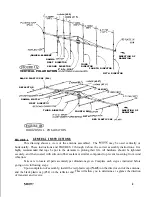
Page 3: ...107C may be used vertically or horizontally These instructions and FIGURES 2 through 4 show the correct assembly instructions It is highly recommended that rope be put in the elements to prolong their...

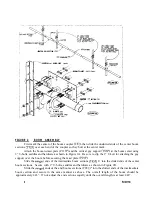
Page 4: ...port VO3P at the boom center using 2 U bolts saddles and hardware as shown in Figure 2A Be sure to slip the 2 U bolt for attaching the guy support over the boom before securing the mast plate POlP Sli...

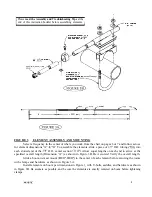
Page 5: ...cross for element dimensions A B To assemble the elements slide a piece of l 2 O D tubing TOl into each slotted end of the 5 8 O D center section Tl 1P Allow equal lengths on each end to arrive at the...

Page 6: ...r EGl on each 609M 24 guy cable leaving only 304M 12 between eyebolt and egg insulator Wrap and cut off excess Using the remaining 2 108M 83 guy cable thread one end through the top egg insulator of t...

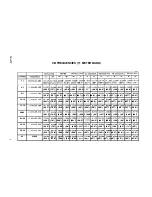
Page 7: ...200 64 198 63 197 62 5 197 62 5 20 25 27 205 27 245 5 613M 1 686M5 308M 1 739M 5 105M 1 625M 5 080N 1 625M 5 003M 1 578N4 978M 1 574M 4 978M 1 574M 221 74 5 209 68 5 201 64 5 200 64 197 62 5 196 62 19...

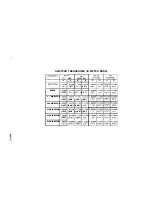
Page 8: ...ECTOR 4 699M 185 3rd DIRECTOR 4 699M 185 4th DIRECTOR 4 699M 185 5th DIRECTOR 4 699M 185 INE cw MHz 28 100 MHz B A B 1 496M 5 334M 1 547M 6 7 210 6 9 1 574M 5 080M 1 625M 62 200 6 4 1 485M 4 876M 1 52...

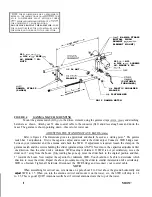
Page 9: ...INNER CABLE DIMENSIONS CABLE LENGTH DIMENSIONS OUTER CABLE DIMENSIONS 24 24 90 70 n 24 CABLE LENGTH Y i DIMENSIONS Ml07C...

Page 10: ...a starting point The gamma match has 2 adjustments First is the capacitor adjust and second is the slider adjust Connect a SWR bridge coax between your transmitter and the antenna and check the SWR I...

Page 11: ...e m b l y C o n t a c t y o u r l o c a l i n s t a l l e r i f c o n s u l t a t i o n o r a s s i s t a n c e i s r e q u i r e d A l l t o w e r a n d a n t e n n a i n s t a l l a t i o n s s h o...

Reviews: