background image


IV.


Earphones 


Note- to extend the life of your TRIO SURF’s earphones, we recommend never 
submerging the player or earphones into any liquid other than water, or to submerge 
the earphones when not properly inserted in the ears. Always ensure that there is no 
water in the earphones before inserting into your ears. 
 
Note- Included in your package is a second set of earbuds. Please note that these 
extra earbuds are NOT waterproof and not meant to be used in the water.


To provide quality underwater sound, the earphones should fit over the top of 

your ear, using the ear to hold it properly in place, as shown in the picture below. The 
earphones should be inserted comfortably in the ear to create a watertight seal. Please 
make any adjustments to the earphones before submerging. When worn properly, the 
earphones should be comfortable, and create a watertight seal in your ears. The 
earphone arms should be located on top of, and behind the ears, going around the 
back of your head, and the wire connecting to jack 2 of the player should be hanging 
down the back of your neck. (see images below) 
 

Summary of Contents for TRIO SURF

Page 1: ...m We appreciate your support and cooperation Mach Speed Technologies is not responsible for any loss of personal data or damage caused by a malfunction of the hardware firmware physical damage or impr...

Page 2: ...Function and key description...

Page 3: ...once a good connection is made Please ensure that you charge the player for at least 2 hours during your initial charge II Powering on your player and listening to music To power your TRIO SURF on Pl...

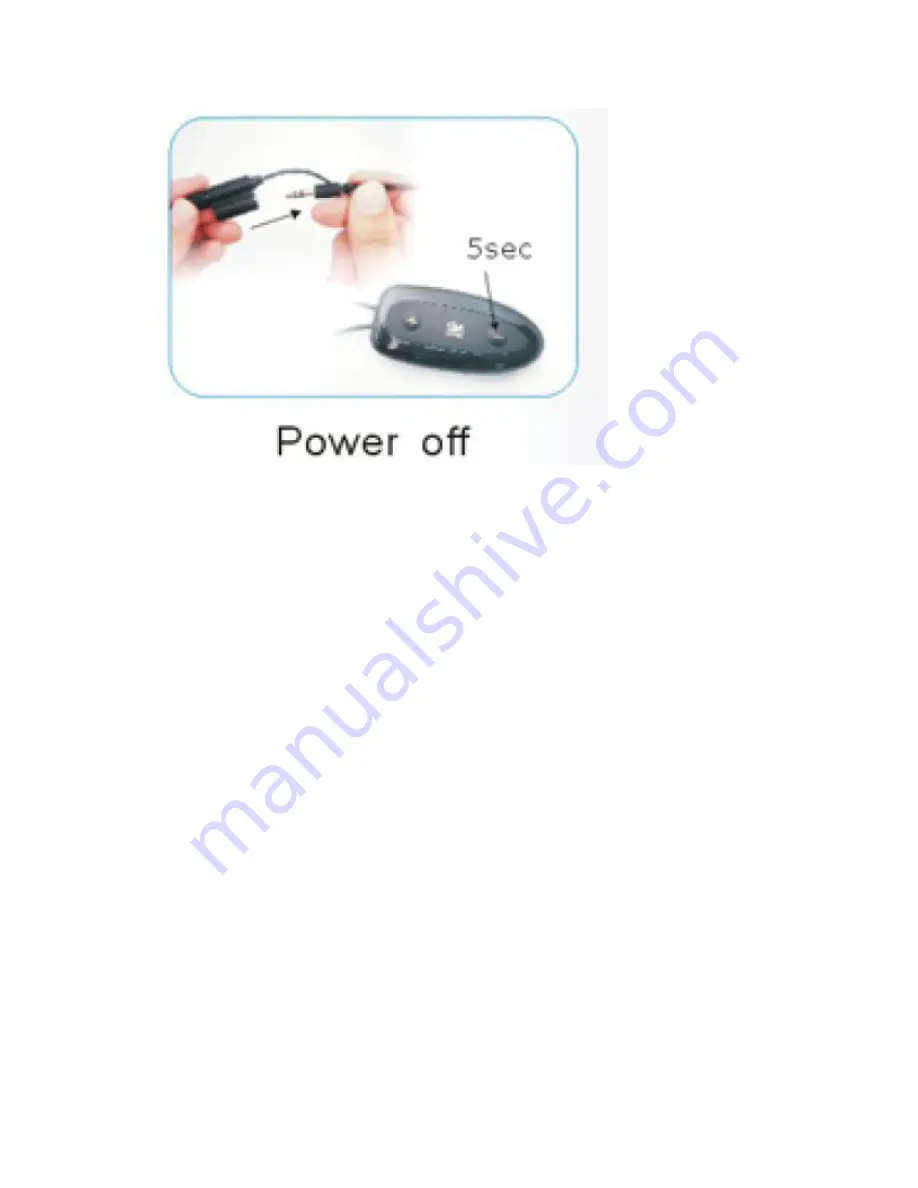
Page 4: ...RF press and hold the button to increase the volume or to decrease the volume III Powering off your player To power off your TRIO SURF please disconnect the earphones from jack 2 and press the button...

Page 5: ...o be used in the water To provide quality underwater sound the earphones should fit over the top of your ear using the ear to hold it properly in place as shown in the picture below The earphones shou...

Page 6: ...paste 1 Connect the MP3 player to a working USB port 2 When the player is connected to your computer it will create a gray and green icon in the system tray lower right hand corner of your desktop The...

Page 7: ...4 Locate the drive created by the unit generally just called Removable Disk with a letter in parenthesis Drive letters vary depending on your system configuration...

Page 8: ...the drive then left clicking on the Open option on the menu 6 Locate the music stored on your computer Generally this is stored in the My Music folder of your computer NOTE if you are unable to locate...

Page 9: ...you have located the song files you can right click on the song itself and select copy Open the disk drive right click on the empty space and select Paste This will transfer the song on to your MP3 p...

Page 10: ...r 10 or later to use this feature Note this player does not support DRM encrypted audio files such as those downloaded from the Windows Media Player download service 1 Open Windows Media Player and co...

Page 11: ...er select Finish and your Windows Media Player will open to the Sync tab 3 Drag your music to the sync list on the right of the screen from the list on the left Once you have selected the music you wi...

Page 12: ...Media player will load the songs on to your MP3 player 4 Once all the songs you have added are synced to the unit and Windows Media Player says that is safe to disconnect your MP3 player disconnect t...

Page 13: ...g the Player from your computer Before disconnecting your player from your computer It is important to properly eject the player using the safely remove hardware feature of your windows operating syst...

Page 14: ...sh to connect and your computer will eject it When you see the message stating that it is now safe to remove the hardware you may disconnect your player from your computer For anything not covered in...

Reviews: