background image

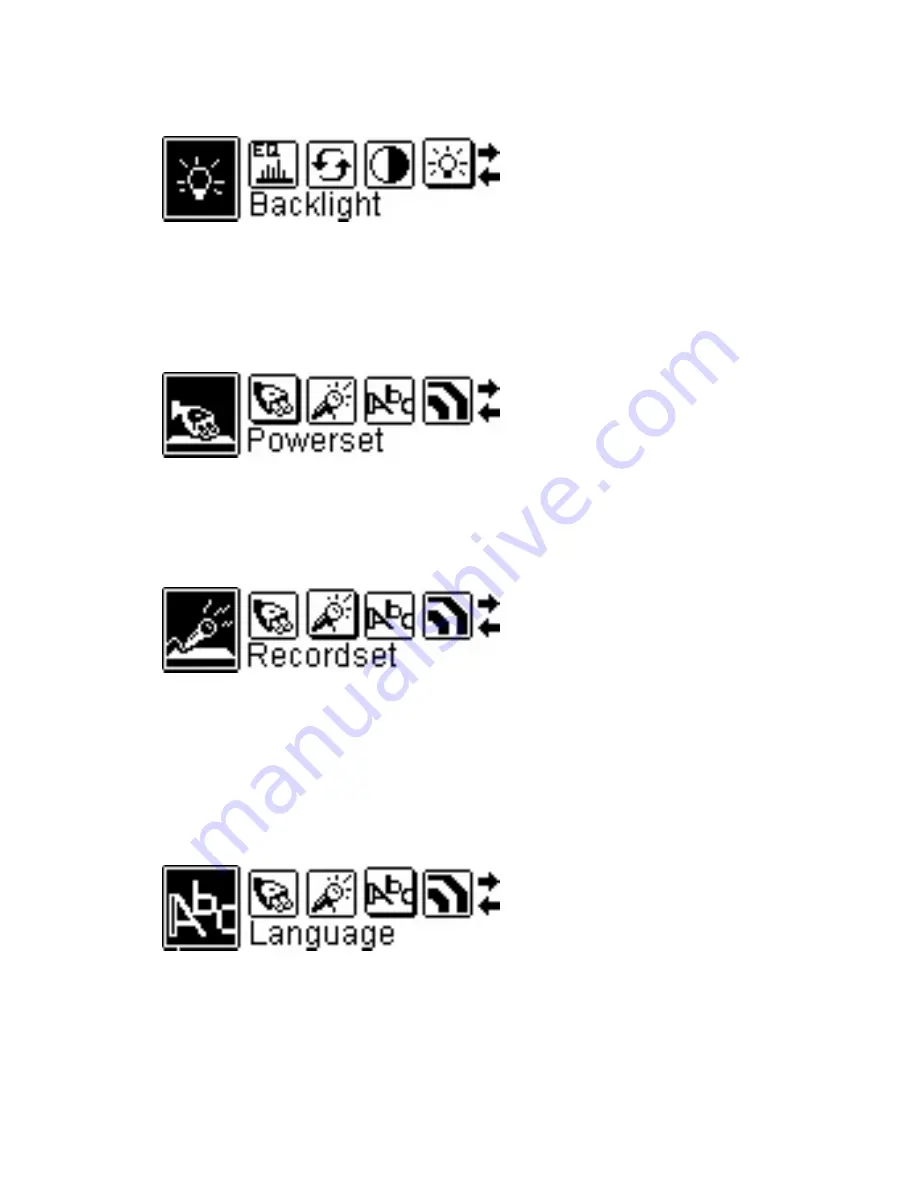
Backlight Time 


Press the 

[MODE]

 button while playing music and choose the Settings option. 

Use the 

[<<]

 and 

[>>]

 buttons to move the slider along these options: Always 

off, 5 sec., 10 sec., Always on. Once you have highlighted your selection, 
press the 

[MODE]

 button to confirm your selection. 


Auto-power off 


Press the 

[MODE]

 button while playing music and choose the Settings option. 

Use the 

[<<]

 and 

[>>]

 buttons to choose between these options: Disable, 2 

min., 10 min., 30 min. Once you have highlighted your selection, press the 

[MODE]

 button to confirm your selection.


Recording Quality 


Press the 

[MODE]

 button while playing music and choose the Settings option. 

Use the 

[<<]

 and 

[>>]

 buttons to highlight the rate, then press the 

[MODE]


key to toggle between Normal, Middle, and High. Once you have made the 
appropriate changes, use the 

[<<]

 and 

[>>]

 buttons to highlight ‘Exit’, then 

press the 

[MODE]

 button. 


Language 


Press the 

[MODE]

 button while playing music and choose the Settings option.  

Use the 

[<<]

 and 

[>>]

 buttons to choose between these options: English, 

Spanish, French, Portuguese, Dutch, Italian, German, and Chinese. Once you 
have made your selection, press the 

[MODE]

 button to confirm your 

selection. 


12 

Summary of Contents for Trio DA-8033 1GB

Page 1: ...Trio User Manual 1...

Page 2: ...7 Play Button 7 Hold Button 7 Mode Button Main Menu 7 Battery Indicator 7 Power Conservation 7 Play Music 8 Basic Operation 8 A B repeat 8 Power on memory feature 9 Lyric Display 9 Navigation 9 Voice...

Page 3: ...Paste Method 14 Using Windows Media Player 17 Disconnecting your Trio from your Computer 20 Formatting your MP3 player 21 Specifications 24 Congratulations on purchasing your Trio MP3 Player To get t...

Page 4: ...he instructions may cause harmful interference to radio or television reception which can be determined by turning the equipment off and on the user is encouraged to try to correct the interference by...

Page 5: ...ton press PLAY o Press Play Pause o Hold Power ON Power OFF Stop REC o Press A B Repeat Function See Play Music o Hold Enter Record Mode VOL o Increase Volume VOL o Decrease Volume mode Multi function...

Page 6: ...tton o Press Previous o Hold Rewind HOLD o Locks key functions When this switch is set to the left position all other Trio buttons become disabled This is useful for situations where you don t want to...

Page 7: ...your Trio in your pocket and not having to worry about the song changing or the volume increasing suddenly Mode Button Main Menu At any time while playing music you can press and hold the MODE button...

Page 8: ...ttons to increase or decrease the volume To fast forward or rewind a song simply hold the or buttons until you reach your desired location A B repeat While playing music you can select sections of a s...

Page 9: ...e folder as the music file You can obtain lrc files from multiple sites on the web We recommend using your favorite search engine to find them You can also create your own LRC files using a program ca...

Page 10: ...buttons to move up and down in the list to choose your folder or file You can press VOL or MODE to go one folder forward and VOL to go one folder back Once you select the desired file press the PLAY...

Page 11: ...assical Pop and Bass Once you have highlighted your selection press the MODE button to confirm your selection Playback Mode Press the MODE button while playing music and choose the Settings option Use...

Page 12: ...hted your selection press the MODE button to confirm your selection Recording Quality Press the MODE button while playing music and choose the Settings option Use the and buttons to highlight the rate...

Page 13: ...ou wish to view If you select a folder press the MODE key to select the folder and again or to choose the file Again in navigation mode you can press or to go back a folder Once you select the file yo...

Page 14: ...onnected to your computer it will create a gray and green icon in the system tray lower right hand corner of your desktop The icon will be called safely remove hardware Go to the My Computer section o...

Page 15: ...ng or left clicking on the Open option on the menu Locate the music stored on your computer Generally this is stored in the My Music folder of your computer NOTE if you are unable to locate the music...

Page 16: ...located the song files you can right click on the song itself and select copy Open the removable disk drive right click on in the empty space and select Paste This will transfer the song on to your M...

Page 17: ...Player 10 or 11 to use this feature Note this player does not support DRM encrypted audio files downloaded from the Windows media player download service Open Windows Media Player and connect your MP...

Page 18: ...select Finish and your windows media player will open to the sync tab 3 Drag your music to the sync list on the right of the screen from the list on the left Once you have selected the music you wish...

Page 19: ...edia player will load the songs on to your MP3 player Once all the songs you have added are synced to the unit and Windows Media Player Says that is safe to disconnect your MP3 player disconnect the d...

Page 20: ...ting your player from your computer It is important to properly eject the player using the safely remove hardware feature of your windows operating system 1 Left click on the gray and green icon in th...

Page 21: ...er from your computer Formatting your MP3 player Formatting your MP3 player can solve a lot of problems that you might have with it It s also useful for deleting all the files at once and does so in a...

Page 22: ...king Format another smaller window will pop Windows reads the drives default settings so you don t need to change anything in here Click the button that says Start and when it finishes the format is c...

Page 23: ...23...

Page 24: ...Specifications For anything not covered in this manual or if you have any other questions please do not hesitate to contact our end user technical support line at 580 272 0035 24...

Reviews: