17
6
STEP
Final installation of back wall
Quick
tip
Hold the bottom of the back wall
with your foot when fastening in
place.
13
5
⅜"
Base
Back
wall
14
⅜"
⅜"
min.
3/16
"
max.
3/8
"
Stud
X fastener
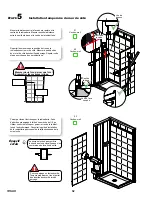
It is critical for the side wall
installation for there to be at least
⅛'' and no more than ⅜" between
the stud and the X fastener.
6.1
Check me!
6.3
Check me!
6.4
Check me!
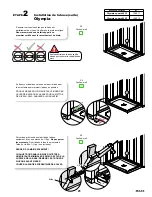
Remove all walls from the structure.
Clean the shower base and apply a bead of silicone on
the threshold at 3/8" from the back fastening flange. Run
the bead of silicone the entire length of the base and 1''
on the side wall will be installed on as well.
6.2
Check me!
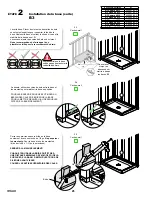
Lift and place back wall (14) directly over the silicone wi-
thout sliding. Verify that the back wall (14) is plumb, shim
if needed. Then, secure the back wall to the wall studs at
top with #8 x 1¾" screws (not included) in the previously
drilled holes.
IMPORTANT: HAND TIGHTEN ONLY. DO NOT
OVER-TIGHTEN THE SCREWS.
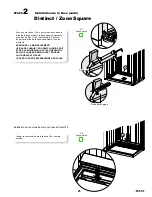
Apply a bead of silicone on both sides of base (13) thres-
hold at 3/8" from the base side fastening flanges.
Apply silicone on both side of the back wall (14) just
before the wall side radius.
The silicone applied on the
base and vertically on the back wall must overlap.
1"


