


|
11
Torq Xponent User Guide
Using Xponent
7
Using Xponent with Torq
Xponent ships with SyncroScience Torq, a powerful DJ application that works with Xponent out of the box. Once the Xponent
drivers have been installed on your computer, Torq should automatically detect the controller and allow you to use the buttons,
knobs, sliders, and wheels without any further confi guration.
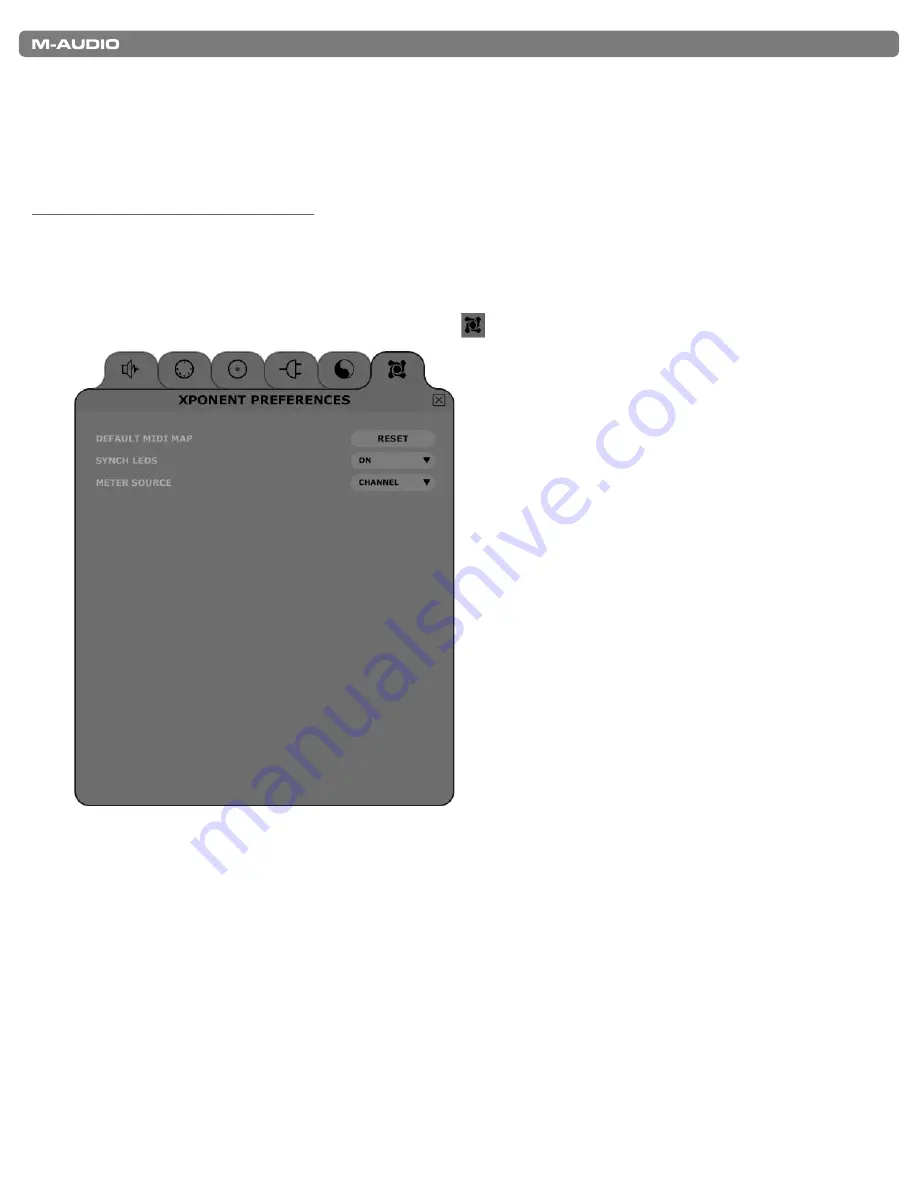
While Xponent works with Torq out of the box, there are some controller settings you may wish to customize to your personal
preference. These parameters are found in the new Xponent tab (
) of the Preferences pane of Torq:
Default MIDI Map
You are free to change the MIDI assignments of Xponent to anything you wish using Torq’s MIDI Learn feature. Pressing this
Reset button will erase any customized mappings you’ve created and will restore them to the original factory mappings.
Synch LEDs (On/[Off])
When enabled, the backlights behind the individual Deck controls will pulse to the beat of the song playing in each Deck. That
beat is derived from the position of the phase grid (it pulses every time a phase grid line passes below the Now Line). This
will visually indicate the beat of each song and let you see when both songs are aligned (since both sets of LEDs will pulse
together).
Meter Source ([Channel]/Master)
When set to Channel, the left meter will show the volume of the left Deck (as seen in the GUI) while the right meter displays
the volume of the right Deck. When set to Master, the meter will show the left and right channels of the Master Output.
Summary of Contents for Torq Xponent
Page 1: ...User Guide English...


