2 « Quick Start Guide
About this Guide
This Quick Start Guide covers the basic setup steps required for both, the KeyRig
49 keyboard and the Key Rig virtual instrument software.
As you become more familiar with the KeyRig 49 keyboard, you may wish to take
advantage of this product’s additional professional features such as: using your
new keyboard with more than one application at the same time (multi-client) or
sending advanced MIDI messages using the KeyRig 49 keyboard’s Edit mode.
When using Windows XP, some of these features can only be accessed after
installing the optional drivers for the KeyRig 49 keyboard. No additional drivers
are required for Mac OS X. The optional PC drivers and the complete User Guide
(covering optional driver installation and all advanced features), are found on the
KeyRig 49 CD-ROM included with this package.
Connecting KeyRig 49
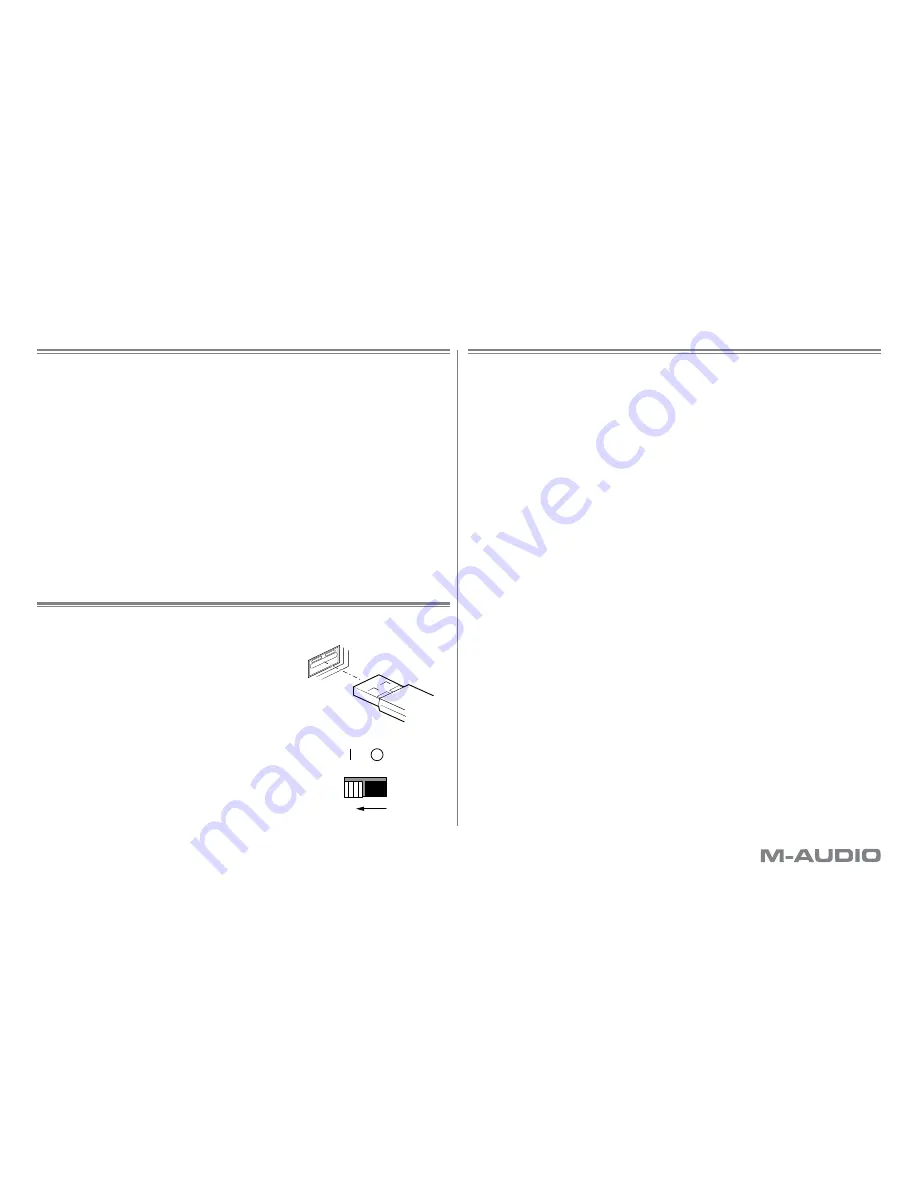
1.
Use the provided USB cable to connect
KeyRig 49 to an available USB port on
your computer. The USB cable not only
powers the keyboard but also transmits
MIDI data to your computer.
2.
Make sure that the power switch on the
back of the keyboard is in the “on” position
( I ). KeyRig 49 is now ready to be used
– no additional installation steps are
required.
Installation of Key Rig Virtual Instrument
Software for Windows
1.
Insert the KeyRig 49 CD-ROM into your computer’s CD-ROM drive.
2.
The computer will automatically display the interactive install screen. If your
computer fails to launch the installer, manually start it by clicking on Start >
My Computer > KeyRig 49.
3.
Choose Key Rig virtual instrument from the pull down menu and click
“Install.”
4.
Follow the installer’s on-screen direction prompts.
5.
During setup, the installer will ask you to specify two directories on your
computer. The first is for the Key Rig Data Directory and the second is for
your VST Plug-in Directory. The installer allows you to choose a location for
the Key Rig Data (approximately 350 MB) and for your VST plug-in folder.
You may specify a custom folder, or leave the default setting.
6.
When the installer finishes installing the software, click “Finish.”
7.
M-Audio Key Rig is now installed on your computer. You will need to certify
your copy of the software before you begin making music—please see
“Certification” below for these directions.
ON


