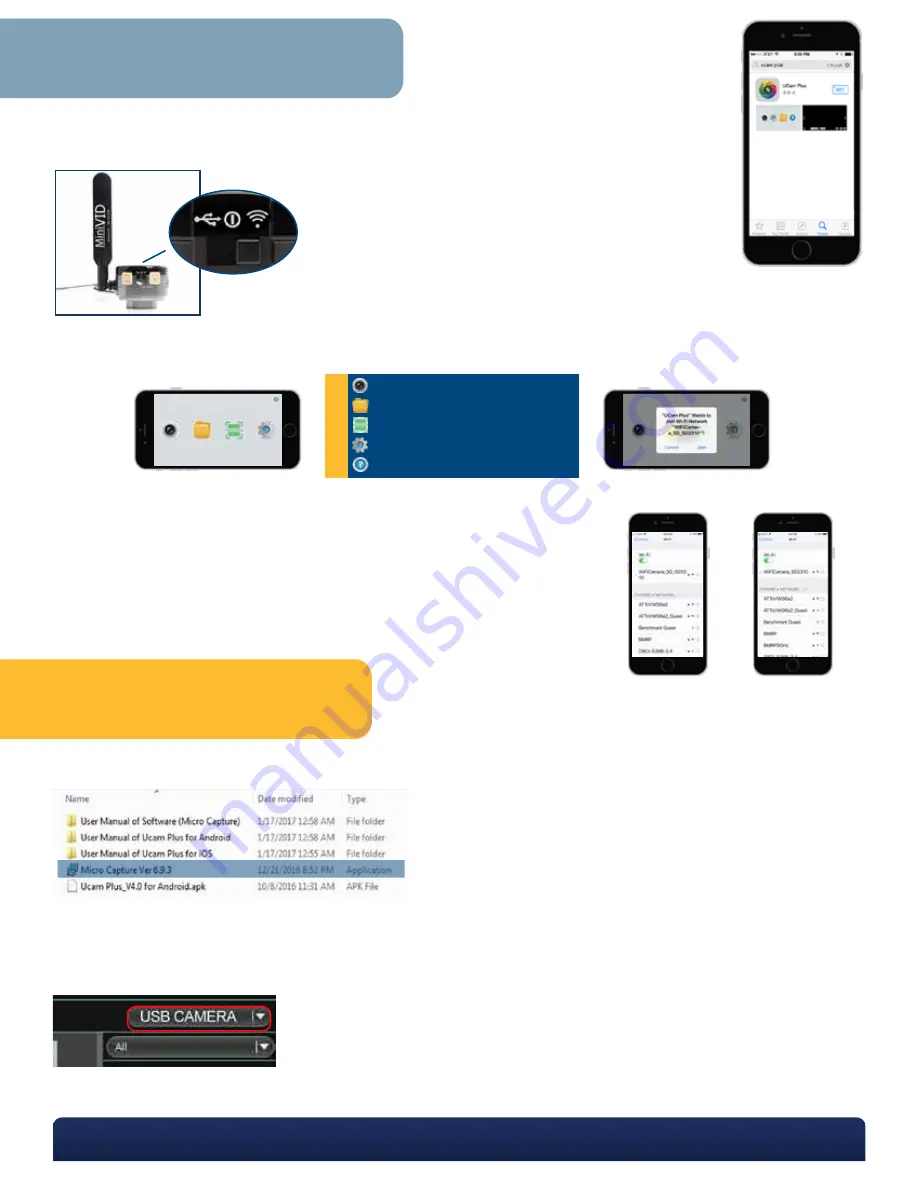
Set the MiniVID WiFi to USB mode, and then, using the USB cable, connect the product to your PC. The camera’s plug and play
drivers will allow Windows to automatically install the product’s drivers.
Once Windows has finished installing the camera, open the Micro Capture software (by default, the installer will create a shortcut
on your desktop entitled “Micro Capture.” When the software is open, click on the blank drop-down box at the top of the screen
and select “USB Camera.”
For detailed operation instructions, open the CD and click on the User Manual to go to the help section in the Micro Capture
software.
1
Insert the included CD into your disc tray (or download the software online from goo.gl/9G7SUX. Once you’ve accessed the disc
or download, open and install the file labeled “Micro Capture Install Ver 6.9.3.”
2
3
4
P. 770.270.1394
F. 770.270.2389
865 Marathon Parkway Lawrenceville GA 30046
WiFi Use with Smart Phone or Tablet
Connecting to PC with USB Cable
Go to the App Store or Google Play Store and download the UCam Plus app (See Figure 1).
Flip switch on the camera to the WiFi setting. Within 10 seconds, the blue WiFi indicator will begin flashing.
1
2
To instantly connect your MiniVID WiFi camera to your hand-held device, open UCam Plus app and choose the QR Reader
icon. Aim smart phone or tablet camera at QR code on top of the MiniVID Wifi camera, and the device will automatically
connect to the camera.
3
4
ICON GUIDE
View and capture live images
View captured images and videos
QR Reader
Access camera settings
Helpful instructions
Figure 1
Figure 1
Default 5GHz
Network
2.4GHz Network
(Uncommon setting)
You can also connect your MiniVID WiFi by:
Go to WiFi ‘Settings’ in your phone or tablet and select WiFiCamera_
5G
_######
(
5GHz
is the default setting for maximum speed). Every camera will have a unique six
digit identifying number.
Access code (password) needed for first time set-up:
12345678
Click on the ‘?’ to access the instruction page for using the Ucam Plus software.


