


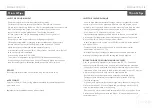


INSTRUCTION | P11
INSTRUCTION | P10
Operating
Operating
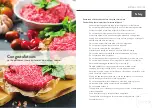
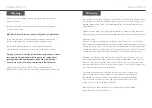
MAKING SAUSAGES
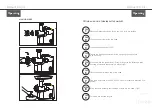
!
PLEASE NOTE:
Do not use excessive force to push meat through the head as it could
damage the appliance.
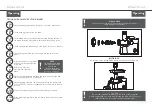
1
2
10
Using the food pusher, gently push sausage mix or meat through the head.
11
As the mixture comes through the nozzle, ease the skin off as it fills. Twist
the skin at the desired length to form individual sausages once all of the casings are filled.
!
CAUTION:
Do not use anything else apart from the food pusher supplied with
this meat grinder to push meat through the head. NEVER use your hands or fingers
to push meat through the head.
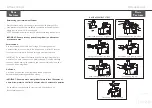
1
Place the meat grinder body, facing you on a level, dry surface.
2
Fit the grinding screw inside the head.
3
Fit the blade over the grinding screw ensuring that the flat side of the blade
faces the cutting plate, away from the grinding screw.
4
Fit the Sausage cutting plate, followed by the small, medium or large stainless
steel sausage nozzle. (Fig.1)
5
The fixing ring then fits over the sausage nozzle and screws into
place. Do not tighten the fixing ring yet as it will be harder to lock into the
grinder body.
6
Align the head into the grinder body. Screw the fasten button into place.
7
Once the grinder body is in place, tighten the fixing ring and ensure all
elements are securely in place.
8
Place the hopper plate on top of the head.
9
Place prepared sausage mix or processed meat on to the hopper plate. Plug the power
cord into a 230-240V AC power outlet and press the ‘ON’ button
FITTING & USING THE SAUSAGE ATTACHMENTS


