


Acuity LS
Page 13
Operating Manual #OMA20200327
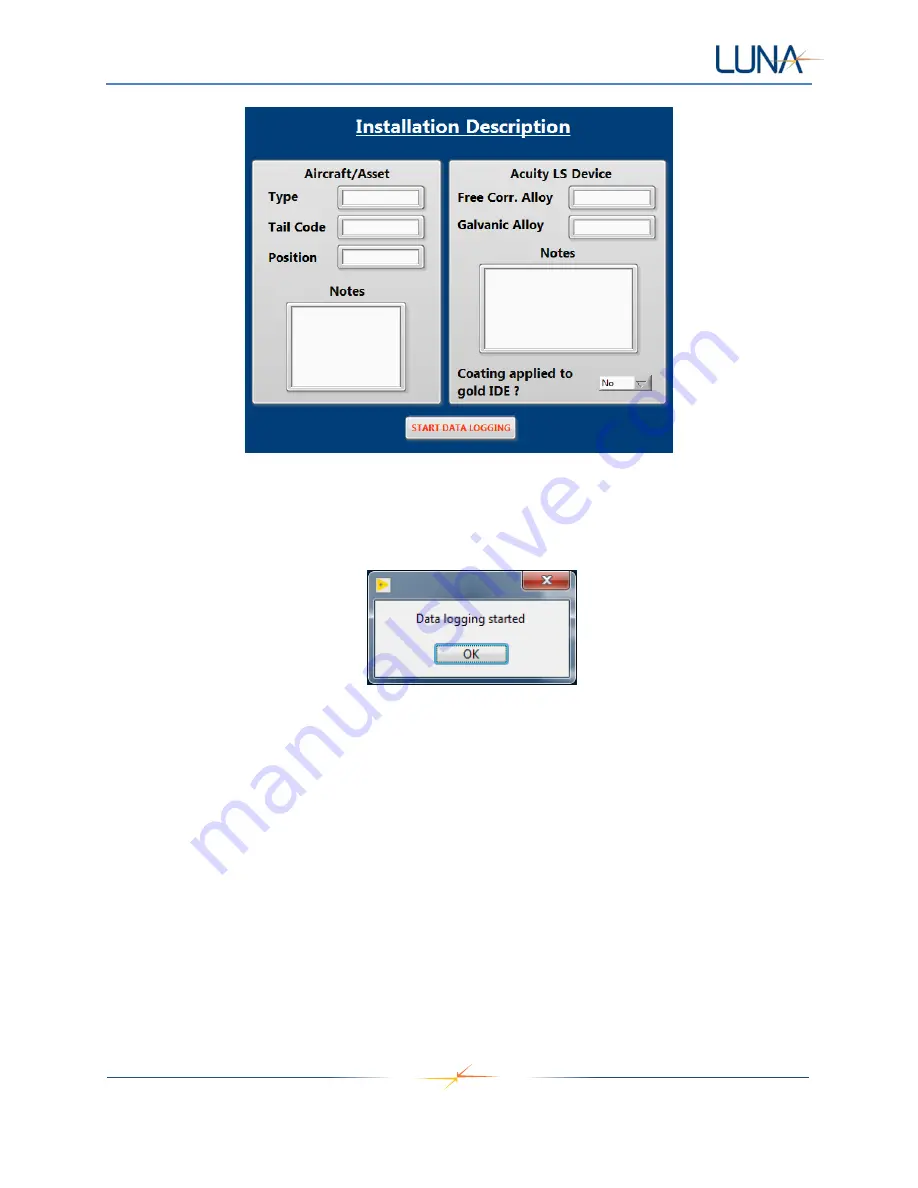
Figure 11. Installation Description window. CAUTION:
DO NOT use any “,” or carriage return (enter key)
characters in the provided Notes text boxes.
6. Select "START DATA LOGGING" to begin Acuity LS device data collection and storage. A dialog
box will appear indicating that the Acuity LS device data logging has started (Figure 12).
Figure 12. Window indicating Acuity LS device data logging started successfully.
7. Select
“OK” to return to the main screen.
8. Once data logging has started, t
he “System Status” on main screen will indicate “Logging Data”
and displays the
selected “Sampling Interval” and "Gold IDE Setup".
Download Data Log
1. R
efer to “Establishing Communication” above for connection to computer.
2.
Select “Download Data Log” and save the file. The default filename includes the Acuity LS
device ID, date, and time. Data download may take several minutes.
3. When download is complete, the UTC time synchronization window will appear (Figure 9). Refer
to “Clock Synchronization” above.
4. Acuity LS device will resume operation according to the previously selected sampling interval and
setup.


