Getting Started with Your Lumens Document Camera
DC160
pg. 4
3.
You should be able to see your image on the screen. If not:
a.
Press the source button on the projector and cycle through its available input options. If your
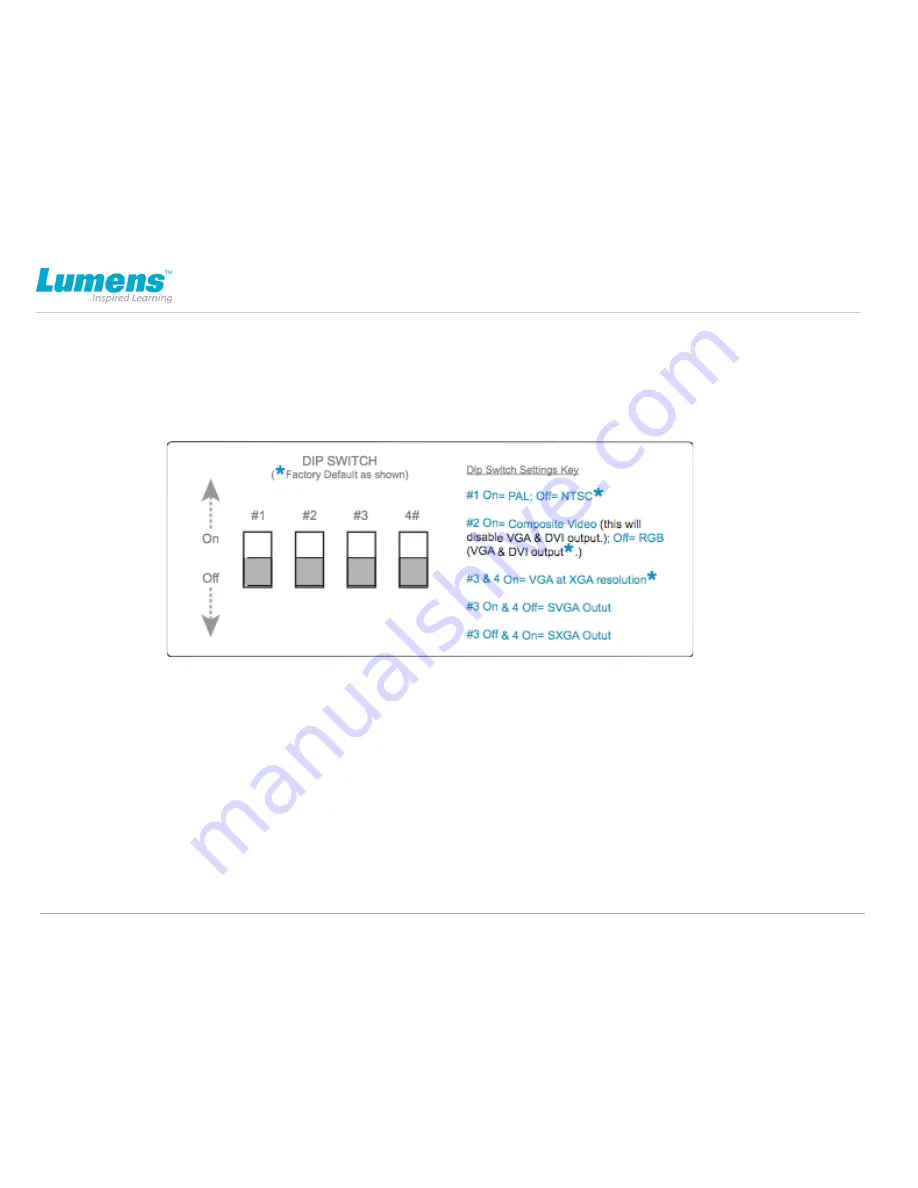
image is still undetected, power down the base unit and make sure the dip switch on the bottom of
the unit is set to RGB. Power up the base unit and try again.
How to Capture Images to Your Document Camera
1.
The DC160 document camera has the ability to internally capture 48 JPEG images. Simply press the
capture button (
D
on
Image 1.0
) and watch the top left corner of the screen for “Processing” to indicate
that the current image is being saved into the document camera’s internal memory.
2.
Press the Play button (
D
on
Image 1.0
) to display thumbnails of all the stored images.
3.
Select the one you wish to display and press Enter. You can use the forward and backward arrow keys to
advance or back up to the appropriate images.
4.
Press the menu button (
D
on
Image 1.0
) twice to return to the current live image from the document
camera.


