


HT20IoT-09
User’s
Manual
9
5.3.
Connection of the device
– configuration
5.3.1. Connection of the monitor to the network equipped with a DHCP server
The easiest way to connect the HT20IoT monitor Io the Ethernet network is to use
an existing DHCP server in the network, which assigns the communication parameters to
the devices connected, i.e. IP address, subnet mask, gateway, DNS address. In order to
use the automatic configuration with DHCP server, make sure the monitor is running with
DHCP client service enabled - - to do this, switch on the power of the monitor and observe
the initial messages:
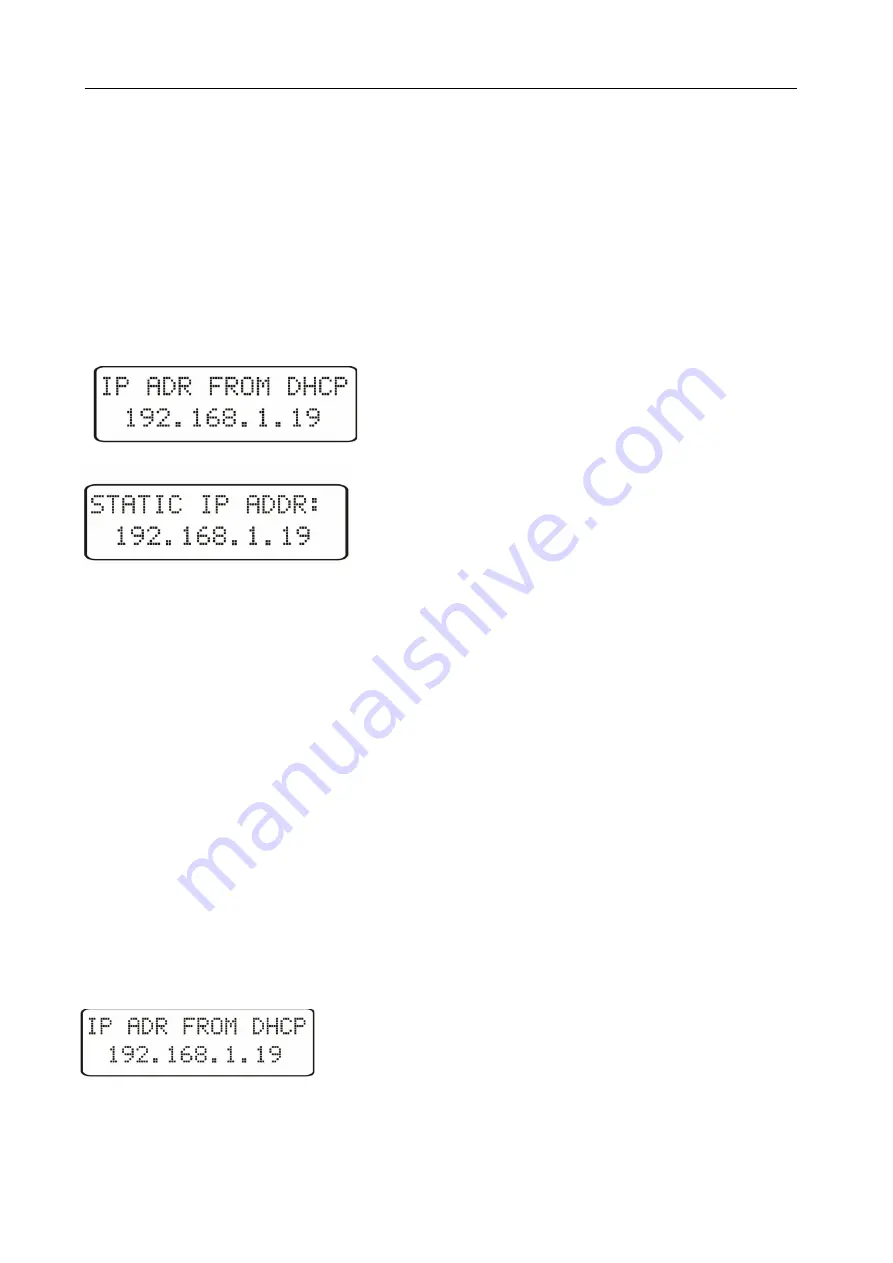
a) message about the monitor operation with DHCP
client enabled – the displayed IP address is the current
address of the monitor acquired from DHCP server;
b) message about the work of the monitor with disabled
DHCP client service - the displayed IP address is the
current address of the monitor set manually or the default
address (after restoring the default parameters); in order
to obtain the address from the DHCP server, restore the monitor to the factory parameters,
point 5.2, and restart the device - then a) message should be displayed with the IP
address obtained from the DHCP server.
In order to further configure the device a computer (tablet, phone) must be
connected to the same Ethernet network (also with DHCP client enabled - automatic
acquisition of IP address), open a web browser and in the browser address field type the
IP address displayed by HT20IoT. This will display the login screen to log the web server
that will allow further configuration - sign up to the administrator account, p. 5.6.3.2.
After gaining access to the full configuration we recommend that you disable the
DHCP client, leaving the acquired network parameters unchanged – IP address, subnet
mask, gateway, DNS address will be stored as static parameters.
5.3.2. Connecting the monitor to the network without using
DHCP server
In order to use static configuration of network parameters, make sure the monitor is
running with the DHCP client service disabled - to do this switch on the power of the
monitor and observe the initial messages:
a) message about the monitor operation with DHCP client
service enabled
– the displayed IP address is the current
address of the monitor acquired from DHCP server;
to set the a static IP address factory parameters should be
restored, p. 5.2, and the device should be restarted – then a message should be displayed
b) with the static default IP address.


