32
6. Installing the monitor
1. Attach the small antenna or the large antenna with cable to the antenna contact on the
back of the monitor. Mount the monitor foot in the tractor and attach the monitor. Make
sure everything is properly fitted and steady.
2. Connect the lighter socket adapter to the lighter socket and then to the monitor. You can
also connect the monitor directly using the alternative adapter cable. (6014)
3. Turn on the ignition to power up the monitor. Press the
Power button
for a few seconds to
turn the monitor on. As the camera is not yet installed no image will show up on the
display at this point.
7. Installing the camera
1. Mount the small black antenna or the large antenna with cable on the back of the camera.
We recommend that you try using the small antenna first.
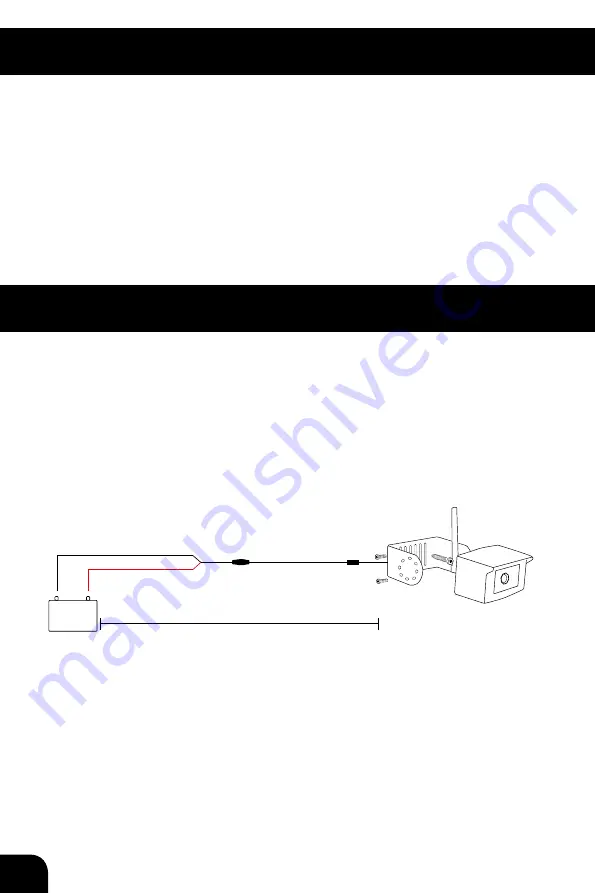
2. Turn off the power in the tractor. Connect the camera power cable with horse shoe joints
to a suitable 12V-48V power source. Connect the red cable to the positive pole (+) and the
black cable to the negative pole (-) of the power source.
If you are unsure which pole is which, it is safe to try one way and switching the cables if it
doesn’t work. Mixing up the positive and negative poles won’t damage the camera.
3. Start the engine and turn on the power to the camera power source. Make sure that the
camera is supplied with power by checking the power indicator.
4. Start the monitor. The image from your camera should show up automatically. If it doesn’t
please go to Chapter 9 to pair the camera with the monitor.
5. When you are satisfied with the signal reception, mount the camera with the supplied
screws. (Or with the nuts and bolts depending on material)
The installation of your tractorCam S-solution is now done!
If you run into problems with the installation, go to Troubleshooting, chapter 11.
+
-
12/48 V
Max 3 m
Summary of Contents for tractorCam S
Page 2: ...2 Contents Deutsch 3 English 23 Français 41 Nederlands 59 Declaration of Conformity 77 ...
Page 3: ...3 Deutsch Bedienungsanleitung ...
Page 22: ......
Page 23: ...23 English User Guide ...
Page 41: ...41 Français Guide d utilisation ...
Page 59: ...59 Nederlands Gebruikshandleiding ...
Page 78: ...201404 ...


