3-20
APX 1000™ Getting Started Guide
Installing an APX 1000 Chassis
Replacing APX 1000 fans and filters
1
Remove the front cover of the APX 1000. To do so, place two fingers of each hand into
the notches on each side of the plastic panel, as shown in Figure 3-20, and pull.
2
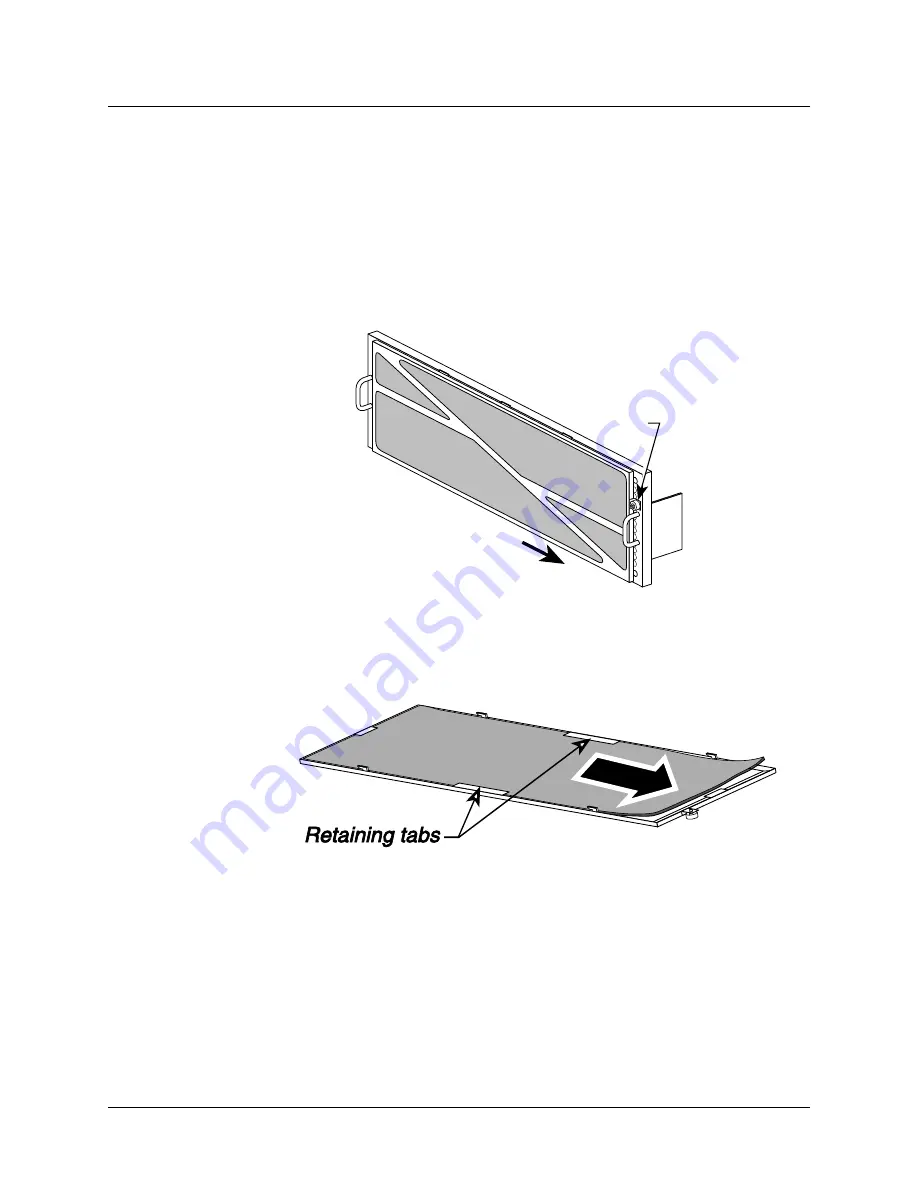
Remove the filter and filter holder from the front of the fan assembly, as shown in
Figure 3-23.
–
Unscrew and remove the filter retaining screw on the right side of the filter holder.
–
Slide the filter holder to the right about 1/8 of an inch.
–
Pull the filter holder and filter straight out from the fan assembly
Figure 3-23. APX 1000 air filter and filter holder
3
Place the filter holder face down on a flat surface.
4
Remove the filter material by lifting one side slightly and sliding it out from under the
center retaining tabs of the filter holder as shown in Figure 3-24.
Figure 3-24. Removal of filter material
5
Install the new or cleaned filter material by sliding it under the retaining tabs of the filter
holder.
6
Align the four mounting tabs of the filter holder with the four mounting slots on the front
of the fan assembly as shown in Figure 3-25.
7
Press the filter holder onto the front of the fan assembly and slide it about 1/8 inch
(0.32cm) to the left to latch it in place.
Filter retaining
screw
Slide to remo
ve
Retaining tabs


