43
Installing the Inverter
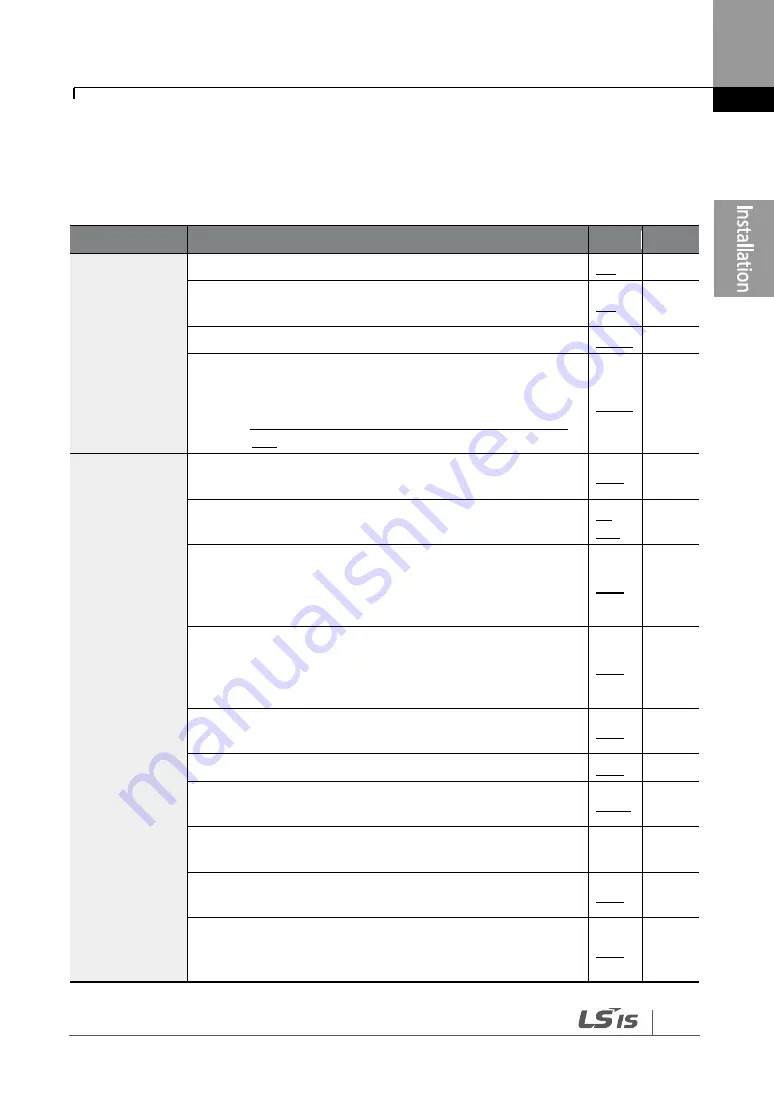
2.4 Post-Installation Checklist
After completing the installation, check the items in the following table to make sure that the
inverter has been safely and correctly installed.
Items
Check Point
Ref.
Result
Installation
Location/Power
I/O Verification
Is the installation location appropriate?
Does the environment meet the inverter‘s operating
conditions?
Does the power source match the inverter‘s rated input?
Is the inverter‘s rated output sufficient to supply the
equipment?
(Degraded performance will result in certain circumstances.
Refer to
11.8 Inverter Continuous Rated Current Derating
on page
Power Terminal
Wiring
Is a circuit breaker installed on the input side of the
inverter?
Is the circuit breaker correctly rated?
p.
552
Are the power source cables correctly connected to the
R/S/T terminals of the inverter?
(Caution: connecting the power source to the U/V/W
terminals may damage the inverter.)
Are the motor output cables connected in the correct phase
rotation (U/V/W)?
(Caution: motors will rotate in reverse direction if three
phase cables are not wired in the correct rotation.)
Are the cables used in the power terminal connections
correctly rated?
Is the inverter grounded correctly?
Are the power terminal screws and the ground terminal
screws tightened to their specified torques?
Are the overload protection circuits installed correctly on
the motors (if multiple motors are run using one inverter)?
-
Is the inverter separated from the power source by a
magnetic contactor (if a braking resistor is in use)?
Are advanced-phase capacitors, surge protection and
electromagnetic interference filters installed correctly?
(These devices MUST not be installed on the output side of
Summary of Contents for H100
Page 14: ......
Page 18: ...Preparing the Installation 4 37 90 kW 3 Phase ...
Page 27: ...Preparing the Installation 13 ...
Page 47: ...33 Installing the Inverter ...
Page 48: ...Installing the Inverter 34 Input and Output Control Terminal Block Wiring Diagram ...
Page 61: ...47 Installing the Inverter ...
Page 71: ...Learning to Perform Basic Operations 57 ...
Page 88: ...Learning to Perform Basic Operations 74 ...
Page 103: ...89 Learning Basic Features Code Description V1 Quantizing ...
Page 129: ...115 Learning Basic Features ...
Page 140: ...Learning Basic Features 126 ...
Page 148: ...Learning Basic Features 134 ...
Page 171: ...157 Learning Advanced Features Deceleration dwell operation ...
Page 183: ...169 Learning Advanced Features ...
Page 184: ...Learning Advanced Features 170 PID Command Block ...
Page 185: ...171 Learning Advanced Features PID Feedback Block ...
Page 186: ...Learning Advanced Features 172 PID Output Block ...
Page 187: ...173 Learning Advanced Features PID Output Mode Block ...
Page 197: ...183 Learning Advanced Features ...
Page 201: ...187 Learning Advanced Features Code Description 100 EPID1 Control block ...
Page 202: ...Learning Advanced Features 188 EPID2 Control block ...
Page 237: ...223 Learning Advanced Features Time Period Schedule AP3 38 Except3 Day 01 01 ...
Page 244: ...Learning Advanced Features 230 ...
Page 259: ...245 Learning Advanced Features Code Description Code Description Volt ...
Page 362: ...Learning Protection Features 348 ...
Page 415: ...401 RS 485 Communication Features Item Standards Parity check None ...
Page 524: ...Table of Functions 510 ...
Page 533: ...Table of Functions 519 ...
Page 547: ...533 Troubleshooting ...
Page 585: ...Technical Specification 571 ...
Page 594: ...580 ...
Page 595: ...581 ...
Page 596: ...582 ...


