


Rev B
14
Because one or more partitions are specified for each frequency, the file is essentially a master
list (all frequencies, all partitions). Once it has been sent to the receiver it may be modified by
adding or deleting frequencies as described above, but
when a new table is uploaded it will
completely replace the existing one
. If a partition is not specified for a particular frequency,
partition 0 will be assigned by default.
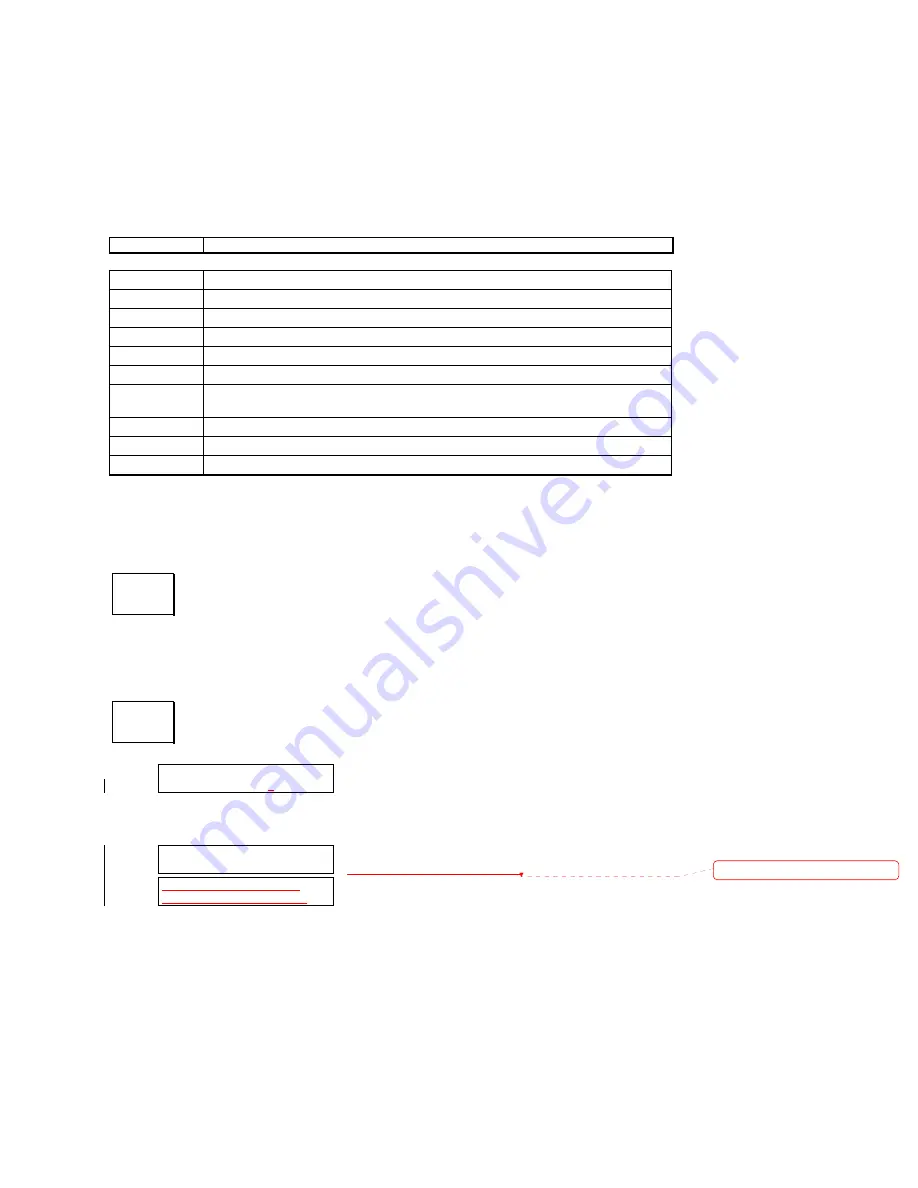
The complete procedure is summarized in the following table:
SRX or HOST Action
Host-SRX
Establish/check serial connection between SRX_400 and Host computer.
Text editor
Create a file with frequencies and corresponding partitions.
Text editor
Save it as a text (ASCII) file (extension .TXT) in your
Host
data directory.
SRX Start
SRX_400.
Host Start
Host
software.
Host
Use Host software’s
Display file
command to view the text file, if desired.
Host Press
7
for the utility
Upload F Table to SRX
;
you will see a list of files in the
data directory.
Host
Highlight your file and press <ENTER>.
SRX Select
Upload table from Host
routine (
SHIFT, FTABLE
,
->
).
SRX Press
1
On completion of the upload operation, the SRX_400 will notify you by displaying the number of
frequencies loaded and/or a diagnostic message.
The
TIME
key gives a display of date and time and allows you to make changes. The
time on the display is actively updated approximately once per second. In the
SCAN
and
SIGNAL
environments the
TIME
key is used to select pulse interval or pulse rate display
formats.
The
COMM
key accesses various RS232 communications options. The main menu is:
Configure
calls the configuration submenu:
or, in some firmware versions,
Each of these functions allows you to select values for
the named serial communications parameters. These are:
TIME
6
COMM
5
1)CONFIGURE 2)DEFAULT
3)TERMINAL 4)AUTO
-
ANSWER
1)BAUD 2)PARITY/FORMAT
3)FLOW 4)INTERCHAR
1)BAUD 2)PARITY/FORMAT
3)FLOW 4)DELAY 5)MODEM
Deleted:


