19
Menu Setup
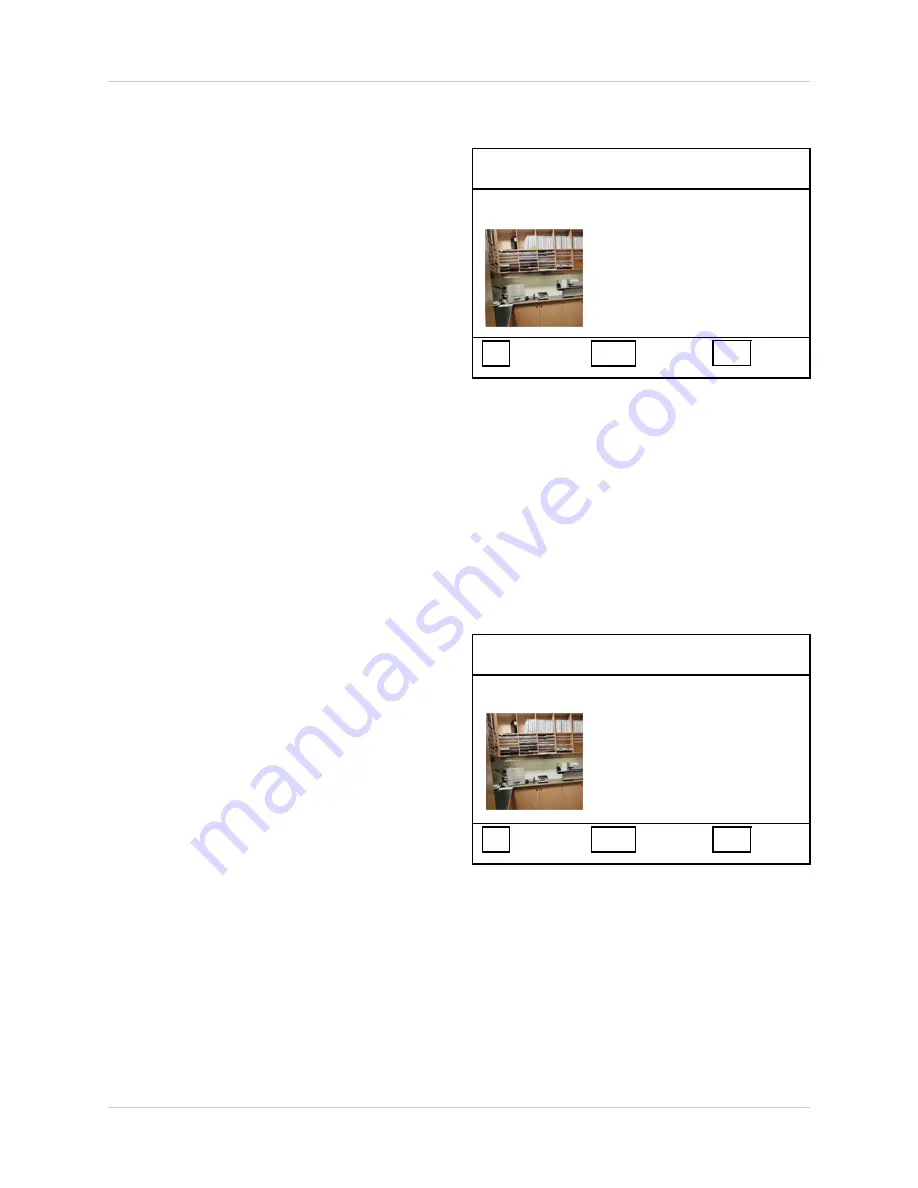
CAMERA SETUP
TITLE: CAMERA01
BRIGHTNESS: 0
CONTRAST: 0
SATURATION: 0
HUE: 0
SHARPNESS: 0
MIRRORING: OFF
⇑⇓
SELECT
⇐ ⇒
ADJUST
MENU EXIT
Camera Setup
•
SWITCH BETWEEN CAMERAS
- Use
the
⇐ ⇒
buttons to switch between
CAMERA 1~4.
•
TITLE
- Sets the name for the individual
Camera. Press the
⇑ ⇓
buttons to
navigate, and press the
⇐ ⇒
buttons
to select a character (A-Z, 0-9).
•
BRIGHTNESS / CONTRAST /
SATURATION / HUE / SHARPNESS
-
Individual camera display settings.
Press the
⇑ ⇓
buttons to navigate, and
press the
⇐ ⇒
buttons to set the value.
•
MIRRORING
- Sets the display image
to a mirrored view. Press the
⇑ ⇓
buttons
to navigate, and press the
⇐ ⇒
buttons
to set to ON or OFF.
• Press the MENU button to EXIT. All
settings will be saved.
Motion Setup
•
SWITCH BETWEEN CAMERAS
- Use
the
⇐ ⇒
buttons to switch between
CAMERA 1~4.
•
DETECTION TIME
- Turns Motion
Detection to ALWAYS ON, ALWAYS
OFF or ON/OFF TIME. Individual
cameras can be set by pressing the . to
switch between CAM1~CAM4. Press
the
⇑ ⇓
buttons to navigate, and press
the
⇐ ⇒
buttons to set the Detection
Time:
z
ALWAYS ON - Motion is always
detected
z
ALWAYS OFF - Motion is never
detected
z
ON/OFF TIME - Sets the start and
end times that motion is to be
detected. Set the ON and OFF times
using the directional arrows to
adjust.
MOTION SETUP
DETECTION TIME
ALWAYS ON
ON: 00:00
OFF: 13:00
SENSITIVITY: 0
VELOCITY: 0
MASKING AREA
X,Y (00,00)
⇑⇓
SELECT
⇐ ⇒
ADJUST
MENU EXIT
CAMERA 1
CAMERA 1


