www.lorexcctv.com
LW2201AC1 SERIES QSG_EN_R1 Page 2
CoLoR DIGItAL WIReLess InDooR/oUtDooR
ACCessoRy CAMeRA
LW2201AC1 seRIes - qUICk stARt GUIDe
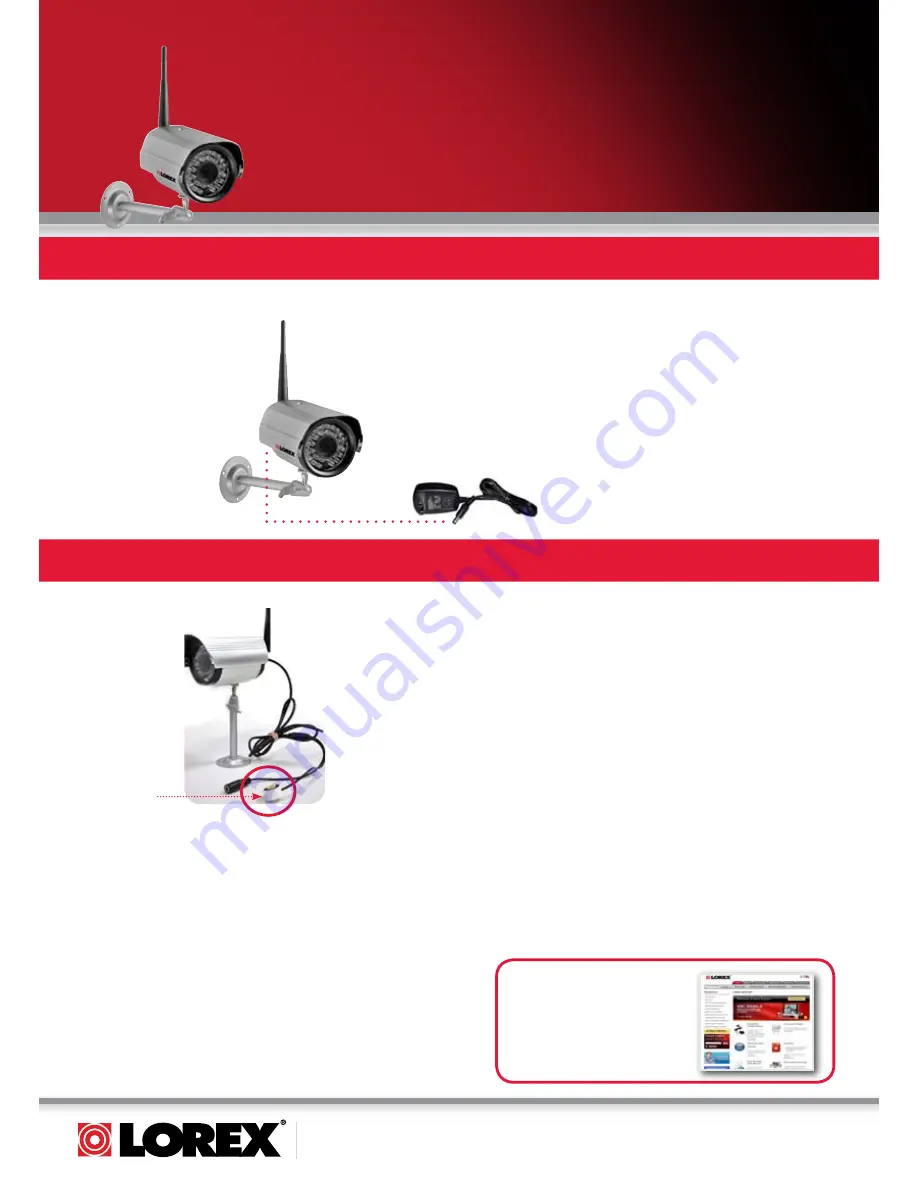
ConneCtInG CAMeRA PoWeR ADAPtoR
Connect one end of the camera Power Adaptor to the camera and the other end to an electrical outlet.
It’s all on the Web
For detailed setup information,
please refer to your User’s Manual.
For additional information, please
visit our website
www.lorexcctv.com/support
1. Connect the power cable from the camera to the cable
from the Power Adaptor; plug the Power Adaptor into
an outlet or surge protector.
2. Press the Pair button repeatedly on the Wireless
Receiver to select an empty channel.
3. Press and hold the Pair button for 5 seconds to activate
pairing function. The on-screen displays informs you
that you have 30 seconds to press the pair button on
the camera*.
4. Press and hold the Yellow Pair button extending from
the camera. You must press the Yellow Pair button from
the camera within 30 seconds of pressing the Pair
button on the Wireless Receiver. If pairing is
successful, live video from the camera will immediately
appear on the monitor.
* These are instructions for pairing with the LW2201
receiver. To add this accessory camera to a different
Lorex Ultra Digital Wireless Receiver, check the
Owner’s manual for the receiver you have.
Pairing Button
ADDInG tHe ACCessoRy CAMeRA to yoUR systeM
The Pairing Function assigns each camera to a different
channel on the wireless receiver (connect up to 4
Cameras), and is necessary for configuring additional
cameras. By default the camera that came with the
LW2201 system is assigned to channel no. 1.
note: It is highly recommended to pair the Accessory
Camera to the Receiver before permanently mounting the
camera. For detailed information, please check the
owners manual for the LW2201 system available at
www.lorexcctv.com
Connect power adaptor to
local 120V AC power outlet


