

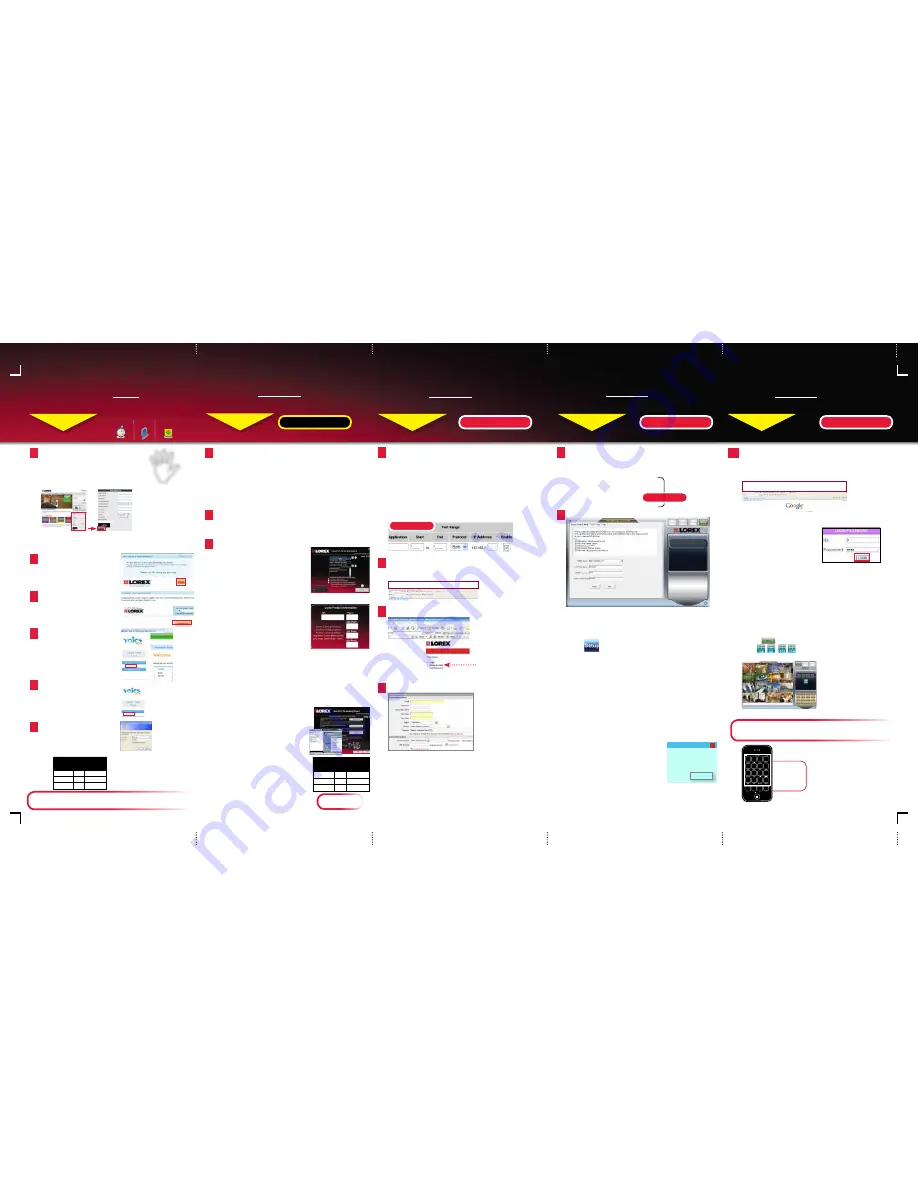
8
LOREX EASY CONNECT INTERNET
REMOTE VIEWING - BASIC
STEP 3A
REMOTE VIEWING INSTALLATION GUIDE
Skill Level
Intermediate
easy
advanced
Time
under 30 minutes
under 15 minutes
under 60 minutes
Hand Tools
Hardware
Router
Hi Speed
over 60 minutes
Time: 20 Minutes
Skills - Easy
Hardware
- PC
Skill Level
Intermediate
easy
advanced
Time
under 30 minutes
under 15 minutes
under 60 minutes
Hand Tools
Hardware
Router
Hi Speed
over 60 minutes
Easy Connect Setup
Router port forwarding is not required
Detailed instructions
available in the User
Manual. For advanced
remote monitoring including
mobile phone connectivity
refer to Step 3B.
1
Using your Internet Explorer web browser from
your computer (Windows operating system only)
Go to
http://lorex.yoics.com
and
create an account.
NOTE:
There is no “www” in front of the address. The system must be
connected to your local network router for Yoics to automatically detect
the system.
A pop-up window opens and informs
you that your device has been
detected. Click CONTINUE in the
registration screen to enable Yoics
Easy Connect.
2
You can rename your system (e.g.
myoffice). Click REGISTER NOW.
After the registration, your system
will be detected automatically.
3
Enter the System User ID and
Password and click OK to login to the
system.
NOTE:
To log in, refer to the
4/8/16 LAN ID & P/W table for User
ID’s & P/W’s.
6
Congratulations! Now that you have a Yoics account set up you can log in to
http://lorex.yoics.com to remotely view your cameras from anywhere in the world
using Internet Explorer web browser (Windows operating system only).
Click on the name of your device
under “My Stuff” on the left side bar.
Install ActiveX when Internet Explorer
prompts you.
5
Connect to your DVR
Your system now appears on the left
side bar under “My Stuff”
4
NOTE:
This service is provided free
of charge. You do not have to click
the Upgrade Now button to use the
Remote Viewer service.
DVR Viewer
DVR Viewer
ON YOUR PC
STEP 3B
Auto Port Forward Wizard
1
The Lorex Auto Port Forwarding Wizard is a software that automates
router port forwarding.
1. Insert the system’s software CD, select the Lorex Easy Connect Internet
Setup Wizard and follow the instructions to register, download and
launch the Wizard.
Installation
LOREX EASY CONNECT INTERNET REMOTE
MONITORING ADVANCED
(AUTO PORT FORWARD WIZARD)
You must have the following before you configure the
software:
1. Your router’s model and version numbers
2. Your router’s user name and password
3. Your Lorex device’s IP address
4. Your Lorex device’s port numbers that require port forwarding
Step 1:
Populate the Router Database
3
The Auto Port Forwarding Wizard
automatically populates a list of current
routers, and detects the number of
connected routers.
1. Click the Next button after the software
detects your router configuration.
Step 2:
Enter your Router Settings
1. Under the Router drop-down list, select
the model of your router OR click the
Search button to enter the name of your
router model.
2. Under Router IP, click the Detect Router IP button. The router’s IP populates
in the blank field.
3. Under Username and Password, enter the router’s username and password.
4. Under IP, enter the IP address of your Lorex device as recorded in Step 3-1.
5. Under Port, enter the port number(s) that require forwarding (Web Port: 80).
6. Click Next to continue.
Step 3:
Update the Router Settings
1. Click the Update Router button. The program
begins updating the router settings. This may
take 20 - 30 seconds.
2. Close the update window when the update
finishes.
80
2
CONTINUED
Congratulations! You have completed 3B successfully. You can now view, playback
images on your Remote Computer via WAN (wide area network) and Remotely control
the system on your Remote computer over the Internet (Wide Area Network).
CONTINUED
6
Create Account:
1. For PRODUCT LICENSE select the
LH300 Series
option from the
drop down menu.
2. For PRODUCT CODE enter the Monitor’s MAC address (recorded in
step 3-1).
3. For URL REQUEST enter a unique URL name (e.g.
tomsmith
).
NOTE:
URL name should not be more than 15 characters.
Complete New Account Information:
1
2
3
7
Create Account
NOTE:
Remote viewing is only compatible with Internet Explorer &
Safari (Safari supports Viewing only and does not support Search
or PTZ controls ). Other browsers are not supported.
An automated REGISTRATION CONFIRMATION EMAIL will be
sent to your email. Print and Save this confirmation. You will
need this information to access your System remotely.
Registration Email:
Service Provider: dns1.lorexddns.net
Domain Name: tomsmith.lorexddns.net
User ID: tomsmith
Password: (your password)
CONTINUED
1. On your computer, open Internet Explorer (PC) or Safari (Mac)
and type in the DDNS DOMAIN NAME. You can acquire this from
the DDNS Registration Email sent to you.
http://tomsmith.lorexddns.net
2. In the ID and Password fields, enter your network user ID
and password and click LOGIN.
3. You must install the ActiveX
®
plug-in for DVR Netviewer to
function. Click the attention bar at the top of the main page
and select Install ActiveX Control. DVR Netviewer will reset.
4. Log in with your LAN user name and password. From the
security window, click Install.
Logging into DVR Netviewer (REMOTELY):
Enter DDNS Set-up on your System
STEP 3B
STEP 3B
STEP 3B
Manual Port Forward (optional):
4
If you were unable to port-forward your router
automatically using the wizard, you will need to do so
manually.
All routers are different. To port forward your router, please refer to
your router’s user manual.
An example of a port forwarding screen is shown for illustration
purposes.
Ports:
80
(Web Port)
5
Open your web browser (Internet Explorer by default) and enter
http://www.lorexddns.net
in the address bar.
DDNS (Dynamic Domain Name System) Set-up:
http://www.lorexddns.net
10
LOREX EASY CONNECT INTERNET REMOTE
MONITORING ADVANCED
LOREX EASY CONNECT INTERNET REMOTE
MONITORING ADVANCED
LOREX EASY CONNECT INTERNET REMOTE
MONITORING ADVANCED
OPTIONAL
DDNS
DDNS
DDNS
80
12
System
80
EXAMPLE
EXAMPLE
NOTE:
Click the Auto Detect button if you have a Linksys or Netgear
router (works with most models).
ON YOUR PC
ON YOUR PC
ON YOUR PC & SYSTEM
ON YOUR PC
9
1. Open Internet Explorer (version 6 or above - PC) or Safari
(Mac) and enter the IP address of your DVR in the address bar
(i.e. http://192.168.X.XXX:80).
DVR Netviewer opens.
2. Login using your LAN user ID and password (refer to the
password table under Step 1-9).
3. Click
. The Setup menu opens.
4. Click DDNS.
NOTE: By default, your DDNS service is http://www.lorexddns.net
5. Under the DDNS Select field, click the drop down arrow to
switch from Disable to http://lorexddns.net/
6. In the corresponding text fields, enter your DDNS username
and password.
NOTE: Obtain this information from the confirmation email after
registering for the free Lorex DDNS service.
7. Under DDNS Domain Name, enter only the first portion of your
DDNS domain from the confirmation email. For example, if
your domain name is
tomsmith.lorexddns.net,
you only need
to enter
tomsmith
in the text field.
8. Click Apply to save your settings or click Clear to exit
without saving.
NOTE:
Once you have saved your DDNS settings, you must reset your
system in order for the changes to take effect. Disconnect and reconnect
the power cable from the rear panel to reset. Please allow 10-15 minutes
for the DDNS servers to update with your new DDNS address.
NOTE:
Once you have added and
connected to a DVR, you can
monitor and control the system
in real time.
By default, DVR Netviewer launches in Live Viewing mode.
To use Live Viewing:
1. 1. Click
(Live).
2. Click
,
,
,
, to view in Quad or 16-split.
3. Click the Channel buttons to view channels in full-screen
REMOTE LIVE SITE- 16 CH
NOTE:
Ensure you select the proper model
and firmware number of the router.
Step 4:
Test your Connection
1. Click the Test Your Connection button.
Your system’s default browser opens and
connects to your Lorex device.
NOTE:
To
log in, refer to the 4/8/16 LAN ID & P/W
table for User ID’s & P/W’s.
NOTE:
Ensure that Internet Explorer is
your system’s default internet browser.
4/8/16 Channel LAN ID & P/W
LEVEL
ID
PASSWORD
GUEST
7
1111
USER
8
2222
ADMIN
9
3333
NOTE:
You may have to manually save your
router settings after the software makes
the required changes to your router.
9. If your settings are correct, you will see
a “Setup Successful” message. Click
“OK” to close the screen.
4/8/16 Channel LAN ID & P/W
LEVEL
ID
PASSWORD
GUEST
7
1111
USER
8
2222
ADMIN
9
3333
REMOTE/LAN VIEWING
Setup Information
X
Setup Successful.
OK
PROCEED TO
STEP 3B-5.
For Instant Mobile
Connectivity using
a Smart Phone,
refer to the User
Manual. Make sure
to complete Port
Forwarding Step
3B.
Instant
Mobile
Viewing