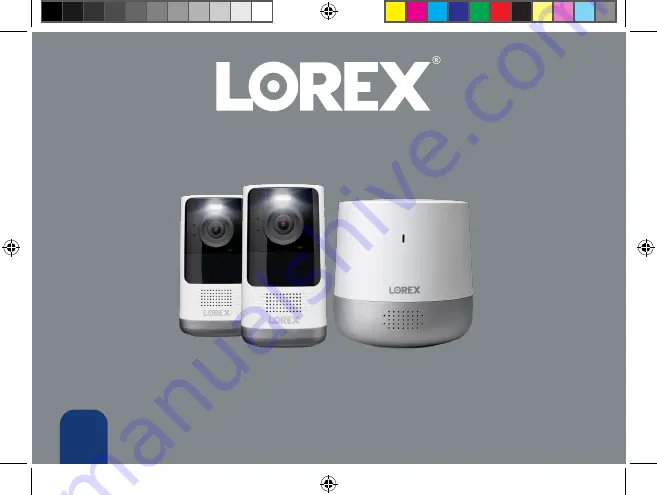
2K QHD Wire-Free Security System
Quick Start Guide
lorex.com
EN
H871T6D-4BA2-E_QSG_EN_R1.indd 1
2020-09-01 11:56:44 AM
Page 1: ...2K QHD Wire Free Security System Quick Start Guide lorex com EN H871T6D 4BA2 E_QSG_EN_R1 indd 1 H871T6D 4BA2 E_QSG_EN_R1 indd 1 2020 09 01 11 56 44 AM 2020 09 01 11 56 44 AM...
Page 2: ...ks for your purchase of the 2K QHD Wire Free Security System Here s how to get started Welcome H871T6D 4BA2 E_QSG_EN_R1 indd 2 H871T6D 4BA2 E_QSG_EN_R1 indd 2 2020 09 01 11 56 44 AM 2020 09 01 11 56 4...
Page 3: ...ling the Battery Status Indicator Installing the Camera Camera Live View Troubleshooting Overview Placing the Camera Pairing to the App 1 H871T6D 4BA2 E_QSG_EN_R1 indd 3 H871T6D 4BA2 E_QSG_EN_R1 indd...
Page 4: ...e inserted 1 Attention A REGULATED UL CSA APPROVED power supply is REQUIRED for use with this camera included Use of a non regulated non conforming power supply can damage this product and voids the w...
Page 5: ...ery cover Mounting screw thread Pairing button Battery compartment Warning light Motion sensor Light sensor Status indicator Microphone Speaker H871T6D 4BA2 E_QSG_EN_R1 indd 5 H871T6D 4BA2 E_QSG_EN_R1...
Page 6: ...s signal strength can be reduced by other devices that emit frequencies or obstacles such as walls ceilings brick and other major obstructions For optimal video streaming performance position the Lore...
Page 7: ...cting Wi Fi signal from the hub Ready to pair solid Factory default successful Factory default successful flashing Disconntected from network Disconnected from network alternating Firmware update in p...
Page 8: ...ts to create an account Record your account details below Start by powering on the Lorex Home Hub and connecting to the app Email Account Password 4 Plug the hub s power adapter into the power port of...
Page 9: ...ion to ensure the hub is positioned centrally relative to all the different Lorex devices Option B Wireless Connection Choose the wireless connection select your Wi Fi network from the list then enter...
Page 10: ...e battery s power port 3 Plug into a power outlet until the battery s status indicator is solid green See Figure 3 1 Use the charging adapter and cable to connect to the camera s power port 2 Plug int...
Page 11: ...he ground Optimal accuracy for objects within 0 5 32ft 2 10m Place the camera on a flat surface Make sure the flat surface shelf is not obstructing the camera s field of view Place the camera between...
Page 12: ...mark the holes Optional Drill holes to insert the anchors if installing on concrete stucco brick or any other masonry surface Use a 7 32 or 15 64 drill bit 5 5 6mm 2 Match the arrow side of the mount...
Page 13: ...hat the bracket is locked in see Figure 2 Note To detach the mounting bracket from the mounting plate simply push the bracket up to unlock it 6 Position the bracket s adjustable screw to the desired a...
Page 14: ...code below using your mobile device s camera Shared users Settings Pause restart Video quality SD HD Date time Camera name Fullscreen view Audio 2 Way talk Recording Siren Warning light Privacy mode...
Page 15: ...e camera and the Lorex Home Hub is strong The weaker the signal the higher the power consumption Make sure the camera is not placed near an air conditioner or an air vent Cold temperatures affect the...
Page 16: ...a and the Lorex Home Hub is too far Make sure the camera is no more than 3ft from the hub during the set up process Make sure you are only pairing one camera to the Lorex Home Hub at a time Reset the...
Page 17: ...battery s insert Safety Rules for Lorex Rechargeable Batteries This camera includes an Auto Mechanical IR Cut Filter When the camera changes between Day Night viewing modes an audible clicking noise...
Page 18: ...ation Copyright 2020 Lorex Corporation As our products are subject to continuous improvement Lorex reserves the right to modify product design specifications and prices without notice and without incu...