volume can be adjusted by turning the
‘Alarm’
knob in the right side of the monitor.
Volume:
Press the
‘V+’
and
‘V-’
to adjust the volume. And these two buttons will be the up and down
navigation buttons after entering the menu interface.
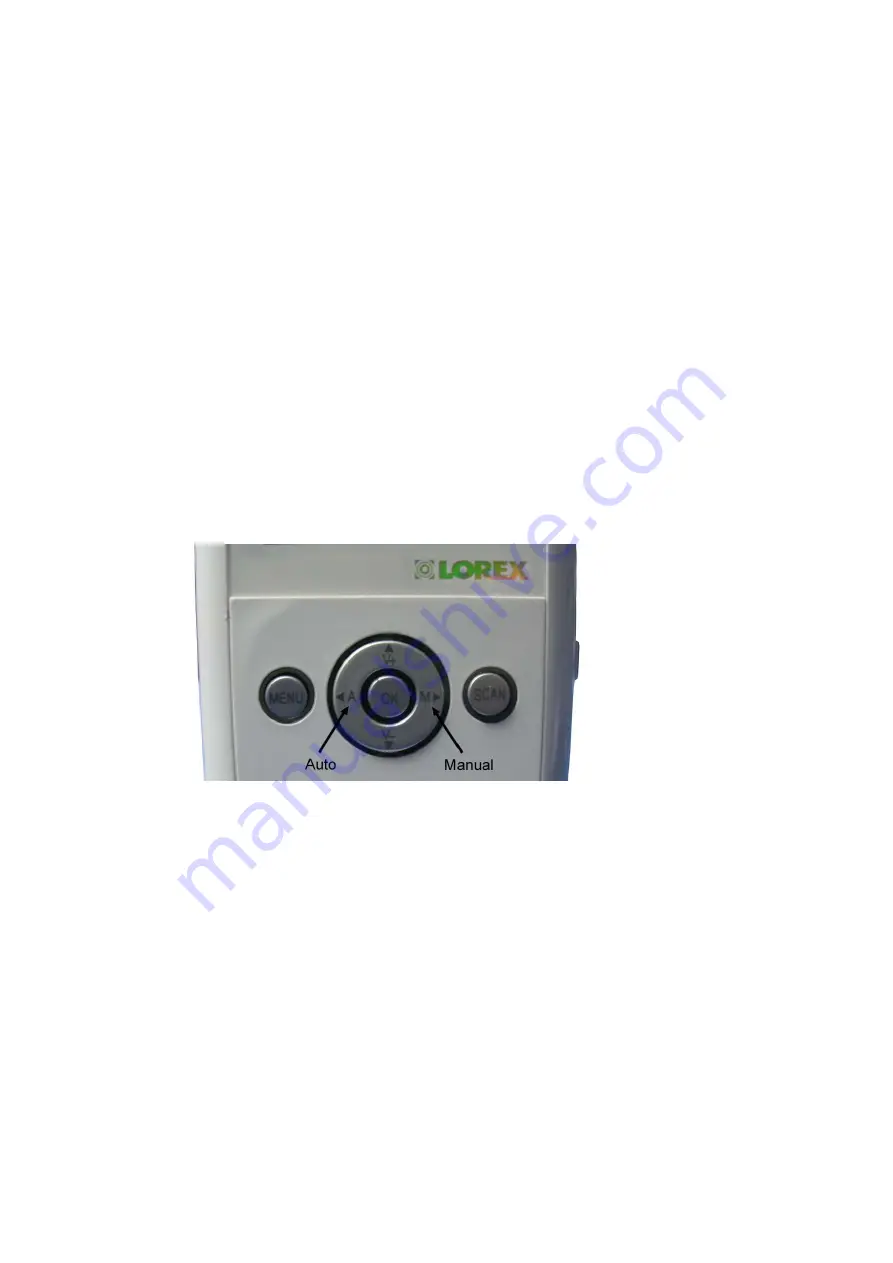
Manual/Auto:
For more than one camera use, press button
‘M’
to view the images from one camera to
another manually, and press button ‘A’ to view the images from one camera to
another camera automatically. These two buttons will be the left and right navigation
buttons after entering the menu interface.
Scan:
Pressing the ‘
Scan’
button places the system in
Scan
mode. The
monitor screen blanks into standby mode while the system continuously scans
active cameras. If sound is detected above the pre-set sound trigger level, the monitor
beeps and displays the camera picture. Several minutes after the last detection, the screen
returns to scan mode and the palm monitor resumes scanning. Pressing the
Manual
or
Auto
button will cancel this mode.
Set up the monitor
Press ‘
Menu
’ button in the front panel of the monitor to enter the main menu interface, then use the four
navigation buttons and
‘OK’
button to select and confirm each setting.
Pairing:
The monitor can receive the signal from the camera only when it is paired to the camera. The
standard kit has been already pre-paired before ex-factory, and the camera is defaulted as Cam1. For
multi-camera use, select
‘Pairing’
and then choose one channel. The monitor can support 4 cameras in
total. Press the
‘Pair’
button deep in the bottom of the monitor, the screen with display a sentence to
indicate users to press the
‘Pair’
button located in the back of the camera body in 10 seconds. After 10
seconds with no pressing the
‘Pair’
button in the camera, the operation will be automatically cancelled.
When the button is pressed, the camera will be successfully paired to the monitor.
II


