


6
To use the Function Control & Temperature Control, press
in to release the controls and then turn to the selected
position. The oven can be switched off by setting both of
these controls to the off position “0”.
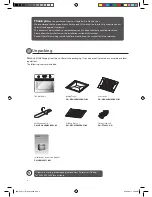
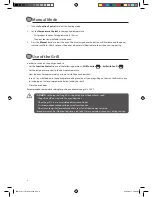
First Time Use of the Oven
Unpack the oven. Remove any insert cards or plastic bags. Use a damp cloth to carefully wipe the interior and
exterior of the oven. Clean all the detachable parts in hot, soapy water before using.
Heat the oven on maximum for 30mins. There may be a little smoke and odour upon initial start up (for about
15mins). This is normal. It is due to the protective substance on the heating elements which protects them from
the effects of corrosion during shipping from the factory.
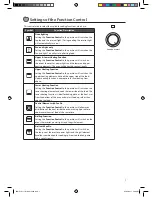
Using the Controls
The oven can be warmed up using the bottom and
top heaters, as well as the grill. Operation of the oven
is controlled by the oven Function Control and the
temperature regulator Temperature Control as well.
˚C
Temperature Control
During use the oven becomes hot. Care should be taken to avoid touching the heating elements
inside the oven.
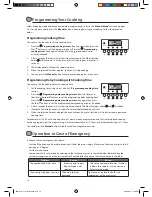
Oven On and Off
In order to switch on the oven you need to:
1. Set to the required temperature by turning the Temperature Control clockwise.
2. Set the Function Control to the required position by turning it clockwise.
3. Press the Manual button to start the oven. The blue lamp above the button and the power indicator will
flash. After 5 seconds the power indicator will illuminate to show the oven is operating.
4. After cooking. Press the Manual button to switch off the oven. Both the blue indicator and power indicator
will turn off. Turn the Temperature Control and the Function Control to the “0” position.
Setting the Clock
This is a 24-hour clock:
1. Press the button two times then press the or button to set the hour. Press the button again and
then press the or button to set the minutes.
2. Press the button again to confirm.
Function Control
LBMULX11_IB_final110520.indd 6
20/05/2011 4:46 PM


