background image

18

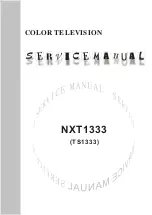
16. To make sure you activate Freeview Play select YES and press OK.

17. Your TV will now start the automatic channel scan. 

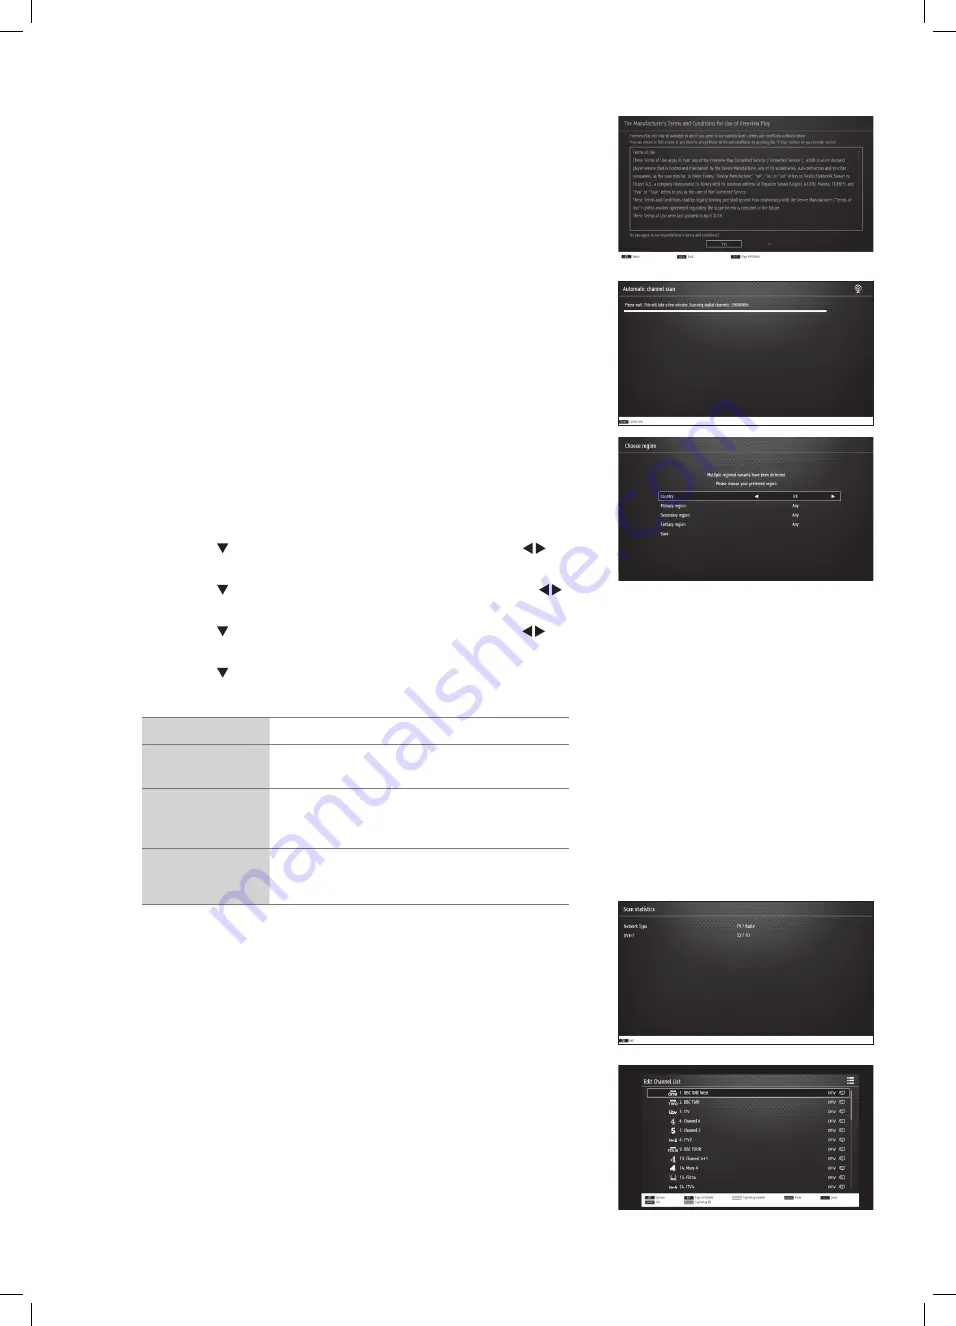
Choose Region (UK only)

During tuning, your TV may have received signals from more than one 
transmitter. If this has occurred the Choose Region screen will be displayed. 
This will enable you to select the correct regional transmission for the local 
news service that you require.

•  Press the   button to highlight Primary region, then press the     

buttons to select your Primary Region e.g. England.

•  Press the   button to highlight Secondary region, then press the     

buttons to select your Secondary Region e.g. London.

•  Press the   button to highlight Tertiary region, then press the     

buttons to select your Tertiary Region e.g. Greater London.

•  Press the   button to highlight Save then press OK.

Your TV is now fully tuned in.

Country Code

This will be shown as UK.

Primary Region

This will show the regional country (England, Wales, 
Scotland, NI).

Secondary Region

This will allow you to set the region for your local 
news service on BBC and ITV (London, Beds and 
Cambs etc).

Tertiary Region

You may receive signals from more than one 
transmitter within the Secondary Region, (e.g Beds 
and Cambs may have Luton or Sandy Heath).

18. The Scan statistics screen will now be displayed. This shows the amount of TV 

and Radio channels that have been tuned in. Press OK to exit.

19. The Edit Channel list will appear, press the EXIT button to remove this. Your TV 

is now fully tuned in and ready to use.

L55UE17_IB.indd   18

31/07/2017   10:54

Summary of Contents for L55UE17

Page 1: ...Instruction Manual 55 LED Smart 4K Ultra HD TV L55UE17 L55UE17_IB indd 1 31 07 2017 10 53...

Page 2: ...a USB Storage Device 25 Recording DTV Programmes onto a USB Storage Device 26 Timer Programming 27 Recording Configuration 28 Playing Recorded Programmes 29 Red Button Interactive services 30 Accessin...

Page 3: ...ettings 44 Sources 44 Resetting your TV 45 Parental Settings 46 Connecting a USB Storage Device 47 Viewing Videos 48 Viewing Photos 49 Listening to Music 50 Media Browser Settings 50 Maintenance 51 Hi...

Page 4: ...complete your fuss free installation we ll test and demonstrate your TV s functions FREESAT INSTALLATION We ll set up the Freesat receiver and connect it to your existing dish TV and cabling We ll the...

Page 5: ...table position on the wall and connect to your existing equipment so it s all ready to go We ll use neat wire management so you don t have to look at any untidy cabling and to complete your fuss free...

Page 6: ...rials placed between the television and supporting furniture Educating children about the dangers of climbing on furniture to reach the television set or its controls If your existing television set i...

Page 7: ...nt screen burn if viewing any of the above for long periods of time reduce contrast and brightness when viewing Once burn in occurs it will never disappear completely Country Restrictions for Wireless...

Page 8: ...ngle is intended to alert the user to the presence of uninsulated dangerous voltage within the unit s enclosure that may be of sufficient magnitude to constitute a risk of electric shock The exclamati...

Page 9: ...overhangs the edge of the table with the back side facing up Please make sure a soft cushioned material such as a dry bath towel or thick piece of foam is placed beneath the screen 3 Screw the foot a...

Page 10: ...th the supplied screw 4 Position the each foot onto the back of the stand They are marked Left and Right on the back of each foot Make sure you slide the lug under the recess 5 Using 3 of the supplied...

Page 11: ...from the remote control Do not put anything near the sensor as its function may be affected 3 FUNCTION BUTTONS Press and Hold to switch the TV into standby Press to view the Source menu Press to adjus...

Page 12: ...for smart TV services 8 Optic OUT Optical audio out Digital Connects to an audio device via an optical cable 9 ANT Connects to the aerial socket on the wall with the RF coaxial cable 10 HDMI 1 2 ARC...

Page 13: ...do not mix different types of batteries Do not dispose of used batteries as domestic waste Dispose of them in accordance with local regulations Handling the Remote Control Take care of your fingernail...

Page 14: ...hannel up or down the channel list 9 i info Press to see programme information in TV mode 10 MENU Display the main menu 11 Q MENU Press the select the Settings menu 12 OK Press OK to select or save a...

Page 15: ...urrent Language menu 23 Subtitles Press to switch subtitles on and off 24 Aspect ratio Press to adjust the aspect ratio of the picture AUTO 16 9 Subtitle 14 9 14 9 Zoom 4 3 Cinema 25 PLAYBACK and RECO...

Page 16: ...r language then press OK 5 Press the buttons to select your country 6 Press the button to highlight Teletext Language then press the buttons to select your language The majority of people will want th...

Page 17: ...Home Mode then press OK To access all the features of your Smart TV you must be connected to the internet If you do not wish to set up your network connection you can skip this section by pressing se...

Page 18: ...ertiary region then press the buttons to select your Tertiary Region e g Greater London Press the button to highlight Save then press OK Your TV is now fully tuned in Country Code This will be shown a...

Page 19: ...wish to switch the sound off press the button You can turn the volume down while your TV is in mute mode Press the VOL button you will see the volume level reduce but you won t hear anything at the mo...

Page 20: ...Off Adjusting this setting will reduce the brightness and power consumption of your TV or turn the screen off altogether Backlight Adjusts the backlight setting Only available when Custom Energy Savin...

Page 21: ...SETTINGS menu The equalizer modes are MOVIE SPEECH FLAT CLASSIC USER MUSIC Balance Adjusts the sound level from the left and right speakers Headphone Adjusts the volume level when listening to the TV...

Page 22: ...t the channel back you will need to tune your TV in again Edit name 1 Press the buttons to select the channel that you wish to change the name of 2 Press OK then press the buttons to select EDIT NAME...

Page 23: ...n 2 Press the BLUE button to view the CHANNEL LIST FILTER 3 Press buttons to select FAVOURITES then press the buttons to select the favourite list 1 4 that you want to view The channel list will now j...

Page 24: ...grammes Press the YELLOW button to return back to the Timeline schedule GREEN List Schedule 1 Press the GREEN button to view the List Schedule It will list the next programmes that are on the selected...

Page 25: ...r day Search This is the field that you wish to search though Select ALL CHANNELS ALL TV CHANNELS ALL RADIO CHANNELS CURRENT CHANNEL LIST SINGLE CHANNEL Channel If you have selected SINGLE CHANNEL you...

Page 26: ...utton If the transfer rate of the USB storage device is too slow for recording or time shift function a warning statement will be shown on the screen If this happens please upgrade your USB storage de...

Page 27: ...will pop up You can only record the programme that you are currently watching 1 Press the button to record the programme that you are currently watching Recording will stop automatically when the dis...

Page 28: ...o change or delete the recording DISALLOWED You will have to enter the PIN code to change or delete the recording Playback Press the buttons to select USE PARENTAL SETTINGS DISALLOWED or ALLOWED You w...

Page 29: ...ou would like the recording to start before the programme starts max 10 mins End late Press the buttons to select an amount of time you would like the recording to end after the programme finishes max...

Page 30: ...ss OK NAME NAME REVERSED START OLDEST FIRST START NEWEST FIRST LENGTH SHORTEST FIRST LENGTH LONGEST FIRST UNVIEWED FIRST VIEWED FIRST OK Play Options Press the buttons to select the recording that you...

Page 31: ...ss the button to display the main information page You may see slightly different looking pages depending if your TV is accessing the page over air or via the internet 2 Follow the instructions on the...

Page 32: ...then press to select SETTINGS then press OK 2 Press the buttons to select NETWORK INTERNET SETTINGS then press OK 3 Press the buttons to select wired The word connected will appear to show you are now...

Page 33: ...Press the buttons to select WIRELESS DEVICE 2 Press the YELLOW button to scan for your wireless network router A message saying Please wait will appear while your TV searches for all the wireless net...

Page 34: ...de Any programme with an next to it can be viewed 1 Press the F Play button on your remote control to access the Programme Guide 2 Press the to highlight the program that you wish to view Remember it...

Page 35: ...y highlighting the apps at the top of screen Press the to highlight the desired app then press OK Genre Search You can search for content by genre All Comedy Drama Soaps Entertainment Kids Factual Lif...

Page 36: ...Apps 2 Services 3 Videos 4 TV Apps 5 All Apps Press the NUMBER buttons to select these tabs 3 To select an App press the to highlight the App then press OK If the App is already in your My Apps sectio...

Page 37: ...app from My Apps 1 Press the YELLOW button to make sure you are in the My Apps section 2 Press the buttons to highlight the app that you would like to delete 3 Press the NUMBER 1 to open the OPTIONS m...

Page 38: ...T WALLPAPER and press OK 2 A list of wallpapers will be displayed press the buttons to highlight the wallpaper you would like then press OK 3 The display will say its SAVED SUCCESSFULLY and when the s...

Page 39: ...make them quicker and easier to find 1 Press the buttons to highlight BOOKMARKS then press the button to highlight ADD TO BOOKMARKS then press OK 2 Enter the name of your bookmark e g BBC and the add...

Page 40: ...t and press OK The web browser will open and show the page Editing Speed Dial You can move re name or delete your speed dials 1 Press the buttons to highlight EDIT SPEED DIAL then press OK 2 A tick an...

Page 41: ...3 Switch the TV on CI Common Interface DTV Mode The common interface allows the use of a Common Access Module to enable you to view scrambled pay to view services These services are provided by TopUp...

Page 42: ...tons to select ACCESSIBILITY SETTINGS and then press the OK button 3 Press the buttons to select TIME SETTING MODE and then press the buttons to select MANUAL 4 Press the buttons to select TIME ZONE t...

Page 43: ...certain amount of time OFF 1 HOUR 2 HOURS 3 HOURS 4 HOURS 5 HOURS 6 HOURS 7 HOURS 8 HOURS Store Mode Press the to select enable or disable store mode Store mode will brighten the display Audio Video S...

Page 44: ...making sure you use the HDMI2 ARC socket on the back of the TV The plug in and switch on at the mains 3 Press the MENU button and then press the buttons to select the SETTINGS and then press the OK b...

Page 45: ...ur preferred teletext language Guide Press the buttons to select your preferred guide language Current Audio Shows the current audio language this may not be able to be changed Subtitle Shows the curr...

Page 46: ...s the OK button The INSTALL AND RETUNE menu will be displayed 2 Press the buttons to select FIRST TIME INSTALLATION and then press the OK button 3 Press the buttons to select YES the press OK The scre...

Page 47: ...AL SETTINGS menu will appear on screen Menu Lock You can lock all of the menus or just the installation menus Press the buttons to select ALL MENUS INSTALLATION MENUS OFF If you choose to lock the men...

Page 48: ...y as it will take time to start up and stabilise the connected hard disk This is normal and the starting time may vary depending on the brand and the memory size of the connected hard disk Disconnect...

Page 49: ...ress the buttons to select the video you wish to play then press the OK button The video will start to play buttons Plays the next or previous video button Stops the video LANG button Shows the Subtit...

Page 50: ...s the photos by date YELLOW button Changes the menu style BLUE button Changes to another media 3 Press the buttons to select the photo you wish to view then press the OK button The photo will now be d...

Page 51: ...epeat or shuffle the tracks RED button Sorts the tracks by Title Artist Album YELLOW button Changes the menu style BLUE button Changes to another media button Pauses the track press again to resume pl...

Page 52: ...remote control causing an obstruction Ensure that you are pointing the remote control directly at the TV Ensure that the batteries are installed with the correct polarity to to Install new batteries P...

Page 53: ...The Apps on your TV may have been updated or even removed this can happen at any time Its normal and not a fault of your TV FAQs Frequently Asked Questions Why have I lost some all of my channels It...

Page 54: ...W x 785 H x 251 D Weight Net 13 85kg Inputs Output AV 1 HDMI 2 HDMI 2 with ARC PC RGB VGA 1 BACK AV L R 1 YPbPr 1 Common Interface 1 USB 2 x USB 2 0 Side and Rear ANT Aerial socket 1 SPDIF Optical 1 H...

Page 55: ...TV L55UE17 is in compliance with Directive 2014 53 EU The full text of the EU declaration of conformity is available at the following internet address https tinyurl com knowhowdoc Declaration of Conf...

Page 56: ...allowances 7 day catch up for selected channels The FREEVIEW words and logos are trade marks of DTV Services LTD DTV Services Ltd The terms HDMI and HDMI High Definition Multimedia Interface and the...

Reviews: