


GB-37
Pr
epar
ation
Connec
tions
Initial
Setup
U
sing
the
Fea
tur
es
H
in
ts
and
Tips
, Specifica
tion
and
Saf
et
y
W
ar
nings
U
sing
the
Fea
tur
es
via
USB
por
t
2.
Press the
buttons to select
Blue Mute
and then press the button.
3.
Press the buttons to select On/Off.
4.
Press the
MENU
button to save the settings and return back to the previous
menu.
5.
Press the
EXIT
button to exit the menu.
4.
Press the
MENU
button to save the settings and return back to the previous
menu.
5.
Press the
EXIT
button to exit the menu.
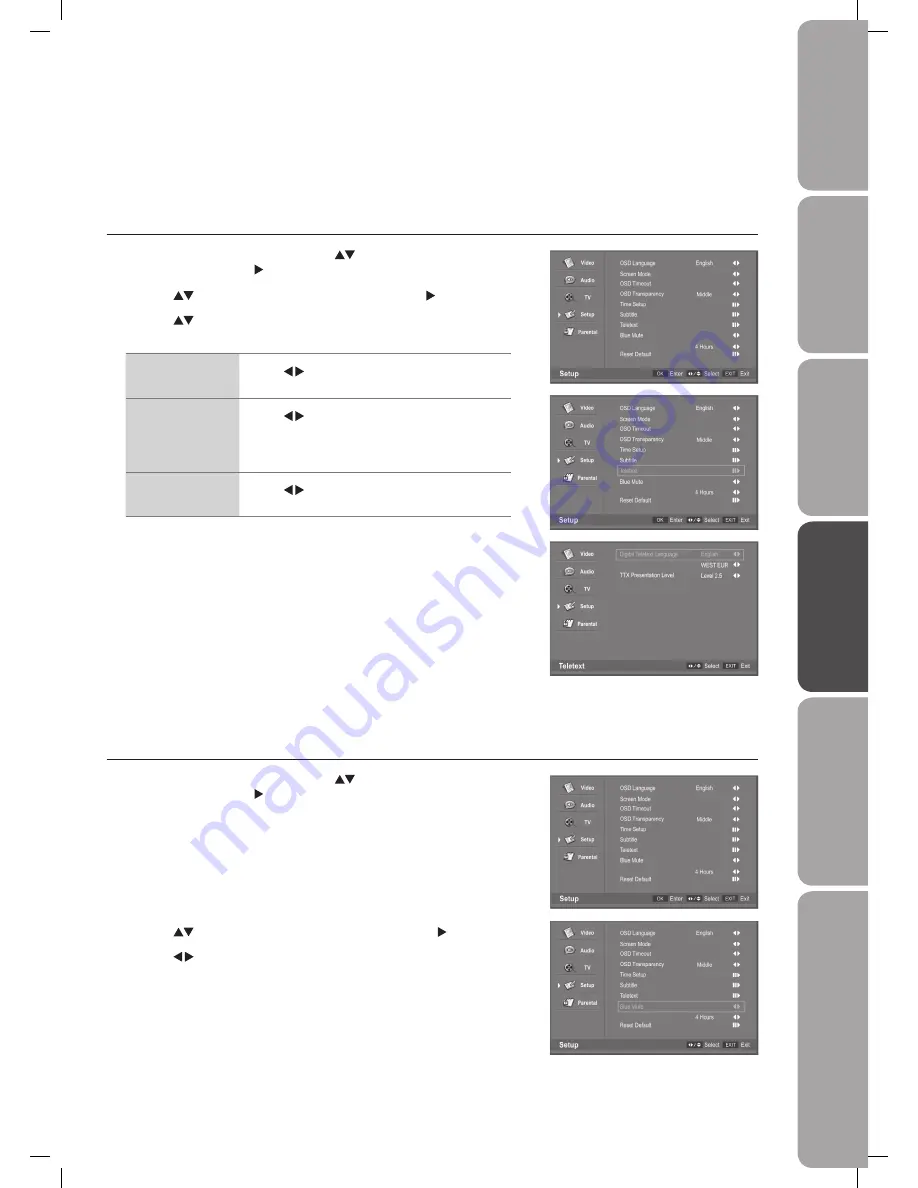
Teletext
Allows you to select Digital Teletext Language / Decoding Page Language / TTX Presentation Level.
1.
Press the
MENU
button and then use the
buttons to select the
Setup
menu and then press the button.
2.
Press the
buttons to select
Teletext
and then press the button.
3.
Press the
buttons to select Digital Teletext Language / Decoding Page
Language / TTX Presentation Level.
Digital Teletext
Language
Use the buttons to select the Digital Teletext
Language.
Decoding Page
Language
Use the buttons to select the Decoding Page
Language: Arab / Byelorussian / WEST EUR / EAST
EUR / RUSSIA / RUSSIA-2 / GREEK / Turkey / Arab/
Hbrw / Farsian
TTX Presentation
Level
Use the buttons select the TTX Presentation
Level: Level 1.5 / Level 2.5.
4.
Press the
MENU
button to save the settings and return back to the previous
menu.
5.
Press the
EXIT
button to exit the menu.
Off
30S
Auto
Auto Standby
Off
30S
Auto
Auto Standby
Off
30S
Auto
Auto Standby
Off
30S
Auto
Auto Standby
Decoding Page Language
Blue Mute
Allows you to On /Off Blue screen.
1.
Press the
MENU
button and then use the
buttons to select the
Setup
menu and then press the button.
L32DIGB20_IB_final110325_running change_PN not updated.indd 37
25/03/2011 7:12 PM