QUICK START
Logicube ZXi-
10G™ User’s Manual
14
2.
Tap
Mode
and select
Drive to Drive, Image to Drive, or Drive to Image
then tap the
OK
icon.
3.
Tap the
Master
(or
Image File
)
icon and choose the Master or image file to be restored
from the list of connected drives then tap the
OK
icon.
4.
Tap the
Settings
icon and adjust the settings as needed (
Job Info
,
Clone Method
Settings, HPA/DCO
,
Error Handling
,
Hash/Verification Method
,
etc.
) then tap the
OK
icon.
The Settings screen may be different in each of the modes.
Details on the different Settings screens can be found in
Chapter 5: Types of Operations
Log file names can be set in
Settings
in the
Job Info
screen by
entering a Job Name. See
5.
Tap the
Target
(or
Image File
)
icon and select the Target or Image File then tap the
OK
icon.
For
Drive to Image
, the ZXi-10G must be used to format
drives. If the Target drive is not formatted by the ZXi-
10G, the
Format
icon will appear in the Format column.
Tap the
(Format)
icon to format the Target drive.
6.
Tap the
Start
icon to start the cloning task.
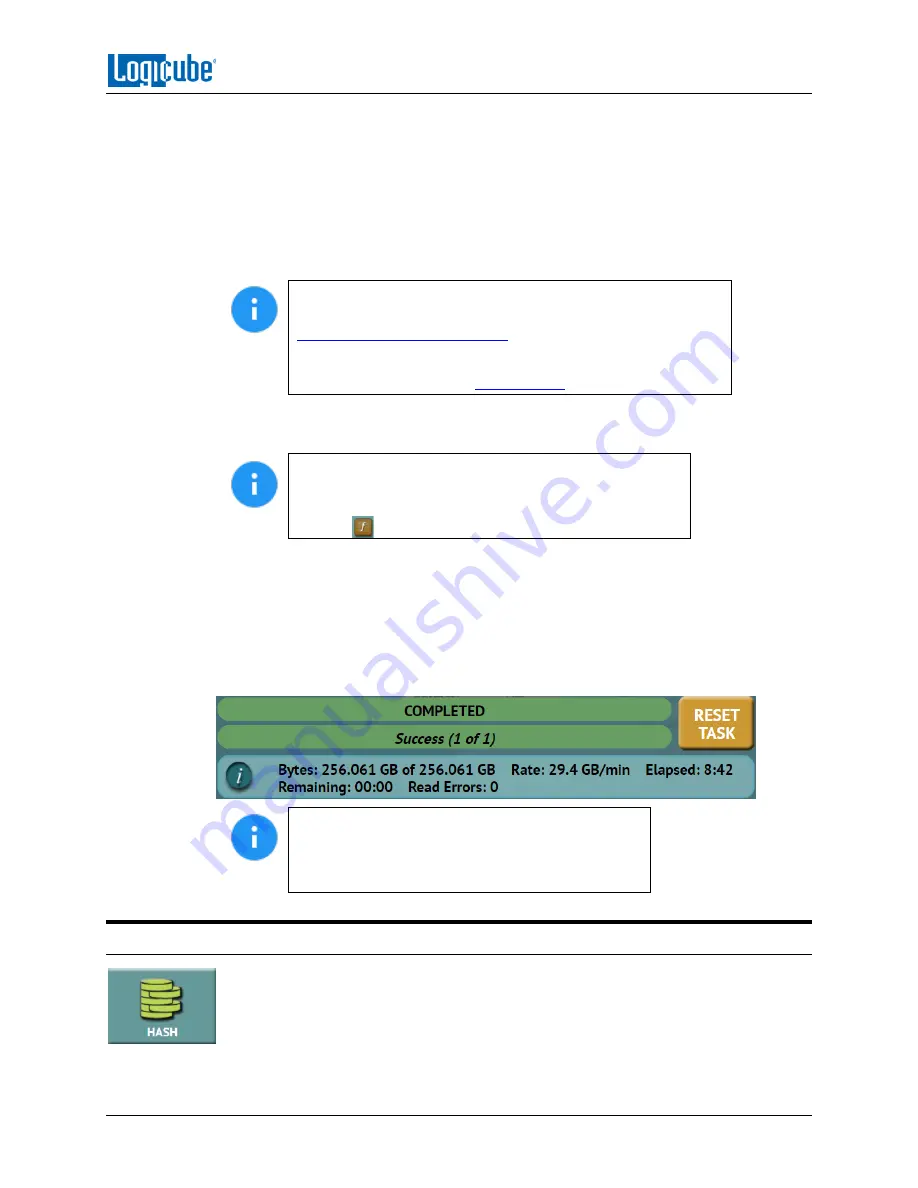
7.
A progress bar will appear at the bottom of the screen showing the bytes processed,
the rate (speed), elapsed time, and time remaining.
8.
When finished,
the status will show “COMPLETED”. At this point, it is recommended to
tap
Reset Task
to reset the task, so the drive bays properly reset and do not show as
being used or assigned for other tasks.
The number of bytes shown on the progress bar is
not the actual size of the drive. These are the
actual bytes being processed. When ‘Verify’ is set
to “Yes”, the reported number will double in size.
3.3 Hash
A hash or operation can be performed on any connected drive. Performing a hash
task will instruct the ZXi-10G to calculate the hash for the specified drive or validate
the hash value for that drive.


