IAN 106819
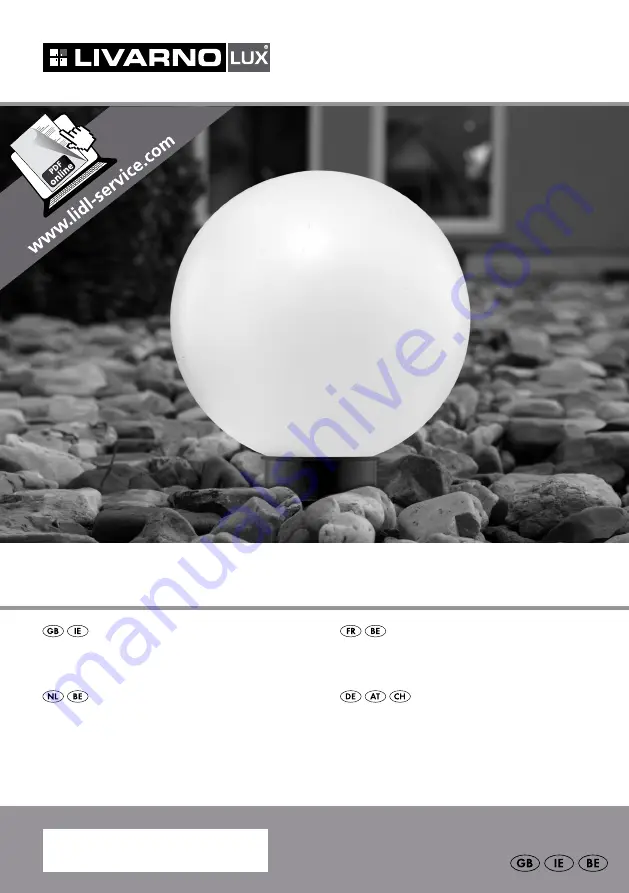
SOLAR-POWERED LED LIGHT BALL
SOLAR-POWERED LED LIGHT BALL
Operation and Safety Notes
BALISE SOLAIRE À LED
Instructions d‘utilisation et consignes de sécurité
LED-SOLAR-KUGELLEUCHTE
Bedienungs- und Sicherheitshinweise
LED-SOLAR-BOLLAMP
Bedienings- en veiligheidsinstructies
IAN 106820


