


Chapter 4: Connecting the Wireless-G Range
Expander
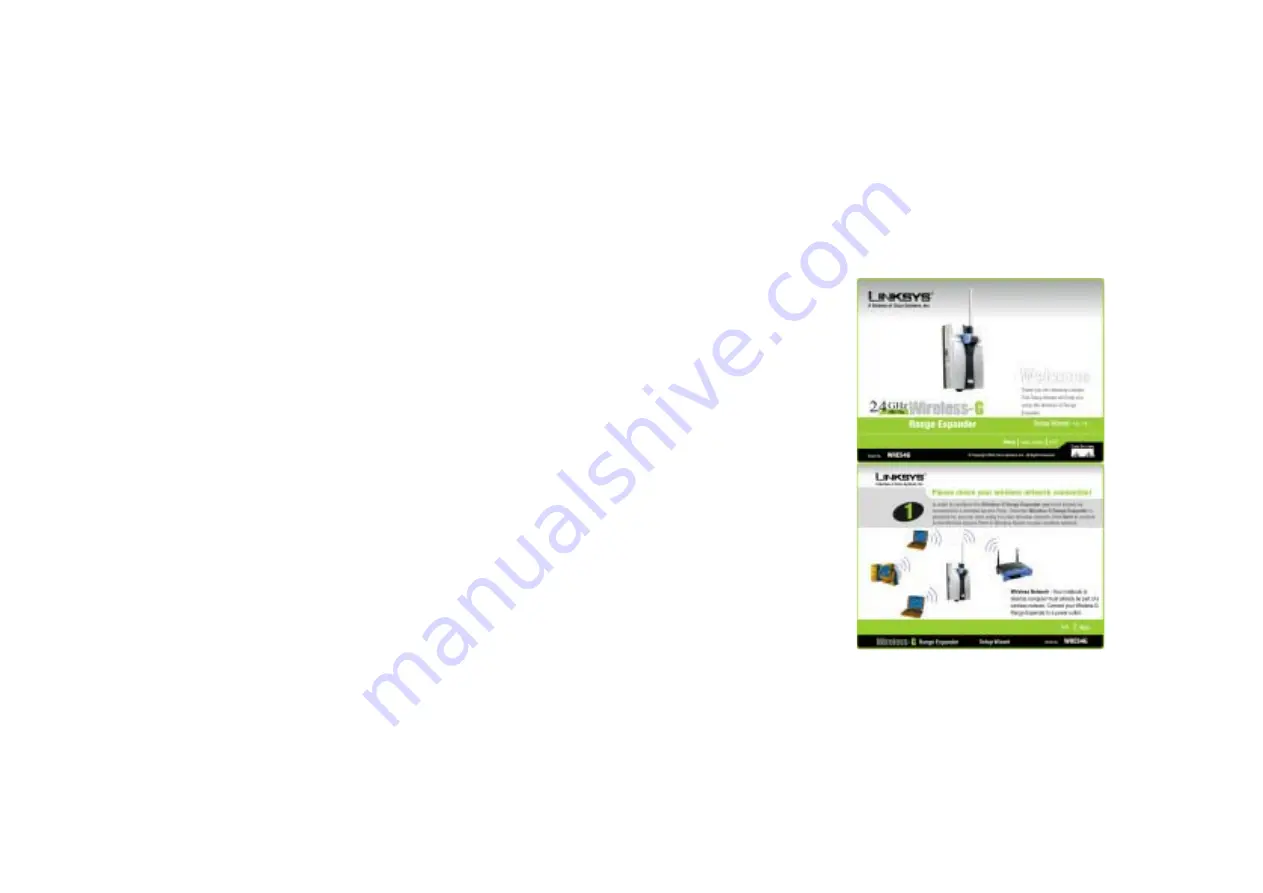
The Setup Wizard will take you through all the steps necessary to configure the Wireless-G
Range Expander. Before you start it, your notebook or desktop computer must already be part
of a wireless network.
1. Power on your Access Point and make sure cables are properly connected.
2. In order to configure the Wireless-G Range Expander you mush already be connected to a
wireless Access Point.
3. Power on your Wireless-G Range Expander by connecting your Wireless-G Range Expander
to a power outlet.
4. Once the Wireless-G Range Expander is powered on, you can access it in your wireless
network.
5. Insert the Setup Wizard CD into the CD-ROM driver of your PC or notebook that has already
be part of a wireless network.
6. The screen should appear on your monitor. If it does not, this means the auto-run is not
functioning. Start the auto-run manually by clicking the Start button, selecting Run, and typing
D:\setup.exe (if “D” is your CD-ROM drive). Click the Setup button to run the Setup Wizard.
7. Click the Next button to continue or Exit to exit the Setup Wizard.
8. The next screen to appear will display a list of the access points on your network, along with
the status information for each access point. If there is only one access point on your
network, it will be the only one displayed. If there are more than one displayed, select the
Access Point you want to connect to. Once you have connected to an Access Point, the


