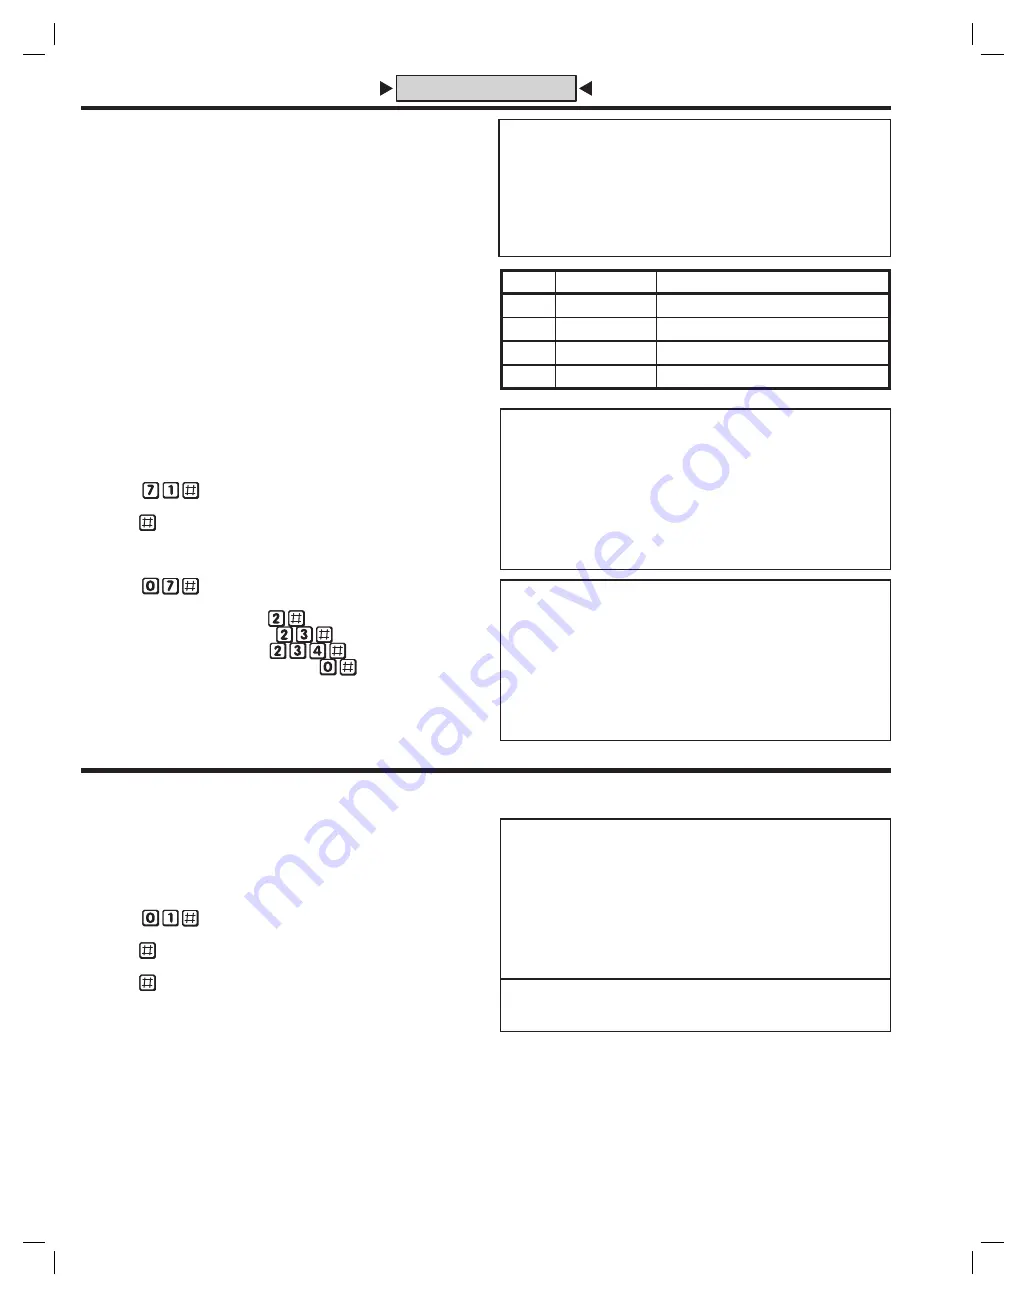
background image

16

Multi-unit Installations

Up to four AE-100 units may be connected to the same dedicated 
telephone line to form a simple network. Connecting multiple units allows 
transferring programming data (either the directory entries only or the 
entire memory’s contents) from the “master” unit to the other sub-units 
using the system utility commands.
In multi-unit installations each AE-100 must be assigned a unique unit 
number before programming. The unit number allows connecting to a 
specifi c unit when calling for programming and identifi es the other units 
to the master unit. One unit must be assigned as “Master Unit #1”.


NOTE

:

 If this is the only unit used in the installation, leave the factory 

setting at one. Skip this programming section.

These programming steps can only be performed at the AE-100’s keypad, 
they cannot be done remotely via the telephone. For each of the following 
steps, enter the Master Password and enter Programming Mode (if the 
unit is not already in that mode).

Setting Unit Numbers

Perform the following steps on 

each

 AE-100 unit 

connected to the 

same telephone line

1. Press:


2.  Enter the unit number (1-4). Make the master unit #1.

3

. Press 

Setting Sub-unit Numbers in the Master Unit

Perform the following steps on the 

master unit.

1. Press:   


2.  Enter the unit numbers of all of the sub-units:

In a two unit installation enter 

• 


In a three unit 

• installation 

enter 


In a four unit 

• installation 

enter 


To reset to a single-unit installation enter

• 


(also be sure to set the unit number back to Unit #1)


NOTE

:

 If one of the sub-units goes down for service or is removed from the 

installation, notify service personnel to reprogram this step on the master 
unit to remove the missing sub-unit. This will prevent errors when the master 
unit tries to communicate with the missing sub-unit.

Changing the Master Password

Use this programming step to change the six-digit Master Password.

In multiple-unit installations

 each unit 

can

 have a unique Master 

Password, but for simplicity and for easier service, it’s recommended to 
use the same Master Password for each unit.

1.  If not already in Programming Mode, connect by telephone or use the 

keypad. Enter the Master Password and access programming.

2. Press:     


3

.  Enter the new 6-digit Master Password.

4. Press 
5.  Enter the new 6-digit Master Password again.
6. Press 
7. 

Write down the new Master Password here and on Page 

3

 of the 

Facility Manager’s 

G

uide.

PPN 01

01#PASS#PASS#

PASS = THE NEW 6-DIGIT MASTER PASSWORD

CHANGING THE MASTER PASSWORD

FACTORY SETTING: 123456

PPN 71

71#UNIT#

UNIT = UNIT NUMBER (1-4) FOR MULTI-UNIT INSTALLATION

SETTING A UNIT NUMBER

FACTORY SETTING: UNIT NUMBER 1

PPN 07

07#SUB-UNITS#

SUB-UNITS = EACH UNIT NUMBER (2-4) USED IN
A MULTI-UNIT INSTALLATION

SETTING SUB-UNIT NUMBERS

FACTORY SETTING: NONE

WRITE MASTER PASSWORD HERE

__  __  __  __  __  __

STANDARD PROGRAMMING METHOD

NOTE: 

AFTER SETTIN

G

 UP A MULTI-UNIT INSTALLATION WITH 

THESE STEPS, WRITE IN THE UNIT LOCATIONS 

B

ELOW AND 

ON PA

G

6

 IN THE FACILITY MANA

G

ER’S 

G

UIDE TO INDICATE 

TO THE FACILITY MANA

G

ER THE UNIT NUM

B

ERS ASSI

G

NED 

AND THEIR LOCATIONS.

UNIT #

UNIT TYPE

UNIT LOCATION

1

MASTER UNIT

2

SUB-UNIT

3

SUB-UNIT

4

SUB-UNIT

Summary of Contents for ACCESS AE-100 Guide

Page 1: ...340 www linearcorp com AE 100 Commercial Telephone Entry System PRINTER S INSTRUCTIONS INSTR INSTL AE 100 LINEAR P N 225787 C INK BLACK MATERIAL 20 LB MEAD BOND SIZE 8 500 X 11 000 SCALE 1 1 FOLDING A...

Page 2: ...ice for the hearing impaired OPTIONAL COLOR CCTV CAMERA System supports a Model CCM 1 color CCD camera for viewing the visitor area FLEXIBLE TELEPHONE LINE CONNECTION Telephone line can connect to on...

Page 3: ...call this feature gives residents the capability to talk to a visitor and grant access by using their entry code on the telephone s keys Operation In a typical installation the unit s memory is progra...

Page 4: ...STAL LOCK OPTIONAL SPEAKER MICROPHONE CONNECTOR SPEAKER CONNECTOR DISPLAY CONTRAST ADJUSTMENT SPEAKERPHONE VOLUME ADJUSTMENT POSTAL LOCK MICROSWITCH RESET BUTTON FOR EASY WIRING THE UNIT S GREEN TERMI...

Page 5: ...NECT TELEPHONE LINE TO TERMINALS OR TELEPHONE JACK 12 VOLT BATTERY WIRING NOTES 1 FOR POWER TRANSFORMER WIRE RUNS UP TO 100 FEET USE 18 AWG THHN 600 VOLT INSULATED WIRE 2 FOR POWER TRANSFORMER WIRE RU...

Page 6: ...ted from the AE 100 NEVER MOUNT THE UNIT DIRECTLYTO A MOVING DOOR OR GATE Gate Installations If the AE 100 is used to control a gate operator connected to a vehicular gate the unit MUST be mounted AT...

Page 7: ...the inside of the cabinet Pedestal Mounting The cabinet can be mounted on a standard goose neck pedestal Linear offers two types of pedestals The Model GNC 1 is a 42 high curb mount pedestal P N ACP00...

Page 8: ...piece 7 Drill 3 16 holes in the cabinet s six pre marked locations CAUTION After drilling remove any metal chips from the inside of the cabinet 8 The trim ring is supplied with four adhesive mylar sti...

Page 9: ...CONDUIT Route all telephone wires inside a dedicated conduit that is at least six inches away from any AC line wiring All telephone wiring must be made on the building side of the telephone company s...

Page 10: ...At the master unit connect all the sub unit 2 conductor telephone cables to the master unit s TELEPHONE terminals polarity not important Multiple Units Daisy chain Wired 1 Mount and install the master...

Page 11: ...with double stick tape or by using another secure method 1B For an external backup battery cut off the two spade lugs from the AE 100 s battery wires Route two red and black 18 AWG wires between the...

Page 12: ...quire the use of a video amplifier NOTE The composite video signal can be viewed on a video monitor Alternately a Linear ChannelPlus brand video modulator can be used to convert the video signal to an...

Page 13: ...ACCESS RELAY ACTIVATION ON 64 70 MAXIMUM VISITOR TALK TIME 60 SECONDS 71 08 ASSIGN UNIT NUMBER 1 77 77 RESIDENT CONTROL OF ACCESS RELAY ON 95 95 RESIDENT CALL BACK OFF ACCESS DATA CONTROL 21 01 ADD A...

Page 14: ...correct the display will show ENTER FUNCTION 6 Programming commands can now be entered on the keypad Refer to the following sections of this manual for programming step details Also refer to the figu...

Page 15: ...Prompts When programming over the telephone each programming step consists of entering programming data using the telephone s keypad The system will sound beeps over the telephone to indicate correct...

Page 16: ...ure to set the unit number back to Unit 1 NOTE If one of the sub units goes down for service or is removed from the installation notify service personnel to reprogram this step on the master unit to r...

Page 17: ...een set it can be modified to change a resident s Name Telephone Number or Entry Code NOTE This step cannot be performed remotely through the telephone 1 Press 2 Enter the resident s Directory Code 3...

Page 18: ...ally 1 Press 2 Enter the new Stand alone Entry Code 3 Press 4 Enter the new Stand alone Entry Code again for verification 5 Press Deleting a Stand alone Entry Code Stand alone Entry Codes can be delet...

Page 19: ...es 1 Press 2 Enter the time in seconds for access relay to stay activated 04 99 3 Press Welcome Display Text The AE 100 display will show a visitor a welcome message alternating with instructions on h...

Page 20: ...nect the visitor after 60 seconds At ten and five seconds before the disconnect a tone will sound on the telephone to remind the resident of the pending disconnect The resident can extend the talk tim...

Page 21: ...rformed from the master unit CAUTION This utility command will overwrite ALL the access data in the selected sub units 1 Press 2 Enter the unit number s of all of the sub units to receive the access d...

Page 22: ...ually from the keypad for a period of hours 1 Press 2 Enter the amount of time in hours 01 98 for the access relay to latch 3 Press Latch Access Relay For servicing or testing while in Programming Mod...

Page 23: ...s keypad select which programming method is used for the current programming session Entering programming by pressing keys together will select the Alternate Programming Method other manufacturer s st...

Page 24: ...cannot be duplicated 3 Each Directory Code represents one tenant 4 Delete unused Directory Codes to avoid running out of memory 5 Tenant Names can be entered in any order The system will display the...

Page 25: ...wo seconds to enter 1 4 two second pauses Note each pause entered counts as one of the 14 digits allowed in the telephone number Step 7 To keep the Access Code press Step 8 To change the Access Code e...

Page 26: ...he Directory Code length factory default is 3 digits NOTE In multi unit installations if sub units are being updated with access data that has Directory Codes with more digits than the sub unit is set...

Page 27: ...to then press one short beep sounds Step 3 Enter 5 for verification then press two short beeps sound Any entry other than 5 will cancel the command NOTE To allow for multi unit network communications...

Page 28: ...y over the telephone the system will disconnect your call after Step 3 then copy the data from the master unit to the sub units 35 DISPLAY CLEAR SYSTEM ERRORS The system s power indicator will flash i...

Page 29: ...unction Code 70 then press Step 2 The display will show the current talk time setting Enter the new talk time 010 180 seconds Step 3 Press Step 1 Enter Function Code 70 and press one short beep sounds...

Page 30: ...ction Code 75 and press one short beep sounds Step 2 Enter 0 to turn the keystroke chirps OFF Enter 1 to turn the keystroke chirps ON Step 3 Press two short beeps sound 76 SPEAKER TONE ON ACCESS RELAY...

Page 31: ...Function Code 93 again for verification then press NOT AVAILABLE 95 TENANT CALL BACK The tenant call back feature allows the AE 100 to answer the telephone and switch to speakerphone mode if the tele...

Page 32: ...he viewing angle of the display in the installation causes the display to look too dark or too light the display s contrast can be adjusted 1 Locate the DISPLAY CONTRAST adjustment on the main circuit...

Page 33: ...he resident answers the call and converses with the visitor to determine if access should be granted The resident can use their telephone s keypad to grant access activating the access relay by pressi...

Page 34: ...Power 16 VAC from supplied plug in transformer Current Consumption 200 mA idle 500 mA operating Backup Battery 12 Volt sealed lead acid gel cell not included Built in charger with up to 7 A H battery...

Page 35: ...uential damages arising out of or in connection with use or performance of this product or other indirect damages with respect to loss of property revenue or profit or cost of removal installation or...

Page 36: ...Copyright 2008 Linear LLC 225787 C...

Reviews: