


IM 6000
Idealarc R3R 500-I & 600-I
Page 11
MAINTENANCE
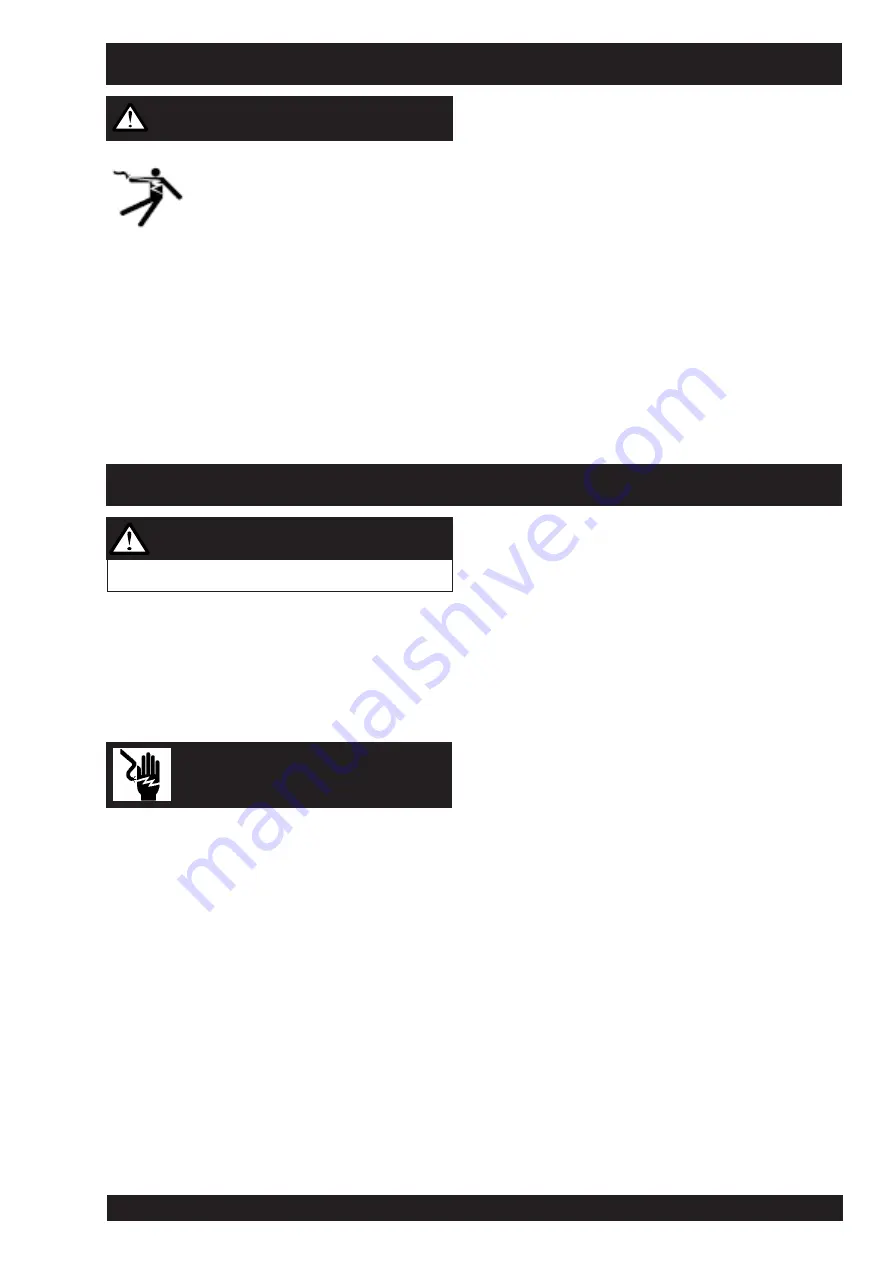
ELECTRIC SHOCK can kill.
• Have an electrician install and service this
equipment.
• Turn the input power off at the fuse box
before working on equipment.
• Do not touch electrically hot parts.
ROUTINE MAINTENANCE
1.
The fan motor has sealed bearings which require no
service.
2.
In extremely dusty locations, dirt may clog the air channels
causing the welder to run hot. Blow out the machine at
regular intervals.
POCKET AMPTROL
Routine cleaning should be the only maintenance required. The
probe tip should be kept in condition to provide sharp edges at the
ends to assure penetration of heavy oxide coatings on the work
piece. A blunted tip could result in giving different welding currents
for a given dial setting.
POWER RECTIFIER REPLACEMENT
Refer to the troubleshooting section “Power Rectifier Bridge
Assembly Checking Procedure” if a rectifier failure is suspected
Note: Since proper material and correct assembly procedures are
critical, field disassembly of the power rectifier bridge sections can
do more harm than good. Return a defective rectifier bridge
section (or the entire bridge) to the factory for repairs.
WARNING
Note: This procedure is for 'machines as built' many modifications
could have taken place over the life of a particular machine, so
details of this procedure may need to be 'adjusted' to suit these
modifications.
For prompt service contact your local authorised Lincoln field
service shop.
The insulation resistance values listed below are from Australian
Standard AS1966.1
1)
Disconnect input power mains supply.
2)
Remove welding leads (electrode cables and work lead)
from the machine before any tests are carried out.
3)
Remove all connections from the PCB. Install a shorting
socket into the 2 harness plugs. (Shorting plugs or machine
wiring harness must not touch any part of PCB or PCB
mountings during mega testing.
4)
Short leads 201, 202, 203 & 204 together. (Away from
ground and the PCB).
5)
Short Gate leads G1, G2 & G3 together. (Away from ground
and the PCB).
6)
Jumper all input and output lead connections on the input
contactor (1CR).
7)
Short each Diode and SCR on the Power Rectifier Bridge.
8)
Disconnect the ground lead on the snubber network
mounted on the case front.
9)
Jumper volt and amp meter terminals, (if fitted).
10)
Input circuit test: connect one lead of the mega tester to the
frame of the machine and the other lead to the input
contactor jumper. Apply the test. (Min resistance 1M
Ω
).
11)
Welding circuit test: connect one lead of the mega tester to
the frame of the machine and the other lead to the positive
output stud. Apply the test. (Min resistance 1M
Ω
).
12)
Input circuit to welding circuit test: connect one lead of the
mega to the input contactor jumper and the other to the
positive output stud. Apply the test. (Min resistance 1M
Ω
).
13)
Auxiliary circuit test: connect one lead of the mega tester to
the frame of the machine and the other lead to the power
On-Off switch terminals. Apply the test. (Min resistance
1M
Ω
).
14)
Remove all shorting plugs, and jumpers and reconnect all
plus and leads.
If any problems are encountered refer to your nearest authorised
Lincoln Field Service Shop.
GROUND TEST PROCEDURE
ELECTRIC SHOCK
can kill
WARNING
This procedure is only suitable for applications using DC
mega testers up to 500V.