4. Operation
DVI-OPT-220-Pro series – User's Manual
14
4.1.
Powering on
Connect the power cord to the AC input connector; the extender is
immediately powered on. After the self-test, the last configuration is
loaded automatically.
The receiver has more powering possibilities. For more details, see
4.2. Front Panel LCD Menu Operations
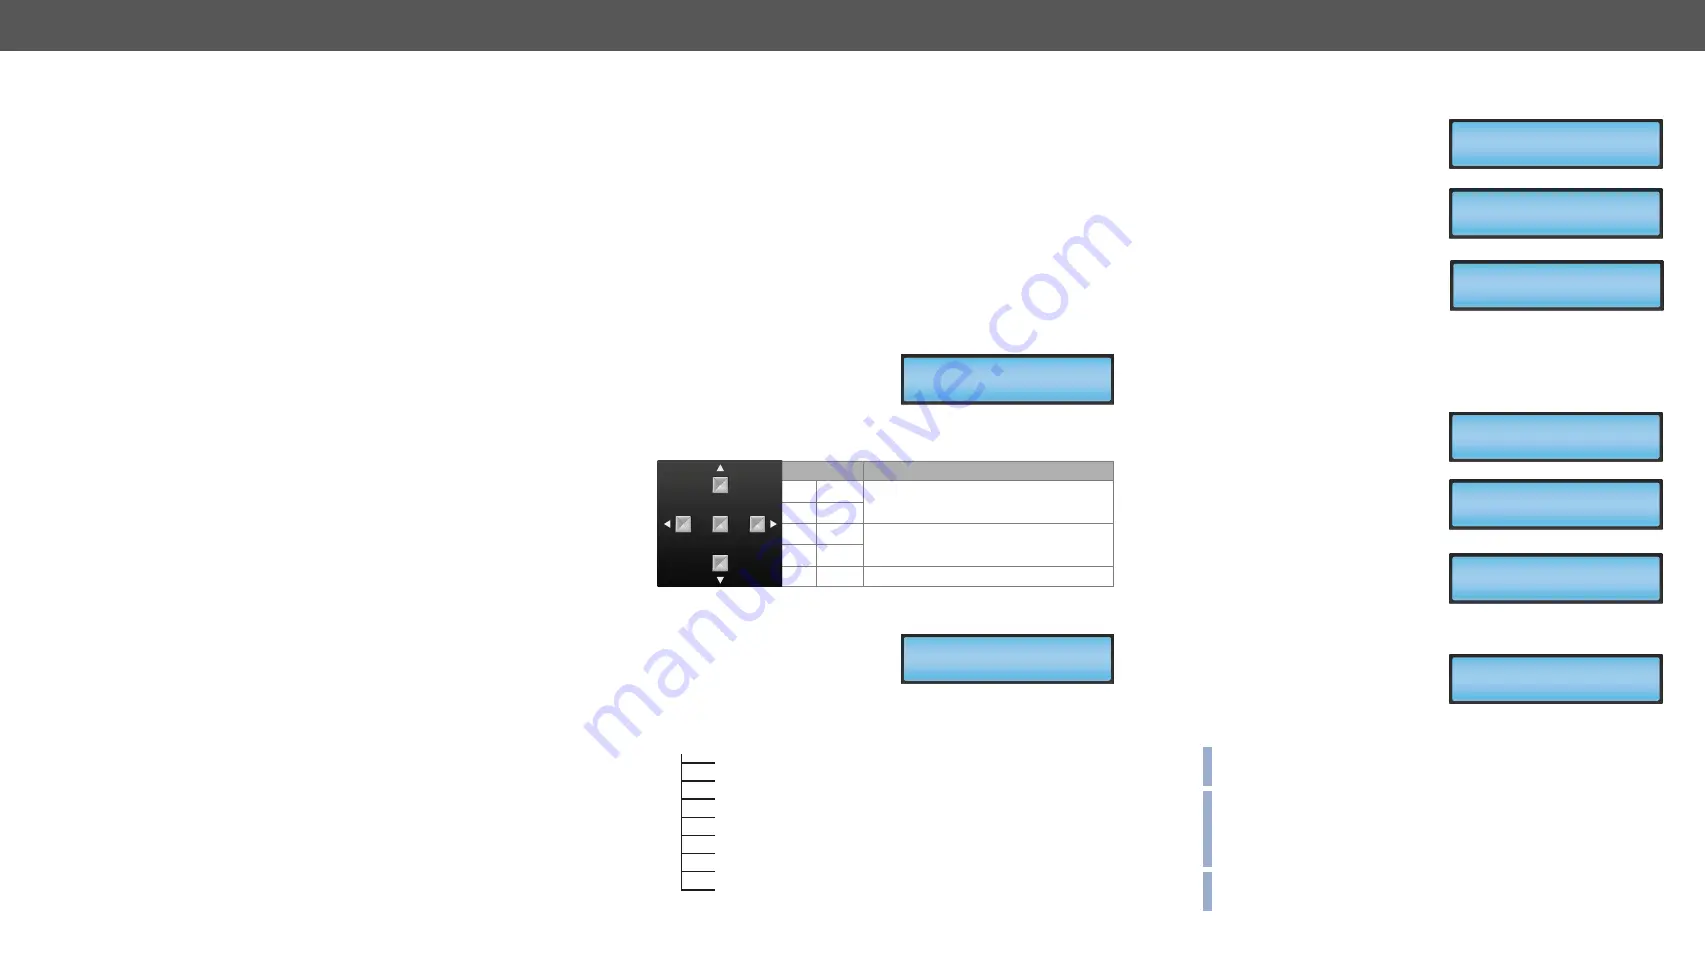
The extenders have an LCD menu and navigation buttons which make
the possibility to change certain settings and display basic information
via the front panel.
Display
Front panel LCD has 2 lines and 16
characters in each line. The name of
the menu item is always displayed
in the first line.
Navigation
Buttons
Functions
up
Toggle between menu items.
down
left
Modify the settings in each menu
item.
right
enter Execute changes.
Idle state
If no button is pressed for 10
seconds, the display returns to its
idle state and the Emulated EDID is
shown.
LCD menu structure
Learn EDID U01
[email protected]
PRESENT
ENTER
EmulatedEDID F49
UniversalEDID
Emulated EDID
Learn EDID
Attached Monitor
Switch EDID
Delete EDID
Laser Enable
Factory Reset
Device Information
This chapter is about the powering and operating of the device describing the
functions which are available by the front/rear controls:
Ý
Ý
Front Panel LCD Menu Operations
4.2.1.
Viewing Emulated EDID
This is the default display in
idle state. If needed use the left
and right
buttons to select
the EMULATED EDID menu. The
currently emulated EDID is shown.
Three screens toggle automatically
showing the preferred resolution,
the name of the display and a
three letter abbreviation assigned
to the manufacturer. Lightware
factory presets have LWR as the
manufacturer.
4.2.2.
Learning EDID
The EDID of the display device that is attached to the local monitor
output can be stored in one of the 49 user memory slots.
Step 1.
Use the left
and right
buttons to select the
LEARN EDID
menu.
Step 2.
Select a memory address
using the up
and down
buttons. Hold down the up
and down
buttons to scroll
faster. Three screens toggle
automatically showing the
preferred resolution, the
name of the display and
a three letter abbreviation
assigned to the manufacturer.
Step 3.
Press
ENTER
to store the
EDID in the selected slot.
If a filled slot is selected,
then the
ENTER
button will
overwrite the previously stored EDID.
INFO: The factory preset EDIDs cannot be changed by the user. Only
addresses from U1 to U49 are user programmable.
INFO: EDIDs are stored in a multiple programmable non-volatile
memory, the saved EDID’s will not be lost after switching off the
transmitter. Please note that if you upgrade the firmware, the saved
EDID’s will be deleted from the user memory.
INFO: If the selected user memory is not empty, the new EDID will
overwrite the previously stored EDID.
EmulatedEDID F49
[email protected]
EmulatedEDID F49
UniversalEDID
EmulatedEDID F49
LWR
EDID Learned!
Learn EDID U01
[email protected]
Learn EDID U01
24WMGX3
Learn EDID U01
NEC


