7
LED indicator
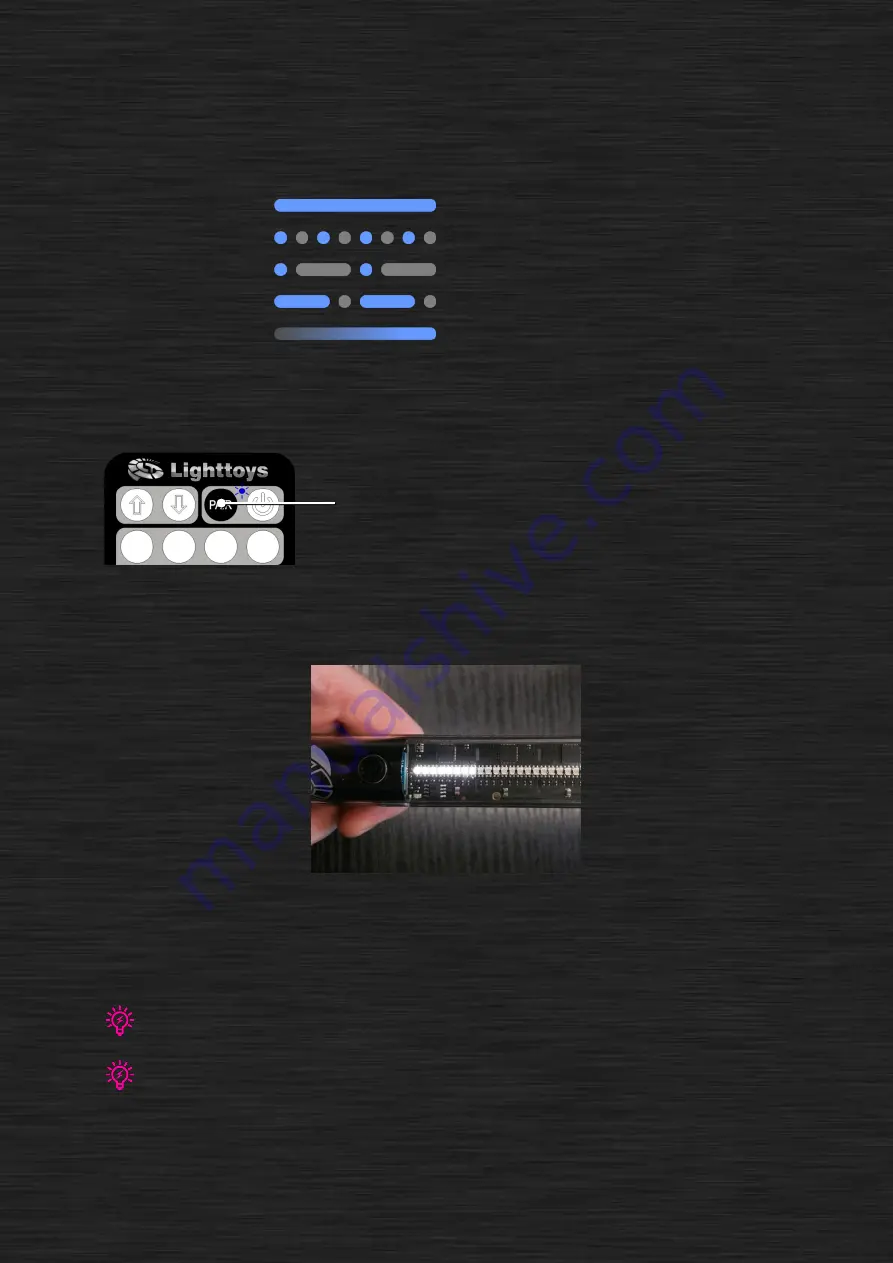
The blue color LED indicator at the top of the FT remote indicates the different work conditions of
the FT remote:
Pairing procedure
Pairing procedure synchronizes your FT remote with the Visual Pois of your choice. Whenever you
want to control more or different Visual Pois, you will need to perform a new pairing procedure.
Turn on the FT remote with the on/off button.
Now press and hold the PAIR button for 1
second. The LED indicator will start blinking.
This indicates the remote has entered the
pairing mode.
Now make sure all the Visual Pois you want to control are turned off. For each Visual Poi, press and
hold its main button for 3 seconds, until you see the 8 LEDs double blink in white color, then turning
pink color
–
indicating a successful pairing.
Pairing Visual Poi with the FT remote
After you pair all Visual Pois to the FT remote, press and hold the PAIR button again for 1 second. The
LED indicator will stop blinking. The LEDs on the Visual Pois should turn blue color. Congratulations,
the pairing is now completed.
You can pair up to 32 Visual Poi units to a single FT remote. If this is not sufficient, you can pair the remaining units to another
FT
remote and use the two remotes concurrently. They won’t interfere with each other.
During the pairing process, the 2.4GHz radio spectrum is scanned and best channel is selected (with least interference). When
performing with Lighttoys FT products in a new venue, it is recommended to perform a new pairing procedure close to the actual
gig where performance is about to happen.
remote is turned on
pairing mode
show is running
battery is low
charging
Hold for
1 second


