background image

LightSPEED Technologies • Wireless Sound Solutions • Toll Free:  1-800-840-3662

27

CD Player

Operating Instructions

To create a loop, press the A->B button during playback at
the time index you have chosen as the beginning of the loop.

Press the A->B button again when the time index reaches the
chosen end point of the loop.

During loop playback, you can use the PLAY/PAUSE button
and the SCAN/SEARCH buttons as normal. Press the A->B
button again to cancel the loop without affecting playback.
Press the STOP, SKIP, or EJECT buttons to cancel the loop
and perform the corresponding action.

Programming a Playlist

Programming a Playlist

Programming a Playlist

Programming a Playlist

Programming a Playlist
A playlist is a temporary, user programmable selection of
tracks that will play in the order that you select them. The
tracks selected will be shown in the grid on the right side of
the display.

Press the PROG button to start recording the track sequence.
The PROGRAM symbol appears on the display.

The first set of digits on the display indicates the track
selection, and the second set of digits indicates the program
sequence number (starting at 01). When you select a track
for sequence number 01, the track number appears in the
first set of digits.

Note: The grid can only display the first 16 tracks on a disc.
If the disc has more than 16 tracks, you can still select them
during programming but you will not get visual confirmation
of the selection on the grid.

To save the selection, press the PROG button again. The
track number will appear in the grid.

Select another track for sequence number 02 and press the
PROG button again. The second track number will appear in
the grid.

Once you have selected all of the tracks to be included in
your playlist, press the PLAY button to begin playback. Your
selections will be played in the order that you selected them.

While a playlist is playing, you can use many of the same
controls that are available during normal playback. PLAY/
PAUSE, SKIP, and SCAN/SEARCH all work as normal.
REPEAT also works as normal, repeating a single track or
repeating the entire playlist.

Once you reach the end of the playlist, the program will be
forgotten by the CD player unless you have REPEAT ALL
selected.

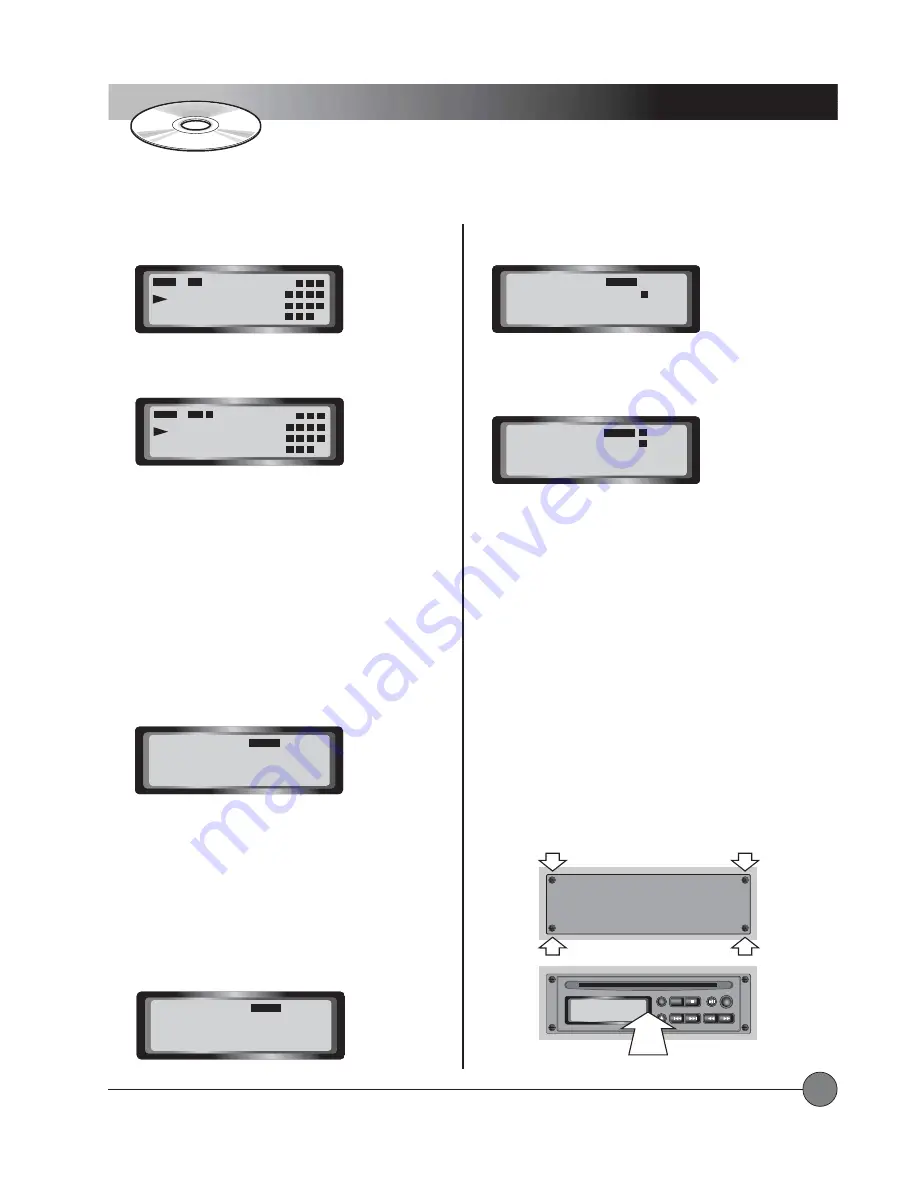
Installing a CD Player:

Installing a CD Player:

Installing a CD Player:

Installing a CD Player:

Installing a CD Player: 

Make sure the power to the Delta X

system is turned OFF.  Remove the four screws securing the
filler panel using a small Phillips screwdriver. Locate the
header cable inside the control panel and connect it to the
CD player, observing proper polarity. Insert the CD player
into the control panel. 

Replace the four screws.

01

00:32

REPEAT

A--->

2

3

4

6

7

8

5

10 11 12

9

14 15

13

01

00:23

REPEAT

A--->

B

2

3

4

6

7

8

5

10 11 12

9

14 15

13

00

P :01

PROGRAM

01

P :02

PROGRAM

5

00

P :03

PROGRAM

1

5

05

P :01

PROGRAM

... continued

CD-ROM ART GOES HERE

NO

diSC

STOP

PLAY/PAUSE

A — B

REPEAT

SCAN/SEARCH

— SKIP —

EJECT

PROG

CD-ROM ART GOES HERE

STOP

PLAY/PAUSE

A — B

REPEAT

SCAN/SEARCH

— SKIP —

EJECT

PROG

Remove Four Screws

Install CD Player and Replace Four Screws

CD Filler Panel

Summary of Contents for Delta X10

Page 1: ......

Page 2: ...Installation Power Charging 8 Speaker Stand tripod 9 Speaker System Placement 10 Operating Instructions Base Unit 11 Wireless Microphones 12 Wired Microphones 13 CD Player 14 Active Link 15 External S...

Page 3: ...justable squelch control The systems are available with a variety of handheld lapel and headset microphones System Overview LINE MASTER VOLUME I N O U T MIC 1 LIMIT IN ON MUTE SWITCHED 8 OHM 8 OHM POW...

Page 4: ...S MIC 1 WIRELESS MIC 2 These may be wireless receivers or blank filler panels depending on your system configuration 2 2 2 2 2 CD PLA CD PLA CD PLA CD PLA CD PLAYER YER YER YER YER This may be a CD pl...

Page 5: ...or Delta X12 system When connected properly the sound from both Delta X systems is shared between them Using ACTIVE LINK you can double the available inputs and sound level 19 19 19 19 19 MAINS MAINS...

Page 6: ...nal 5 5 5 5 5 RF Channel B Indicator RF Channel B Indicator RF Channel B Indicator RF Channel B Indicator RF Channel B Indicator The B LED lights up indicating the B channel tuner is receiving the str...

Page 7: ...ton Locks all microphone controls 5 5 5 5 5 Set Button Set Button Set Button Set Button Set Button This button is used to enter and save changes to the transmitter settings 6 6 6 6 6 Up and Down Butto...

Page 8: ...io signal on or off The red LED will flash when MUTE is engaged 5 5 5 5 5 Microphone Jack Microphone Jack Microphone Jack Microphone Jack Microphone Jack Microphone connects to transmitter here 6 6 6...

Page 9: ...Y P Y P Y P Y P Y PAUSE Button AUSE Button AUSE Button AUSE Button AUSE Button Starts playback or pauses playback 6 6 6 6 6 PROG Button PROG Button PROG Button PROG Button PROG Button Used to create p...

Page 10: ...ST Y ST Y STA A A A ATUS TUS TUS TUS TUS 2 BATTERY STATUS LEDs The Battery Status LEDs indicate the amount of charge available even when the AC mains are disconnected Whenever the batteries have enoug...

Page 11: ...st Loosen the upper knob and pull the center post up to the desired height There are eight thru holes in the center post Locate the thru hole nearest to the collar and insert the safety pin in that ho...

Page 12: ...AKER PLACEMENT SPEAKER PLACEMENT SPEAKER PLACEMENT SPEAKER PLACEMENT The Delta X system s should be placed in a location that is slightly in front of the area in which microphones will be used typical...

Page 13: ...less reduction of the LINE CD signal turn the VOICE OVER MUSIC control clockwise To disable VOICE OVER MUSIC turn the control fully clockwise 4 TONE CONTROLS 4 TONE CONTROLS 4 TONE CONTROLS 4 TONE CO...

Page 14: ...F Indicator Lights RF Indicator Lights RF Indicator Lights RF Indicator Lights When both the system and the transmitter are on and operating on the same channel you will see an RF Indicator Light eith...

Page 15: ...MASTER VOLUME BATTERY STATUS I N O U T MIC 1 MIC 2 min max min max LEVEL LEVEL LOW CUT LIMIT music speech IN min max LEVEL LOW CUT music speech IN LOW OK WIRELESS MIC 1 LOW CUT music speech WIRELESS M...

Page 16: ...ontrols one Controls The LOW and HIGH tone controls can be used to cut or boost the lows and highs in the audio coming from the CD player and the LINE IN jacks These controls do not affect the audio c...

Page 17: ...CAN SQ RF CHANNEL LightSPEED 7100R UHF TRUE DIVERSITY RECEIVER A B LOW BAT SCAN SQ RF CHANNEL VOL Max PWR Min VOL Max PWR Min ON MUTE POWER ON OFF MUTE DO NOT OPEN THE COVER REFER SERVICING TO QUALIFI...

Page 18: ...OPE EXTERNAL POWER SOURCE MAINS 12VDC 4A AC 90 264V 47 63Hz FUSE T2A POWER ON OFF MUTE DO NOT OPEN THE COVER REFER SERVICING TO QUALIFIED PERSONNEL REPLACE FUSE ONLY WITH THE SAME TYPE AND RATING ACTI...

Page 19: ...VOLUME The RCA jacks provide a line level output signal that does not change volume regardless of the setting on the MASTER VOLUME control min max dB dB 40 0 0 LOW 0 HIGH TONE CONTROL LEVEL LINE CD V...

Page 20: ...s receiver s Power up the Delta X system and wireless receiver s 1 1 1 1 1 POWER POWER POWER POWER POWER Push the POWER switch on the base unit back panel to the ON or MUTE position 2 2 2 2 2 ON LED O...

Page 21: ...SQUELCH ADJUSTMENT SQUELCH ADJUSTMENT SQUELCH ADJUSTMENT SQUELCH ADJUSTMENT SQUELCH ADJUSTMENT In areas that have very high radio frequency traffic it may be necessary to adjust the squelch level to...

Page 22: ...linking cursor disappears and the red LED flashes approximately 3 seconds T T T T Transmission Frequency in MHz ransmission Frequency in MHz ransmission Frequency in MHz ransmission Frequency in MHz r...

Page 23: ...with either standard Alkaline Batteries or Nickel Metal Hydride NiMH Rechargable Batteries Since these types of batteries have different characteristics it is important to set the transmitter to the a...

Page 24: ...ries stacked end to end 3 3 3 3 3 Note the polarity in the battery compartment Typical battery life is about 8 hours CHARGING THE BA CHARGING THE BA CHARGING THE BA CHARGING THE BA CHARGING THE BATTER...

Page 25: ...ransmission Frequency in MHz ransmission Frequency in MHz Press the UP button once to view the transmission frequency in MHz of the currently selected channel Toggle DOWN Toggle UP Set LightSPEED Mute...

Page 26: ...the battery 4 4 4 4 4 Batter Batter Batter Batter Battery T y T y T y T y Type ype ype ype ype The transmitter will operate with either standard Alkaline Batteries or Nickel Metal Hydride NiMH Rechar...

Page 27: ...THE MICROPHONE CONNECTING THE MICROPHONE CONNECTING THE MICROPHONE CONNECTING THE MICROPHONE CONNECTING THE MICROPHONE LightSPEED offers various types of microphones that can be used with this system...

Page 28: ...15 13 NO diSC STOP PLAY PAUSE A B REPEAT SCAN SEARCH SKIP EJECT PROG To stop playback press the PLAY PAUSE button once again or press the STOP button When paused the PAUSE symbol appears on the displa...

Page 29: ...ction on the grid To save the selection press the PROG button again The track number will appear in the grid Select another track for sequence number 02 and press the PROG button again The second trac...

Page 30: ...wn briefly on the LED display Open the battery compartment of the transmitter and find the frequency group sticker The letter on the frequency group sticker must match the letter code shown on the rec...

Page 31: ...20 kHz 70 Hz 20 kHz Speaker System 2 Way with Passive Crossover 2 Way with Passive Crossover Woofer 10 8 W 12 8 W Tweeter Foxtex FH15 Foxtex FH300 Internal Battery 2 x 12V 4 5AH 2 x 12V 7 2AH Operati...

Page 32: ...TK250S LightSPEED Noise canceling Headset Mic MC E6TS Countryman E6 Earset Mic Tan Color CA AL50 50 Foot Active Link Cable CA AL100 100 Foot Active Link Cable CA ALGL Acive Link Ground Lift Cable BA L...

Page 33: ...om date of purchase 9 Third party microphones and accessories shall be under the original manufacturer s warranty 10 Warranty for wireless receivers and transmitters shall be three 3 years from date o...

Page 34: ...LightSPEED Technologies Wireless Sound Solutions Toll Free 1 800 840 3662 32 User Notes...

Page 35: ......

Reviews: