


LifeSize Passport Installation Guide
8
IP Address Displays Invalid Value
After you complete the initial configuration, if the IP address that appears at the top of the main screen
displays an invalid value, one of the following conditions may exist:
Camera Issues
Video from the camera appears in a small window on the main screen of the user interface above the
REDIAL
list. If no video from the camera appears, do the following:
•
Ensure that the camera is properly connected to the LifeSize codec as described in
. Only LifeSize Focus and LifeSize Camera 200 are supported with
LifeSize Passport.
•
Verify that the blue LED on the front of the camera is lit and not blinking.
•
From the main screen of the user interface, press
on the LifeSize remote control to access the
System Menu
. Press
to access page 2 of the
System Information
page. Ensure that the status of
the camera is
Ready
.
Improving a Dim Image
Adjust the
HD Camera Brightness
preference in
User
(or
Administrator
)
Preferences : Diagnostics :
High Definition Camera
. You can also add a light source to improve the subject’s illumination. Read more
at
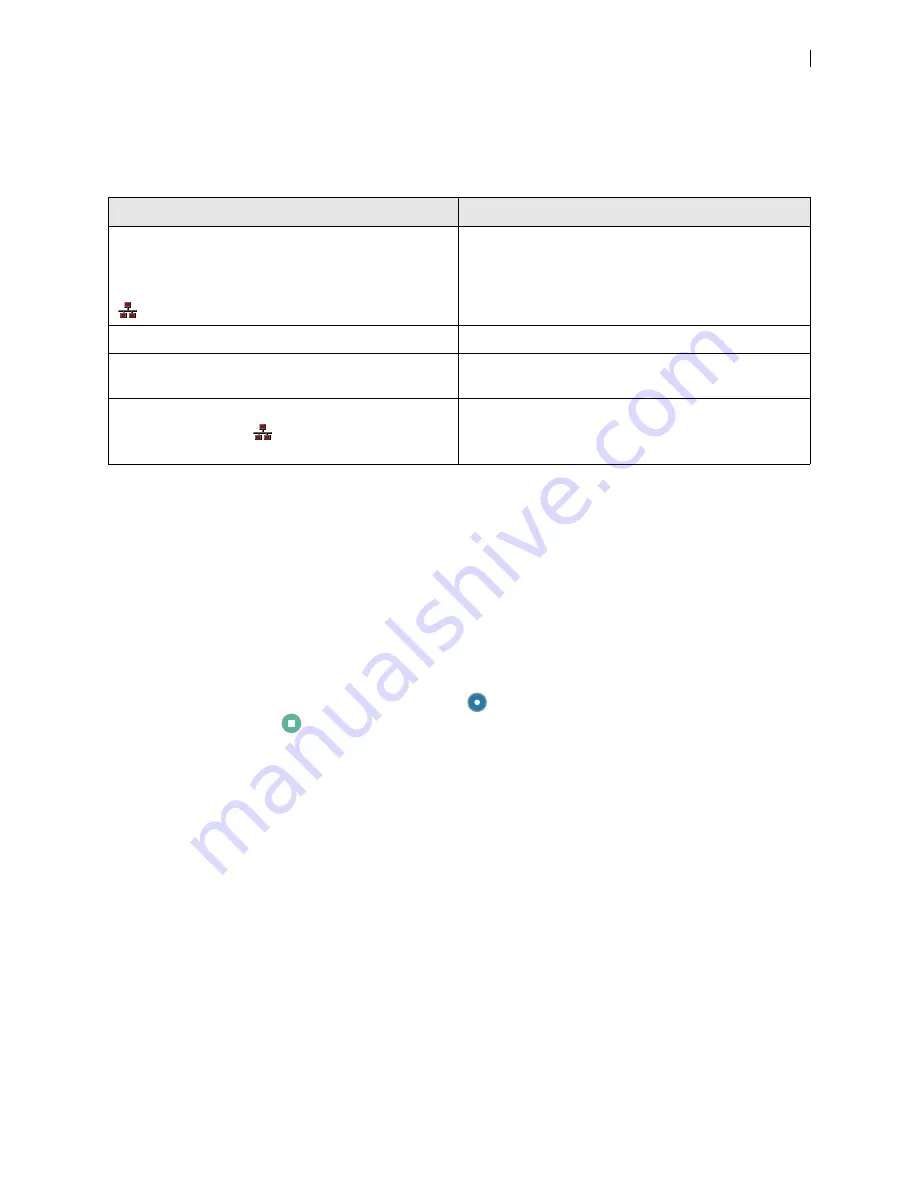
Condition
Resolution
The unit is configured to obtain an address using DHCP
and no DHCP server is available.
Note:
The DHCP client self-assigns an address in the
169.254 class B network and the red network symbol
appears in the status bar on the main screen.
Verify that the unit is plugged into a network that has a
DHCP server present.
Faulty Ethernet cable connection.
Replace the Ethernet cable with a high quality cable.
The unit is configured to use a static IP address, but no
IP address has been entered.
Identify and enter the necessary IP information.
Network connection is unavailable.
A red network symbol
appears in the status bar on
the main screen.
Inspect your network connection.


