19
Hookup and
Settings
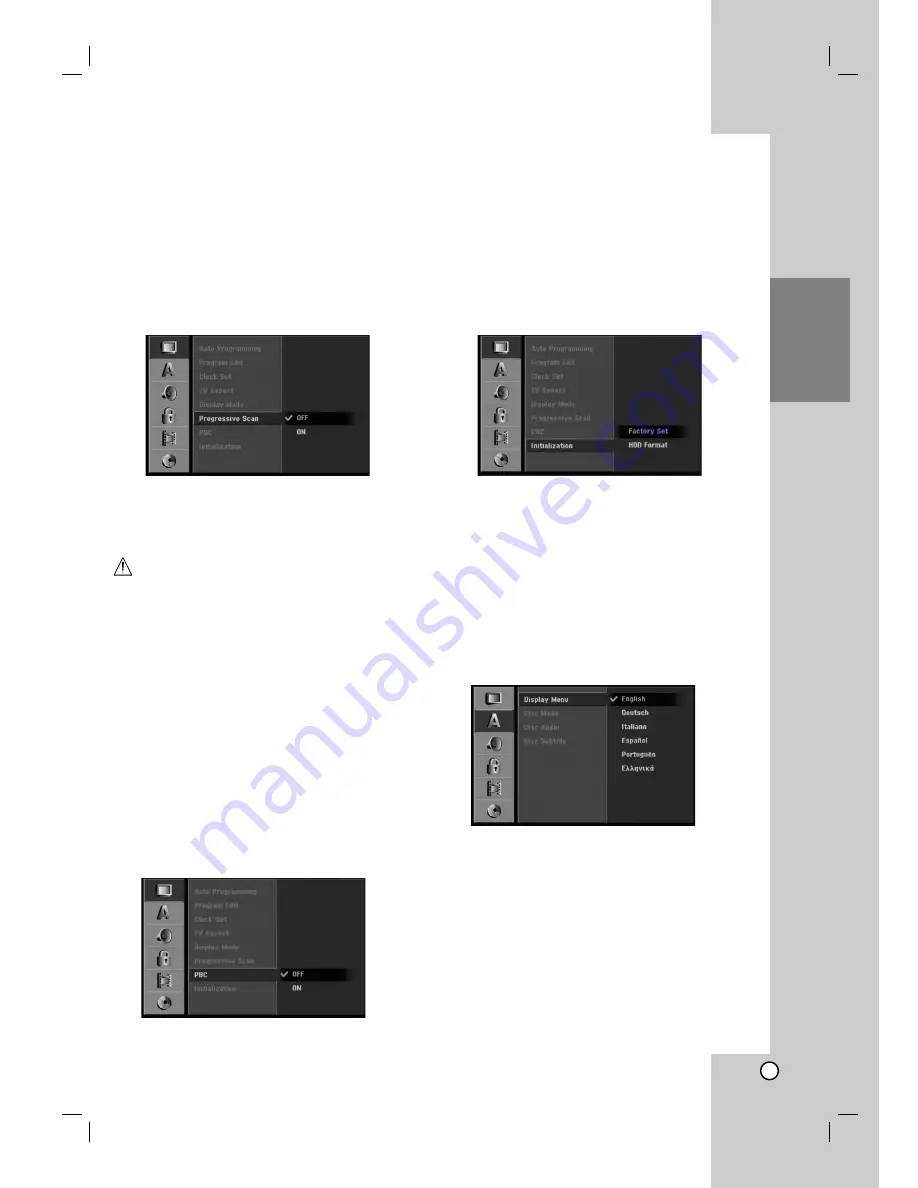
Progressive Scan
Progressive Scan Video provides the highest quality
pictures with less flickering.
If you are using the COMPONENT VIDEO OUT/
PROGRESSIVE SCAN jacks, but are connecting the
recorder to a standard (analog) television, set
Progressive Scan to [OFF].
If you are using the COMPONENT VIDEO OUT/
PROGRESSIVE SCAN jacks for connection to a TV
or monitor that is compatible with a progressive scan
signal, set Progressive Scan to [ON].
Note:
Progressive Scan will be disable in the setup menu
when the VIDEO OUTPUT switch on the rear panel is
set to RGB position.
Caution
Once the setting for Progressive Scan output is
entered, an image will only be visible on a
Progressive Scan compatible TV or monitor. If you set
Progressive Scan to [ON] in error, you must reset the
recorder. First, remove the disc in the recorder. Next,
press STOP (
x
) and hold it for five seconds before
releasing it. The video output will be restored to the
standard setting, and a picture will once again be
visible on a conventional analog TV or monitor.
PBC
PBC stands for Playback Control and refers to special
menus and navigation features that are available on
some Video CDs.
[ON] Video CDs are played according to the PBC, if
available.
[OFF] Video CDs are played the same way as Audio
CDs.
Initialization
You can reset the recorder to its original factory
settings and initialize the HDD.
[Factory Set] If you need to, you can reset the
recorder to all its factory settings. Some options
cannot be reset. (Rating, Password, and Area
Code)
[HDD format] Initializes the HDD (Hard Disk Drive):
everything recorded on the HDD will be erased.
1. Select [Initialize] option then press
B
.
2. Press
v
/
V
to select the desired option then press
ENTER.
The confirm message will appear.
3. Use
b
/
B
to select [Yes] or [No] then press
ENTER.
Language Settings
Display Menu
Select a language for the Setup menu and on-screen
display.


