


47
MY MEDIA
6
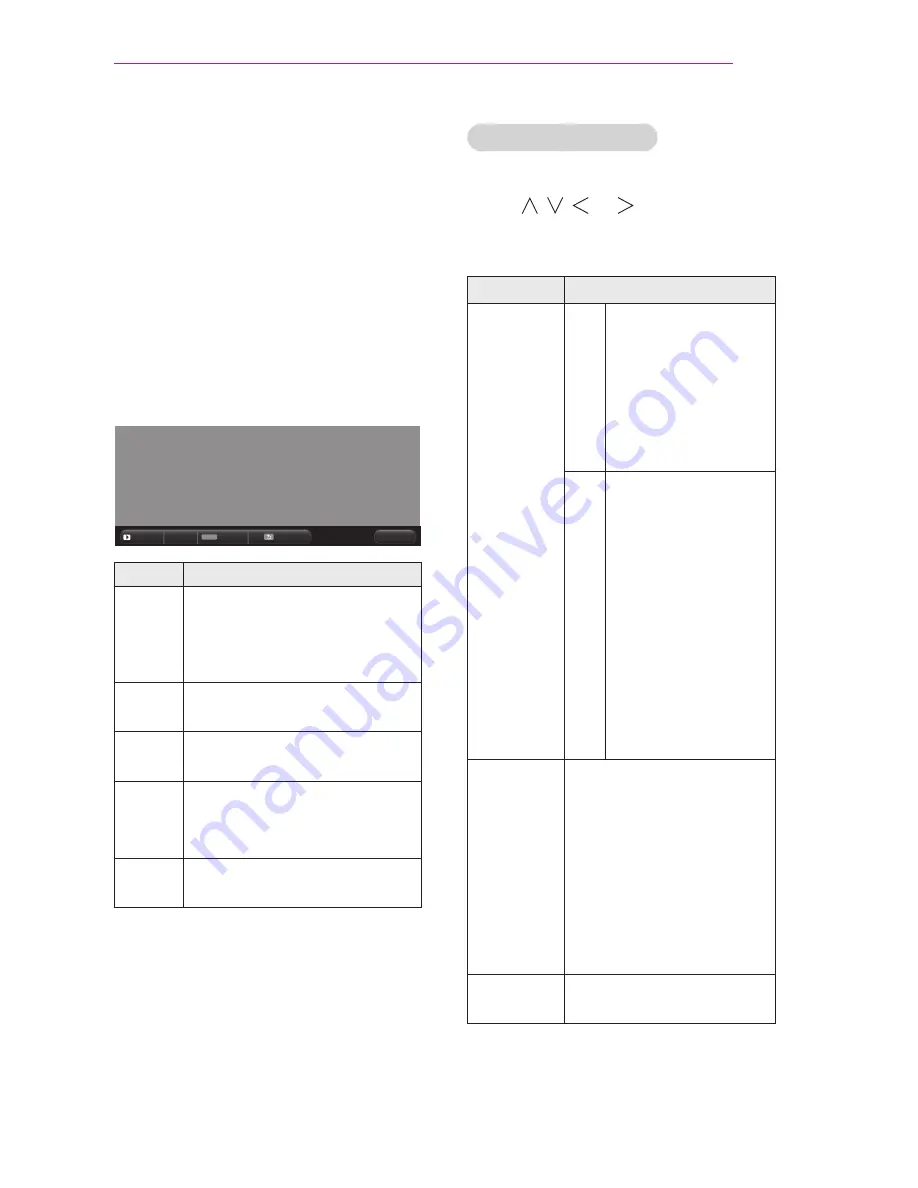
Control playback by using the
following buttons.
y
Click
Go Page
then the pop-up
window for selecting the number
of page appears. Input the page to
move to the page you want.
y
Press the
VOL +, -
button to zoom in
or zoom out.
1
. Press
OK
.
2
. Press the
Up/Down/Left/Right
buttons to move to
Go Page
or
Zoom
.
Q.MENU
ꔦ
Go Page
Zoom
Option
Hide
Exit
Setting
Description
Go
Page
Moves to the page you want.
Use the
Up/Down/Left/Right
buttons to select a page and
press the
OK
button.
Zoom
Enlarges or reduces the
document.
Option
Sets up the options of File
Viewer.
Hide
Hides the menu.
y
Press the
OK
button to
make it appear.
Exit
Returns to the File Viewer
screen.
Options for File List
1
Press the
Q.MENU
button.
2
Use , , , or button to set up
each item.
Set FileViewer Option
Setting
Description
Single
Page
Loading
On
Loads and displays
pages one by one.
The initial loading
time is short but a
content heavy page
may be displayed
slowly.
Off
Loads all pages of
a file to memory
before it starts to
display them. The
initial loading time
is long but you can
navigate pages
quickly after loading
is complete.
If a file is too large,
it may fail to load all
the pages.
Image
Quality
You can set the quality
of the image included
in the document. The
following three options are
available for the image
quality: High, Medium,
Low. Higher the image
quality, lower the display
time.
Document
Align
Selects initial document
align method.
File View settings are default, so close
the currently opened document to apply
changes to the new document, if any.


