LG MT-50PZ40A Owner'S Manual Download Page 4

4

Safety Instructions

Do not place the Monitor in direct sunlight or near heat
sources such as heat registers, stove and so on.

- This may cause a fire.

Do not use the Monitor in damp place such as a bath-
room or any place where it is likely to get wet.

- This may cause a fire or could give an electric shock.

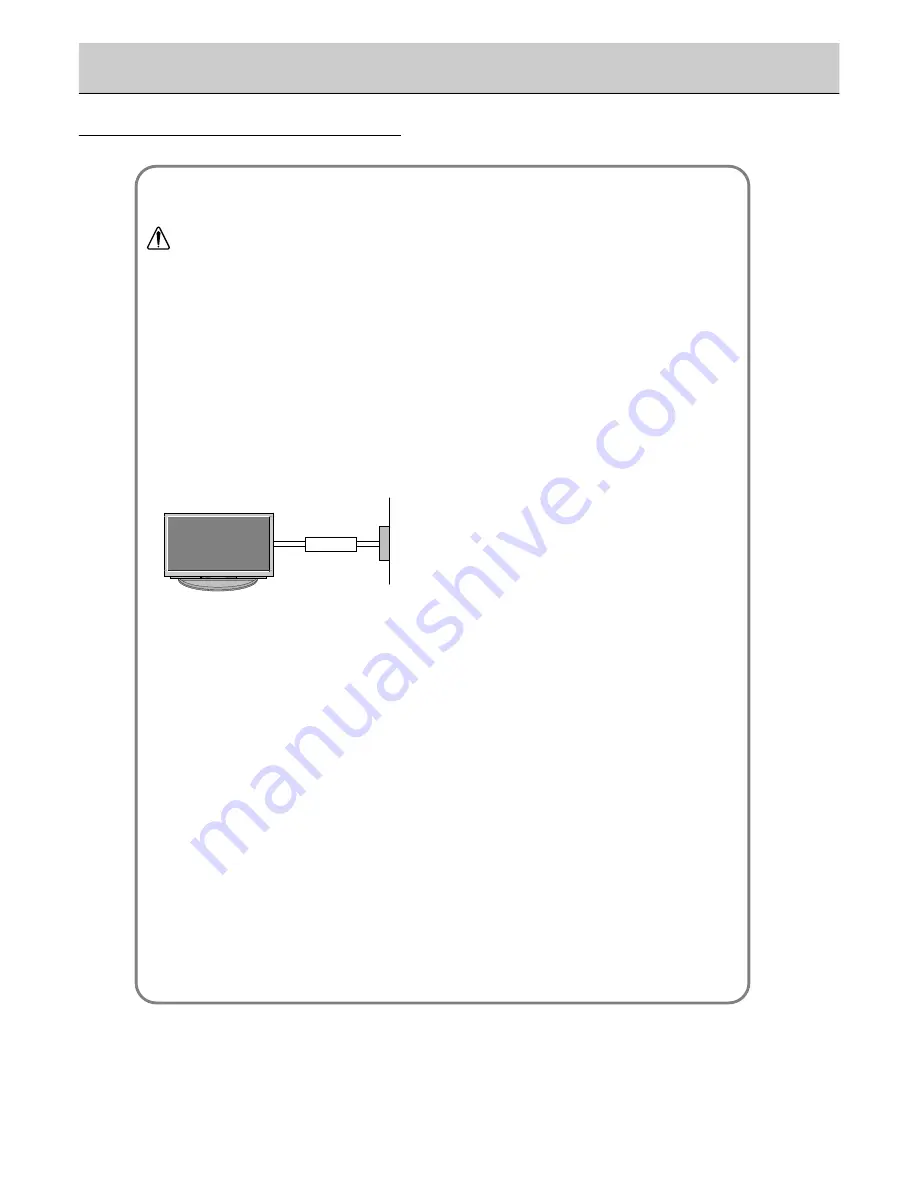
Bend antenna cable between inside and outside
building to prevent rain from flowing in.

- This may cause water damaged inside the Monitor and could

give an electric shock.

Earth wire should be connected.

- If the earth wire is not connected, there is possible a danger of

electric shock caused by the current leakage.

- If grounding methods are not possible, a separate circuit break-

er should be employed and installed by a qualified electrician.

- Do not connect ground to telephone wires, lightning rods or gas

pipe.

Do not placing anything containing liquid on top of
the Monitor.

- This may cause a fire or could give an electric shock.

Do not insert any object into the exhaust vent.

- This may cause a fire or could give an electric shock.

Do not place heavy objects on the Monitor.

- This may cause serious injury to a child or adult.

Do not use water the Monitor while cleaning.

- This may cause damaged the Monitor or could give an electric

shock.

In case of smoke or strange smell from the Monitor,
switch it off ,unplug it from the wall outlet and contact
your dealer or service center.

- This may cause a fire or could give an electric shock.

Do not attempt to service the Monitor yourself.
Contact your dealer or service center. 

- This may cause damaged the Monitor or could give an electric

shock.

During a lightning thunder, unplug the Monitor from
the wall outlet and don’t touch an antenna cable. 

- This may cause damaged the Monitor or could give an electric

shock.

WARNING

Short-circuit

breaker

Power

supplier

- Use the Monitor at the place lower than the altitude of 6562 feet (2000m) to get the best quality of picture

and sound.

Summary of Contents for MT-50PZ40A

Page 1: ...A B K R S MZ 50PZ43V A B K R S Please read this manual carefully before operating your set Retain it for future reference Record model number and serial number of the set See the label attached on the back cover and quote this infor mation to your dealer when you require service Model number Serial number ...

Page 2: ...ot mean that the PDP is faulty We hope you will understand that the product which cor responds to this standard is regarded as acceptable It means that it could not be changed or refunded We promise that we ll do our best to develop our technology to minimize the cell defects The explanation about noise of 50 PDP In the same way that a fan is used in a PC to keep the CPU cool the PDP is equipped w...

Page 3: ...the Clock 17 Setting the On Off Time 17 Auto Sleep 17 Sleep Timer 17 SPECIAL Menu Child lock 18 Orbiter 18 White Wash 18 Menu Rotation For Vertical Viewing 18 SCREEN Menu Auto adjustment 19 Setting Picture Format 19 Split Zoom 19 Screen Position 20 Manual Configure 20 Screen Adjustments 20 Initializing Reset to factory value 21 Selecting Wide XGA Mode 21 PIP Function Watching PIP 22 PIP Aspect Rat...

Page 4: ... top of the Monitor This may cause a fire or could give an electric shock Do not insert any object into the exhaust vent This may cause a fire or could give an electric shock Do not place heavy objects on the Monitor This may cause serious injury to a child or adult Do not use water the Monitor while cleaning This may cause damaged the Monitor or could give an electric shock In case of smoke or st...

Page 5: ...y to protect a child from eating them In case that it eats them take it to see a doctor immediately When moving the Monitor assembled with speakers do not carry holding the speakers This may cause the Monitor to fall causing serious injury to a child or adult and serious damage to the Monitor Unplug this product from the wall outlet before clean ing Do not use liquid cleaners or aerosol cleaners T...

Page 6: ...or ON OFF VOL MENU INPUT SELECT Front Panel Controls Main power button INPUT SELECT button VOLUME F F G G buttons Power standby indicator Illuminates red in standby mode Illuminates green when the Monitor is turned on Remote control sensor MENU button D D E E buttons AUDIO INPUT VIDEO INPUT COMPONENT DVD INPUT S VIDEO INPUT AUDIO INPUT AUDIO INPUT RGB1 INPUT PC INPUT RGB2 INPUT DIGITAL RGB INPUT R...

Page 7: ...ly the voltage is as indicated as inside back cover of this manual Never apply DC power to the Monitor 3 VIDEO S VIDEO COMPONENT DVD INPUT AUDIO INPUT SOCKETS EURO SCART SOCKET Note The interface board AP 50EA40 41 is not equipped on MT MZ 50PZ42 43 series models Contact your dealer for buying this optional item 4 RGB1 OUTPUT PC OUTPUT AUDIO IN SOCKETS You can watch the RGB1 signal in other monito...

Page 8: ...uipments match the colours of connecting ports Or connect the Euro scart socket of the VCR to the Euro scart socket of the set 1 Press INPUT SELECT button on the remote control of the monitor to select Video or AV1 or AV2 2 Operate the corresponding external equipment See external equipment operating guide Watching Cable TV When the Interface board is installed The interface board AP 50EA40 41 is ...

Page 9: ...60Hz or 1366x768 75Hz as the PC mode providing the best picture quality Connect the signal cable from the monitor output port of the PC to the RGB1 INPUT PC INPUT port of the Monitor or the signal cable from the DVI output port of the PC to the RGB2 INPUT DIGITAL RGB INPUT port on the Monitor Connect the audio cable from the PC to the Audio input on the Monitor Audio cables are not included with t...

Page 10: ...5 05 75 00 60 02 75 02 60 00 75 02 84 99 60 00 75 02 84 99 Vertical Frequency Hz DDC DDC Resolution 1024x768 1152x864 1280x960 1280x1024 1360x768 1366x768 Horizontal Frequency KHz Vertical Frequency Hz Resolution 640x480 800x600 Horizontal Frequency KHz 31 468 37 861 31 469 37 927 31 469 35 000 37 861 37 500 43 269 35 156 37 879 48 077 46 875 53 674 49 725 48 363 56 476 70 09 85 08 70 08 85 03 59 ...

Page 11: ... D D E E selects a menu item F F G G Volume Down Up adjusts the volume adjusts menu settings OK displays the current mode 9 NUMBER BUTTONS 10 VCR BUTTONS control a LG video cassette recorder 11 WIN SIZE adjusts the sub picture size 12 ZOOM ZOOM 13 INPUT SELECT BUTTON selects TV AV or PC monitor mode 14 SSM Sound Status Memory recalls your preferred sound setting 15 PIP ARC changes the picture form...

Page 12: ... WIN POSITION ZOOM ZOOM SPLIT ZOOM VOL SUB INPUT Remote control handset Phone scart cable Optional Ceiling mounting bracket Optional extras can be changed or modified for quality improvement without any notification new optional extras can be added Contract your dealer for buying these items Accessories Optional Extras Tilt wall mounting bracket Wall mounting bracket Desktop stand Video cables Des...

Page 13: ...wn are optional and shown for example only Wall Mount Horizontal installation Wall Mount Vertical installation The monitor can be installed on the wall as shown above For further information refer to the optional Wall Mounting Bracket Installation and Setup Guide Speakers are optional and shown for illustration only The monitor can be installed vertically on the wall as shown above For further inf...

Page 14: ...itor Adjusting volume level Volume G G button increases the level of sound and volume F F button decreases the level of sound Menu language setup option The menu can be displayed on the screen in desired language First select your language 1 Press the MENU button and then D D E E button to select the SPECIAL menu 2 Press the G G button and then D D E E button to select Language 3 Press the G G but...

Page 15: ...nd cannot be changed Each press of D D E E button changes the screen display as shown below Dynamic Mild User This function adjusts the PDP to the best picture appearance Normal Cool Warm User You can change red green and blue to adjust colour temperature you prefer 1 Press the MENU button and then D D E E button to select the VIDEO menu 2 Press the G G button and then D D E E button to select the...

Page 16: ...c User This function lets you enjoy the best sound without any special adjustment because the Monitor automatical ly selects the appropriate sound option based on the program content This feature maintains an equal volume level even if you change channels 1 Press the MENU button and than D D E E button to select the AUDIO menu 2 Press the G G button and then D D E E button to select AVL 3 Press th...

Page 17: ...ect the number of minutes The display Min will appear on the screen followed by 10 20 30 60 90 120 180 and 240 The timer begins to count down from the number of min utes selected When the sleep time you want is displayed on the screen press the OK button Auto Sleep If there is no input signal the monitor turn off automatically after 10 minutes 1 Press the MENU button and then D D E E button to sel...

Page 18: ...button and then D D E E button to select the SPECIAL menu 2 Press the G G button and then D D E E button to select Orbiter 3 Press the G G button and then D D E E button to select On or Off 4 Press the MENU button White Wash This is the function to remove permanent image on the screen Set White Wash On until fixed image disappears 1 Press the MENU button and then D D E E button to select the SPECI...

Page 19: ...n for a long time that fixed image may remain visible 1 Press the ARC button to select a desired picture format Each press of ARC button changes the screen display as shown below You can also select 16 9 4 3 or Zoom in the SCREEN menu SCREEN Menu VIDEO AUDIO TIME SCREEN TWIN SPECIAL Auto configure G ARC Zoom In Out Position Manual config Screen adj Reset XGA Mode To set MENU Prev Split Zoom This i...

Page 20: ...CREEN menu 2 Press the G G button and then D D E E button to select Screen adj 3 Press the G G button and then D D E E button to to select TV or VCR Select the VCR option if watching a VCR Select the TV option for other equipment Except VCR 4 Press the MENU button 0 0 VIDEO AUDIO TIME SCREEN TWIN SPECIAL Auto configure ARC Zoom In Out Position Manual config G Screen adj Reset XGA Mode Phase Clock ...

Page 21: ...n Manual config Screen adj Reset G XGA Mode To Set MENU Prev Selecting Wide XGA mode RGB1 RGB2 PC mode only To see a normal picture match the resolution of RGB 1024x768 1360x768 or 1366x768 mode and selec tion of XGA mode on the SCREEN menu 1 Press the MENU button and then use D D E E button to select the SCREEN menu 2 Press the G G button and then use D D E E button to select XGA Mode 3 Press the...

Page 22: ... or left right Swapping the PIP Press the SWAP button to exchange the main and sub pic tures Selecting a source input signal for the PIP Press the SUB INPUT button to select the input mode for the sub picture In RGB1 and RGB2 for main picture you can select COMPO NENT 480i VIDEO AV1 or AV2 and S VIDEO for sub picture In VIDEO AV1 or AV2 and S VIDEO for main picture you can select COMPONENT 480p 72...

Page 23: ...re mode Swapping the Twin Picture Press the SWAP button to exchange the main and sub pic ture in twin picture mode In RGB1 and RGB2 for main picture you can select COMPO NENT 480i VIDEO AV1 or AV2 and S VIDEO for sub picture In VIDEO AV1 or AV2 and S VIDEO for main picture you can select COMPONENT 480p 720p 1080i RGB1 and RGB2 for sub picture In COMPONENT 480p 720p 1080i for main picture you can s...

Page 24: ... code ASCII code Communication Parameters Set ID Use this function to specify a monitor ID number 1 Press the MENU button and then D D E E button to select the SPECIAL menu 2 Press the G G button and then D D E E button to select Set ID 3 Press the G G button and then F G button to adjust Set ID to choose the desired monitor ID number 4 The adjustment range of Set ID is 1 99 Refer to Real data map...

Page 25: ...ement based on this format when receiving normal data At this time if the data is data read mode it indicates present status data If the data is data write mode it returns the data of the PC computer Command2 Set ID OK Data x Error Acknowledgement The Monitor transmits ACK acknowledgement based on this format when receiving abnormal data from non viable functions or communication errors When setti...

Page 26: ...en format using the ARC Aspect Ratio Control button on remote control or in the Special menu Transmission Data 0 Wide screen 16 9 1 Normal screen 4 3 2 Full screen Zoom k c Set ID Data Cr Acknowledgement Data 0 Wide screen 16 9 1 Normal screen 4 3 2 Full screen Zoom Using the PC input you select either 16 9 or 4 3 screen aspect ratio c Set ID OK Data x 04 Screen mute Command d G To select screen m...

Page 27: ...dgement Data 0 OSD off 1 OSD on Data 0 OSD off 1 OSD on l Set ID OK Data x 17 Treble Command r G To adjust treble You can also adjust treble in the audio menu Transmission Data Min 0 Max 64 Refer to Real data mapping1 See p 29 k r Set ID Data Cr Acknowledgement Data Min 0 Max 64 r Set ID OK Data x 16 PIP position Command q G To select sub picture position for PIP You can also adjust the sub pictur...

Page 28: ...in 0 Max 64 k Set ID Data Cr Acknowledgement Set ID OK Data x 24 PIP input select Command y G To select input source for sub picture in PIP mode Transmission Data 0 RGB1 1 Component or AV1 2 Video or AV2 3 S Video 4 RGB2 k y Set ID Data Cr Acknowledgement Data 0 RGB1 1 Component or AV1 2 Video or AV2 3 S Video 4 RGB2 y Set ID OK Data x 20 Colour temperature Command u G To adjust colour temperature...

Page 29: ...et ID 16 64 Step 100 Real data mapping 2 0 10 5 9 A 8 2D 1 32 0 37 1 5F 9 64 10 27 Orbiter Time Setting Command r G To adjust orbiter operation time term Transmission Data Min 1 Max FE Refer to Real data mapping1 as shown below Data Min 1 Max FE j r Set ID Data Cr Acknowledgement r Set ID OK Data x 26 White Wash Command q G To control the white wash function on off Transmission Data 0 White Wash o...

Page 30: ...work Check to see if there is any object between the Plasma Display and the remote control causing obstruction Check to see if the batteries are installed with the correct polarities Refer to p 11 Install new batteries Refer to p 11 Picture OK No sound Press the VOLUME G button Sound muted Press MUTE button Picture appears slowly after switching on This is normal as the image is muted during the s...

Page 31: ...In operation Humidity In operation MT 50PZ40V A B K R S MZ 50PZ42V A B K R S MT 50PZ41V A B K R S MZ 50PZ43V A B K R S MT 50PZ43V A B K R S 48 2 1223 28 9 734 4 1 105 99 2 45 AC100 240V 50 60Hz 1366 x 768 Dot 16 770 000 256 steps of each R G and B 0 40 C under 80 The specifications shown above may be changed without notice for quality improvement ...

Page 32: ......

Reviews: