


16 Plasma Monitor
Operation
- Each adjustment for the Picture menu options doesn’t effect other input sources. Readjust Picture
menu options for each of the following sources.
• RGB (PC) / DVI (PC),
• RGB (DTV) / DVI (DTV) / Component (480p, 720p, 1080i)
• Video / S-Video / Component (480i)
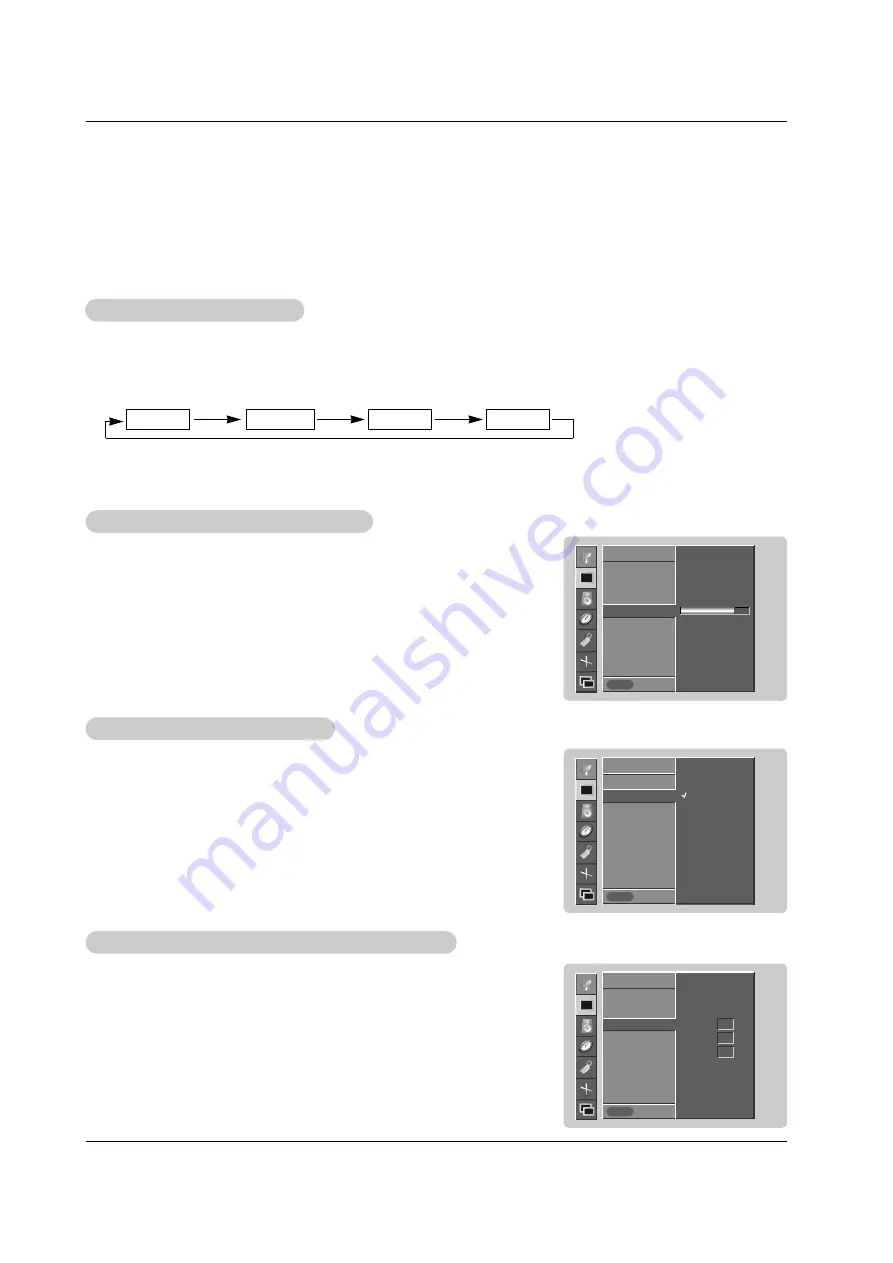
Picture Menu Options
Picture Menu Options
- You can adjust picture contrast, brightness, color, sharpness, and tint to the levels
you prefer.
1. Press the MENU button and then use
D
/
E
button to select the
PICTURE
menu.
2. Press the
G
button and then use
D
/
E
button to select the desired picture option
(
Contrast
,
Brightness
,
Color
,
Sharpness
,
Tint
)
.
3. Press the
G
button and then use
F
/
G
button to make appropriate adjustments.
4. Press the ENTER button to save.
Manual Picture Control (
Manual Picture Control (
User
option)
option)
1. Press the APC button repeatedly to select the picture appearance setup option as shown below.
APC (Auto Picture Control)
APC (Auto Picture Control)
• You can also adjust
APC
in the
PICTURE
menu.
•
Clear
,
Optimum
, and
Soft
are preset for good picture quality at the factory and cannot be changed.
Optimum
Soft
User
Clear
- APC adjusts the Monitor for the best picture appearance.
- When adjusting picture options (contrast, brightness, color, sharpness and tint) manually, APC automatically
changes to
User
.
- To initialize values (reset to default settings), select the
Normal
option.
- When adjusting color temperature options (red, green, or blue) manually, ACC
automatically changes to
User
.
1. Press the MENU button and then use
D
/
E
button to select the
PICTURE
menu.
2. Press the
G
button and then use
D
/
E
button to select
ACC
.
3. Press the
G
button and then use
D
/
E
button to select either
Normal
(Default),
Cool
(Preset),
Warm
(Preset) or
User
(Manual Adjustment).
4. Press the ENTER button to save.
Auto Color
Auto Color
T
T
emperature Control
emperature Control
- You can adjust red, green, or blue to any color temperature you prefer.
1. Press the MENU button and then use
D
/
E
button to select the
PICTURE
menu.
2. Press the
G
button and then use
D
/
E
button to select
Color temp
.
3. Press the
G
button and then use
D
/
E
button to select
Red
,
Green
or
Blue
.
4. Use the
F
/
G
button to make appropriate adjustments.
• The adjustment range of
Red
,
Green
,
and
Blue
is -20 ~ +20.
5. Press the ENTER button to save.
Manual Color
Manual Color
T
T
emperature Control (
emperature Control (
User
option)
option)
PICTURE
Prev.
APC
ACC
G
Color temp.
Contrast 80
Brightness 60
Color 50
Sharpness 50
Tint 0
PICTURE
MENU
Normal
Cool
Warm
User
PICTURE
Prev.
APC
ACC
Color temp.
G
Contrast 80
Brightness 60
Color 50
Sharpness 50
Tint 0
PICTURE
MENU
Red
0
Green
0
Blue
0
PICTURE
Prev.
APC
ACC
Color temp.
Contrast 80
G
Brightness 60
Color 50
Sharpness 50
Tint 0
PICTURE
MENU


