background image

LGE CDMA Fixed Wireless Telephone                                       
LSP-340 


20


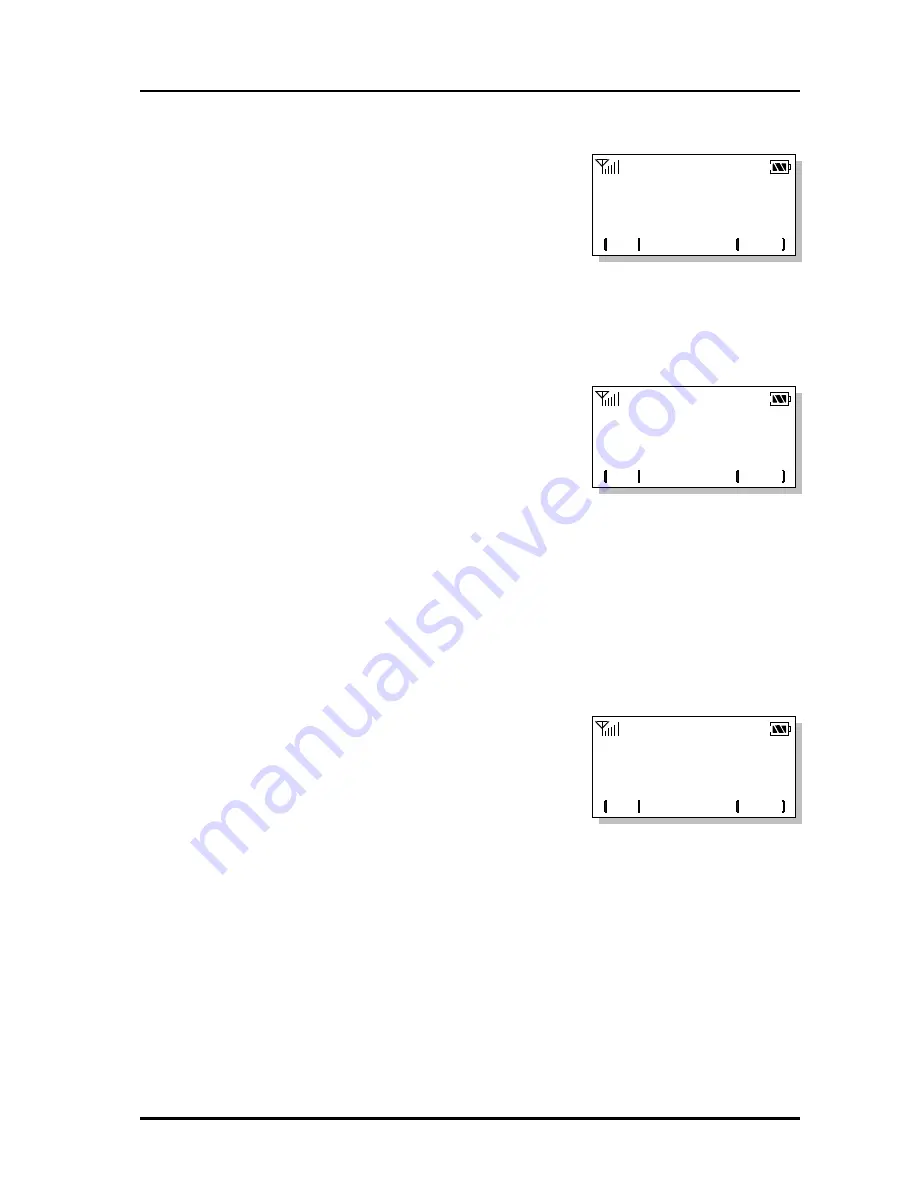
MINUTE ALERT

NEXT

OK

On

DATA BAUDRATE

NEXT

OK

19200

RX CALL MODE

NEXT

OK

voice


4.2.2  Minute Alert 

Alerts you every minute during a call. 

 
1. Press 

[MENU]

 + 

2

(ADDITIONAL) + 

3

(Minute Alert)   

In on – hook State 

2. Select 

On

 or 

Off

 by 

[NEXT]

 or 

Volume

 button. 

3. Press 

[OK]

 to save and exit 


4.2.3    Set Rx call mode 


   1. Press 

[MENU]

 + 

2

(ADDITIONAL) + 

4

(RX Call Mode) 

     in on – hook  State.    

2. Select 

Voice

Fax for next

Always Fax

Modem for 

  next  

by 

Volume

 or 

[NEXT]

 button.   

3.  Press 

[OK]

 to save and exit. 


4.2.4    SIO baud rate 


1.  Press 

[MENU]

 + 

2

(ADDITIONALl) + 

5

(SIO Baud Rate) 

    in on – hook  State. 

2.  Select 

19200

38400

57600

115200

230400

 by   


Volume

 or 

[NEXT]

 button 

3.  Press 

[OK]

 to save and exit 


Summary of Contents for LSP-340

Page 1: ...CDMA Fixed Wireless Telephone User Guide Model LSP 340 ...

Page 2: ...LGE CDMA Fixed Wireless Telephone LSP 340 3 REVISED HISTORY DATE ISSUE CONTENTS OF CHANGES REMARK 2001 10 25 ISSUE1 Initial Release ...

Page 3: ...LGE CDMA Fixed Wireless Telephone LSP 340 4 Blank Page ...

Page 4: ... a Call 17 3 4 Signal Strength 17 3 5 Missed Call Message 17 4 List of Menu State 18 4 1 Volume Ring 18 4 1 1 Ring Volume 18 4 1 2 Key Volume 18 4 1 3 Ear Volume 19 4 1 3 Ring Type 19 4 2 Additional feature 19 4 2 1 Key tone Length Error Bookmark not defined 4 2 2 Minute Alert 20 4 2 3 Set Rx call mode 20 4 2 4 SIO baud rate 20 5 Functions while in a call 21 5 1 Mute 21 5 2 Ear Volume 21 6 Searchi...

Page 5: ...ing Phone Numbers 30 9 1 1 Storing Phone Numbers 30 9 1 2 Erasing Stored Phone Numbers 31 9 2 Finding Stored Phone Numbers 32 10 Speaker phone 32 11 General Information 33 Highlights Congratulations on your purchase of the LSP 340 Fixed Wireless Telephone This telephone has been designed to operate on the latest digital mobile communications technology This technology has greatly enhanced voice cl...

Page 6: ...LGE CDMA Fixed Wireless Telephone LSP 340 7 Dipole Antenna DB9 Data Port for service and repair Backlingt Speaker phone ...

Page 7: ...idelines and these international standards Use only the supplied or an approved antenna Unauthorized antennas modifications or attachments could impair call quality damage the phone or result in violation of FCC regulations Do not use the phone with a damaged antenna If a damaged antenna comes into contact with the skin a minor burn may result Please contact your local dealer for replacement anten...

Page 8: ...ternal RF energy Turn your terminal OFF in health care facilities when any regulations posted in the areas instruct you to do so Hospitals or health care facilities may be using equipment that could be sensitive to external RF energy If this equipment does cause harmful interference to radio or television reception which can be determined by turning the equipment off and on the user is encouraged ...

Page 9: ...sol cleaners Use a damp cloth for cleaning If the unit fails for any reason do not attempt to disassemble contact the telephone service provider for assistance If any of the following conditions exist unplug the unit at the wall plug remove battery and call the service provider The power supply cord is damaged or frayed Liquid has been spilled into the unit The unit has been exposed to rain or wat...

Page 10: ...e a STATE No store a value also activate MUTE state Recall Softkey 2 Activate RECALL state Choose NEXT state Clear Cancel Delete the last digit dial number also Exit without storing in the MENU state Redial Flash Redial function flash function in the call state Navigation Left Volume also Function as a cursor th the EDIT state Navigation Right Volume also Function as a cursor th the EDIT state SPK...

Page 11: ...service The phone is not receiving system signal 3 In use Displayed when call is in progress or the phone is in off hook and dial tone heard No service In use 4 Text message Displayed when a text message is received 5 Voice message Displayed when a voice message is received 6 Alarm Displayed when wake up alarm time was setting 7 Caller ID Displayed when caller ID is received 8 OUT Going out 9 Batt...

Page 12: ...LGE CDMA Fixed Wireless Telephone LSP 340 12 ...

Page 13: ...oid direct exposure to the sun lights and damp area Read the SAFETY INFORMATION located at the first part of this document before you place the terminal STEP III Connect Components See the figures in Installation Steps Connect the antenna to the TNC antenna connector located at the top side of the terminal If you placed the terminal on the flat surface bend the antenna up right Connect curl cord o...

Page 14: ...ck the LCD for normal operation If you may not see status of service please repeat the 5th instruction of step III And conform Fixed Wireless Telephone to get the proper signal strength from service operator system The adapter type with power cord may be different by country adaptation Antenna TNC Connector AC Power Supply Connector Handset Connector ...

Page 15: ...l the unit properly Connect Base handset to the handset connector Connect the antenna to the TNC connector Turn right Bend the antenna up right Open the battery cover at the bottom of the unit Insert back up battery in the bottom of the unit give care to polarity Connect the AC power supply 1 1 1 2 3 1 5 1 4 1 6 ...

Page 16: ...dial tone Press Redial button The last number that you called will be re dialed Correcting dialing mistakes 1 Press Clear button shortly to erase the most recent digit 2 Press and hold Clear button for at least one second If the phone is locked enter the Lock Code If the call did not go through press the hook switch and dial again Flashing Hook Switch 1 While in the middle of a call pressing the h...

Page 17: ...gnal strength in your area The stronger the signal the better the call quality The signal strength icon indicates the current strength as a number of bars You can see the antenna and bars according to the strength of received signal in the upper left part 3 5 Missed Call Message If a call is received and not answered for user s absence You are informed that you have missed a call The latest missed...

Page 18: ... Always modem 4 SIO baud rate 19200 38400 57600 115200 230400 2 Additional 4 1 Volume Ring This menu allows you to adjust the various different volumes 4 1 1 Ring Volume The received tone when you receive a call can be adjusted From the MENU 1 Press MENU 1 Volume Ring 1 Ring Volume in on hook state 2 Press Volume button or NEXT to adjust ring volume 3 Press OK By the Volume button 1 Press Volume b...

Page 19: ... Select You can select the various ring types 1 Press MENU 1 Volume Ring 4 Ring Type in on hook state 2 Select a desired ring type with Volume button or NEXT There are 10 different ring types Those are Standard Option 1 Option 2 Option 3 Option 4 Habanera Deutsch song La Primavera Oh susanna Beethoven 3 Press OK to save and exit 4 2 Additional feature 4 2 1 Key tone Length Setting key beep playbac...

Page 20: ...ate 2 Select On or Off by NEXT or Volume button 3 Press OK to save and exit 4 2 3 Set Rx call mode 1 Press MENU 2 ADDITIONAL 4 RX Call Mode in on hook State 2 Select Voice Fax for next Always Fax Modem for next by Volume or NEXT button 3 Press OK to save and exit 4 2 4 SIO baud rate 1 Press MENU 2 ADDITIONALl 5 SIO Baud Rate in on hook State 2 Select 19200 38400 57600 115200 230400 by Volume or NE...

Page 21: ...ss MUTE button while in a call 2 You could see MUTE message blinking on the right side of the LCD 3 To release Mute Press UNMUTE button 5 2 Ear Volume You may adjust ear volume while you are in a call The Volume button on the right side of the phone can be used to adjust ear volume 6 Searching Editing Dialing 6 1 Retrieving Phone Number by Name 1 Press RECALL and 2 FROM MEMORIES 2 Press 1 button t...

Page 22: ...memory address 01 If there is no stored phone number in the memory location Empty Location is displayed If you press FIND button without entering number you see the whole phone number list in the memory Location and you can find the number by scrolling the list 4 Pick up the handset or press button to call to displayed number press EDIT to edit stored information or press ERASE to delete displayed...

Page 23: ...and press FIND button If there is no stored phone number in the memory location No number matches is displayed 4 Pick up the handset or press button to call to displayed number press EDIT to edit stored information or press ERASE to delete displayed information Edit process Erasing process Do the above step of 6 2 2 6 4 Fast Searching 1 Press RECALL button 2 Press RECALL button again you see the w...

Page 24: ...message Check with your WLL service provider regarding the availability of this feature The information in a message depends on the mode the WLL is operating in and the service s capabilities 7 1 Checking Deleting Received Message 7 1 1 Text Message 1 Press MESSAGE button and 1 MSG RECEIVED 2 Press 1 Text MSG to see a received text message list Locate to the desired message in the list Mark means ...

Page 25: ... will alert and display Voice Mail You must call your voice mail service to retrieve these messages 1 Press MESSAGE button and 1 Received MSG in idle state 2 Press 2 Voice MSG to check the voice message If there is no voice message No Voice Mail was received is displayed Press ERASE to delete the voice message 7 1 3 Erasing all Received Message 1 Press MESSAGE button and 1 MSG RECEIVED 2 Press 3 C...

Page 26: ...MSG Received 7 3 Message Sending 7 3 1 Sending a New Message 1 Press MESSAGE button and 2 MSG SENDING 2 Press 1 New Message to send a new message 3 Enter the called number and press OK You can find the called number in the memory by FIND button 4 Enter the call back number and press OK 5 Input a message and press OK to send Press A BC to change upper or lower case character 6 Select Yes No to stor...

Page 27: ...diting the Sent Message 1 Press MESSAGE button and 2 MSG SENDING 2 Press 2 Sent Message to see a received text message list Locate to the desired message in the list 3 Press EDIT to edit the content of the selected message You can see the selected sent message Edit the message Press ABC to change upper or lower case character 5 Press OK Button 6 Enter the called Number and press OK 7 Enter the cal...

Page 28: ...340 28 ERASE ALL OK NEXT Yes MSG Sending 2 Sent Message 1 New Message MSG SENDING 3 Clear All 7 3 3 Erasing a Sent Message 1 Press MESSAGE button and 2 MSG SENDING 2 Press 3 Clear All to clear text message list 3 Press OK to erase a message ...

Page 29: ... outgoing number 8 3 Hook Switch 1 While in the middle of a call pressing the hook switch for 300ms 600 300ms will be treated as a flash After 1 second the call will be terminated 2 Very briefly pressing the hook switch will be ignored 8 4 Flash The same as that of a single line phone 8 5 Safe mode Even if you misplaced the handset for long The phone returns to the normal state After the ROH tone ...

Page 30: ...ry location number in off hook state 1 Enter the area code and phone number in on hook state Max 32 digits 2 Press SAVE 3 Enter the name in text mode and press OK to save Press ABC to change upper or lower case characters To store without name just press OK Refer to To enter a character 4 Enter the desired memory location The phone number is stored in the displayed memory location 5 The phone will...

Page 31: ...xt position automatically Press Volume button to move the cursor Press Clear button to erase or correct entered character To enter specific character Press Message to view a desired character while you are entering names Special characters includes and more Press the number next to the character you want insert 9 1 2 Erasing Stored Phone Numbers When a phone number is stored in a memory location y...

Page 32: ...d it in sequence And You can place a call with the phone number 1 Press RECALL 1 FROM MEMEORIES 3 By Number in on hook state 2 Press FIND button to find the desired phone number Locate in the desired name or address to find If not any entered name phone number is displayed 3 Press VIEW to see the stored number 4 To make a call with the phone number in the state of step 2 or step 3 pick up the hand...

Page 33: ...without battery Operating Temperature 0 55 AC DC Adapter Item SMPS Type Description Input Voltage AC 100 250V 0 3A 15W Input Frequency 50 60Hz Output Voltage 9 6V DC 1A Battery Item Description Capacity 3 6V Ni MH 1700mAh Talk duration time 2 Hours Standby duration time 24Hours Charging duration time Trickle 24 Hours Licensed by QUALCOMM Incorporated under one or more of the following Patents U S ...

Reviews: