31
OPERATION
ENGLISH
Removing and Replacing the Oven
Racks
CAUTION
•
Replace the oven racks before turning the oven
on to prevent burns.
•
Do not cover the racks with aluminum foil, or
any other material, or place anything on the
bottom of the oven. Doing so will result in poor
baking performance and may damage the oven
bottom.
•
Only arrange oven racks when the oven is cool.
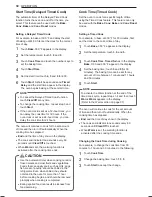
Removing Racks
1
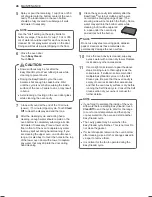
While wearing oven mitts, grasp the oven rack*.
2
Pull the rack straight out until it stops.
3
Lift up the front of the rack.
4
Pull out the rack.
* When possible, adjust oven racks before using the
oven. Always wear oven mitts if adjusting racks while
the oven is on.
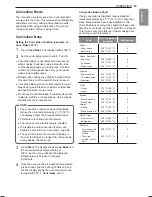
Replacing Racks
1
While wearing oven mitts, place the end of the
rack on the support*
2
Tilt the front end of the rack up.
3
Push the rack in.
4
Check that the rack is properly in place.
*When possible, adjust oven racks before using the
oven. Always wear oven mitts if adjusting racks while
the oven is on.
Recommended Baking and Roasting
Guide
•
Center pans on racks for best baking results. If
baking with more than one pan, place the pans so
that each one has at least 1" to 1
1
/
2
" of air space
around it. Do not allow pans to touch the walls of
the oven.
•
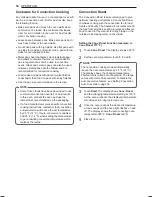
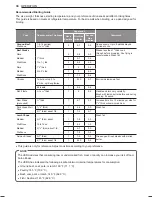
If cooking on a single rack, place the standard rack
in position 1 in the upper oven and position 2 in the
lower oven. Center the cookware as shown in the
single rack image.
•
If cooking on multiple racks in the lower oven,
place a standard rack in position 1 and an offset
rack in position 4. Place the cookware as shown in
the multiple rack image, with cookware on the top
rack placed toward the front and cookware on the
bottom rack placed toward the back.
Multiple rack
Single rack
Summary of Contents for LDG5315ST
Page 118: ...Aide mémoire ...
Page 119: ...Aide mémoire ...


