


18
Playing the iPod - more you can do
Pauseing playback
Press
PAUSE/STEP (
X
X
)
or
PLAY (
B
B
)
to pause playback. Press
PAUSE/STEP
(
X
X
)
or
PLAY (
B
B
)
to continue playback.
Skipping to the next/previous file
Press
SKIP (
>
>
)
to move to the next file.
Press
SKIP (
.
.
)
to return to the beginning of the current file.
Press
SKIP (
.
.
)
twice briefly to step back to the previous file.
Fast forward or fast reverse
Audio files: During playback, press and hold
SCAN (
m
m
or
M
M
)
and then
release at a point you want.
Video files: During playback, press
SCAN (
m
m
or
M
M
)
. Press
PLAY (
B
B
)
continue play at normal speed.
Playing repeatedly
Press
REPEAT/RANDOM
repeatedly to select an item to be repeated. The
current file will be played back repeatedly. To return to normal playback, press
REPEAT/RANDOM
repeatedly. (
On video files, this function is not available.
)
iPod message
“Please, check your iPod” -
If the power of your iPod is insufficient or the
iPod is misconnected or unknown device. Reset the iPod if the iPod is not
operating normally (Refer to http://www.apple.com/support/)
“Connect Video Out(only composite) from the HTS to the TV and switch
TV input accordingly.”, “Please, Control through an iPod’s display.” -
When you connect the unit and TV to COMPONENT VIDEO OUT or HDMI
OUT, connect the unit and TV to VIDEO OUT.
Compatible iPod
• When the unit is connected with dock connector may result in malfunctions
• Compatibility with your iPod may vary depending on the type of your iPod.
• Depending on your iPod’s software version, it may not be possible to control
your iPod from the unit. We recommend installing the latest software version.
When you use iPod, look out for the following
• Interference may happen depending on iPod devices.
• The video files are outputted only when you connect the unit to VIDEO OUT.
OSD iPod mode
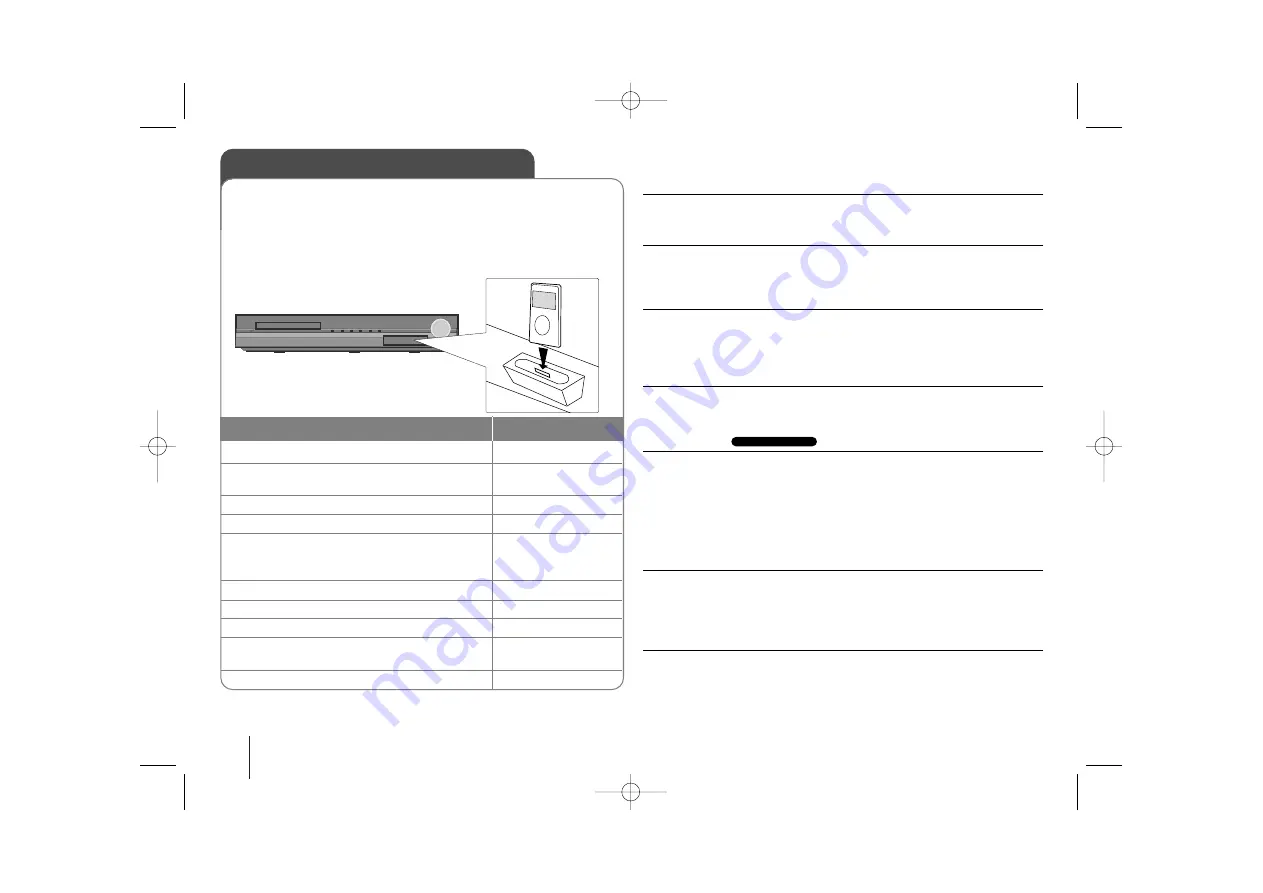
Playing the iPod
1 To open the iPod dock.: (On unit: iPod
v
)
-
2 Connect your iPod to the dock on the front
of unit.:
-
3 Turn the power on:
POWER
4 Select the OSD iPod or iPod function:
FUNCTION
5 Select the menu:
U
U u
u
and ENTER
If you want to move backwards in the
menu, press MENU
6 Select a file:
U
U u
u
7 Start the file playing:
B
PLAY or ENTER
8 To stop the file playing:
x
x
STOP
9 Before disconnecting the iPod, change to
any other function by pressing:
FUNCTION
10 Remove
the iPod
:
-
For detial refer to iPod guide.
iPod mode
: You can operate your iPod by using the supplied remote
control and directly control on your iPod.
OSD iPod mode:
You can operate your iPod by controlling OSD menu
on the TV screen with supplied remote control. The controls on your iPod
are not operational in the OSD iPod mode.
ON REMOTE
HT904SA-A2P_BARELL_ENG_0727 10/7/09 3:06 PM Page 18


